views
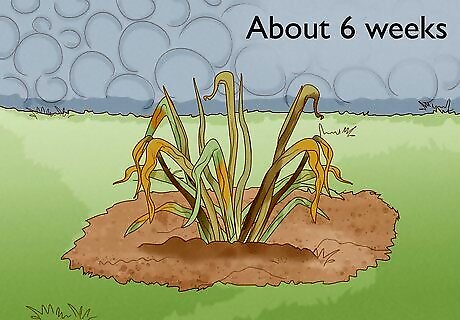
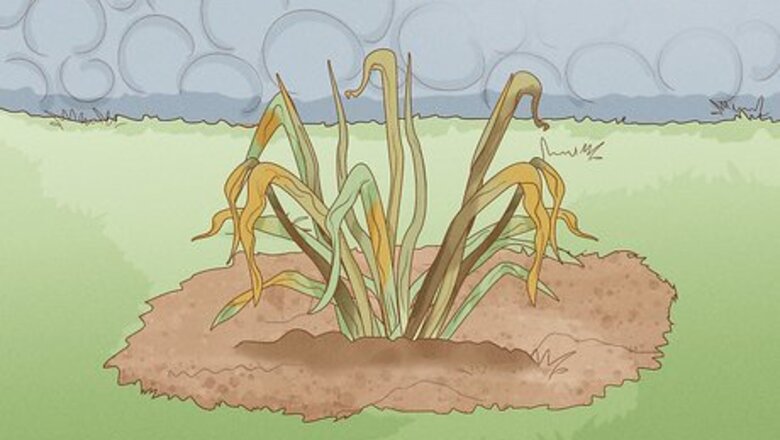
Allow the blossom and the leaves to completely fade on their own. Avoid cutting them back until they are completely withered. This will usually take about six weeks. Even though it might look scraggly, the foliage collects the sun's energy through photosynthesis and pumps it down into the bulb so it can grow next year. If you want, you can cut the spent flower early, but be sure to leave the stem intact.
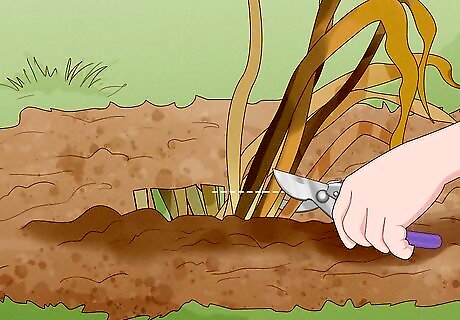
Snip off the blossom (if you haven't done so already) and the withered leaves right at the soil line. If you’re going to leave them in the ground, that’s all you need to do. Normal watering of the garden and winter rains will not bring them up to bud until they are “ready”. That’s it. If your preference is to bring them up for over-summer storage, proceed to the next step.
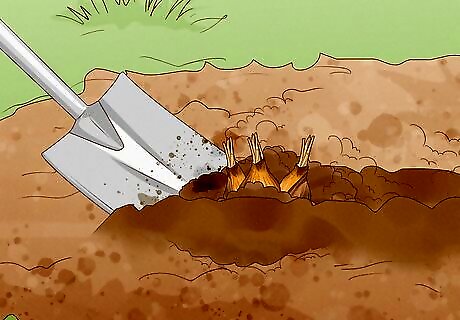
Dig deep into the soil several inches away from where the bulb is located. Try to bring the bulb up with one clean spade full of soil and the bulb. Use care not to damage the bulb. Handle them gently, because bruising them will cause them to rot.
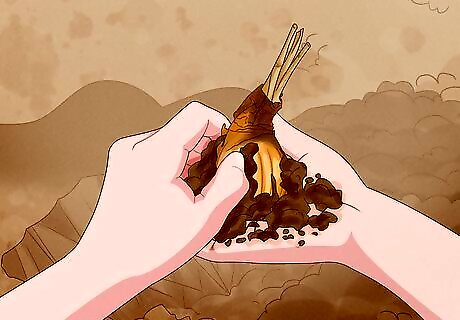
Clean off the bulb by brushing excess soil away with your fingers. Any bulbs that are clumped together will probably separate on their own as you brush off the dirt. Leave the ones that are firmly attached to the mother bulb as is. Remove any “caked-on” moist soil that is clinging to the bulb.
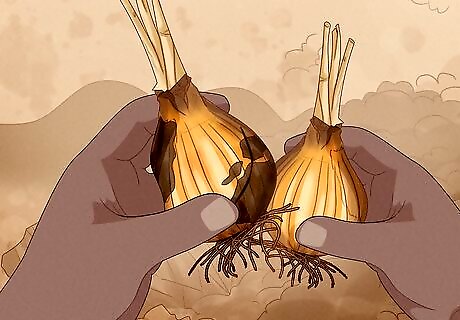
Examine the bulbs for any signs of rot, deterioration or damage that may have been caused by nibbling critters. Discard bulbs that do not appear to be healthy.
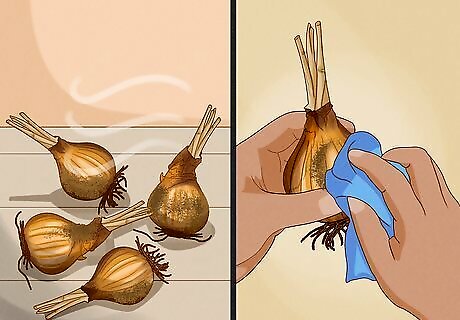
Set the bulb aside in open air for a short period of time (usually about an hour) until the last bit of soil has dried. Then, with a brush or a towel or rag, remove any additional clinging soil.
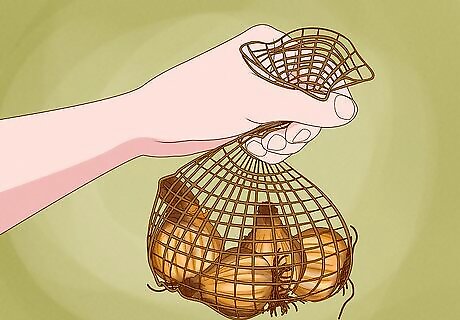
Loosely place the bulbs into a well-ventilated bag. A mesh onion bag or the leg cut from a pair of pantyhose or nylon stocking works very well. Inexpensive tulle from a fabric store can be used to fashion a bag, too. Close up the opening of the bag with twine or string, leaving enough excess to form a loop for hanging. You can also rest them on an old window screen set on two boxes or sawhorses so that air can flow underneath them.
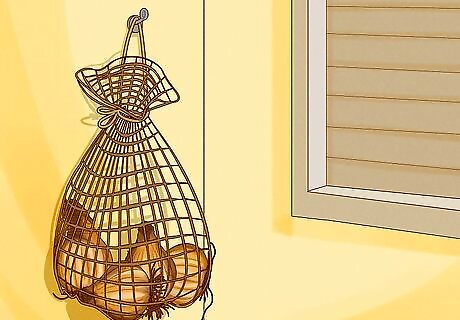
Hang the bulb-filled bag in an area that will not be exposed to direct sunlight, heat or dampness. Far corners (away from the door) of the garage are fine, but avoid placing the bag near a water heater or laundry appliances. Generally, a shady spot with good air circulation is good.
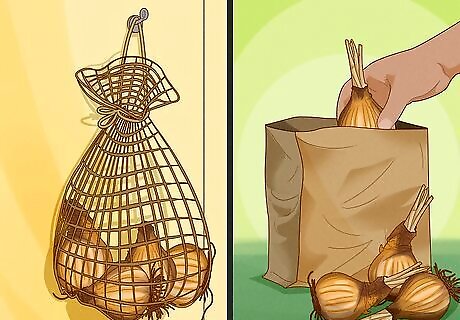
Allow the bulbs to cure. If you're using a bag and you've hung it indoors, you can simply leave them alone until you’re ready to do Autumn planting. If you used a window screen or if you left your bulbs outside, bring them in and put them in a paper bag for storage in a dark, cool, well-ventilated spot.
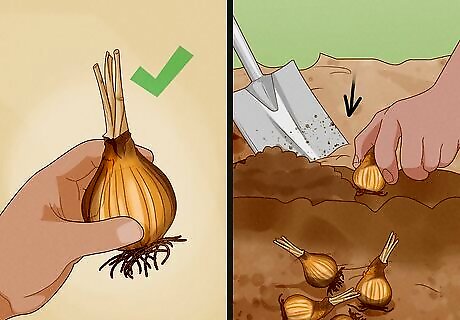
Examine the bulbs again before replanting them. Look for any signs of rot or mildew and discard them if they do not appear healthy. Plant the remaining bulbs and wait for them to bloom in the Spring!





Comments
0 comment