

Trying Basic Decoupage

Cover your workspace with paper to protect it from messes. Lay down several sheets of newspapers or an old cloth. This will prevent damage to your work surface and make cleanup easier. You may also want to put on an old t-shirt or an apron to protect your clothes.
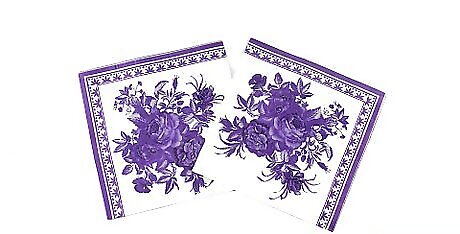
Choose the material you want to apply. You can use almost any paper or light fabric material to cover your surface. Wrapping or origami papers are great because they're decorative and a good weight. Other types of material for decoupage include: Wallpaper Magazines or catalogues Greeting cards Fabric or paper napkins Pages from old books EXPERT TIP Joy Cho Joy Cho Designer & Style Expert, Oh Joy! Joy Cho is the Founder and Creative Director of the lifestyle brand and design studio, Oh Joy!, founded in 2005 and based in Los Angeles, California. She has authored six books and consulted for creative businesses around the world. Joy has lectured on business, leadership, and entrepreneurship at conferences and companies such as AltSummit, Pinterest, Target, and Hallmark, while her home and studio have been featured in magazines such as House Beautiful, Parents, and Domino. She has also been named one of Time's 30 Most Influential People on the Internet multiple times and has the most followed account on Pinterest with more than 14 million followers. Joy Cho Joy Cho Designer & Style Expert, Oh Joy! Our Expert Agrees. A great way to decoupage is using extra wrapping paper or other decorative papers that you love and have extra. You can try using a single image, like a flower from a section of wrapping paper, or rip pieces of colored tissue paper and layer them together on your surface.
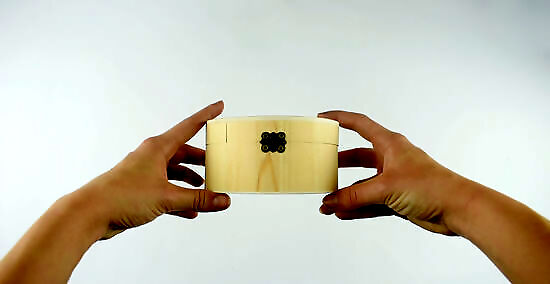
Select the surface you want to decoupage. You probably already have a good idea of the item you want to decoupage. For example, you might want to update a chair, mirror, or box. You can decoupage onto wood, metal, glass, or ceramic. Consider decoupaging: Vases or pots Plates, trays, mugs, or bowls Lamps and lampshades Frames Hardcover book Glass or plastic bottles
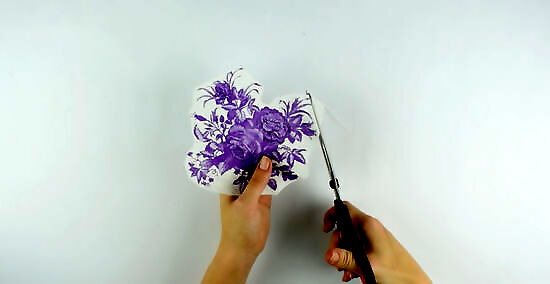
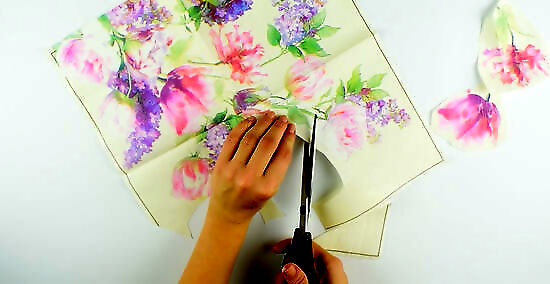
Tear or cut the material to fit on the surface of your object. Use sharp scissors or a craft knife to cut the paper or fabric into shapes or an outline. If you'd like a rustic look, tear the material so it has rough edges. Decide if you'd like to place just a few pieces of material or if you'd like to overlap several pieces. For example, if you're covering a dresser, you may just want to cut 3 large pieces of paper that fit 3 drawers perfectly. If you're decoupaging a small box, you might want to rip a variety of materials and overlap them on all sides of the box.
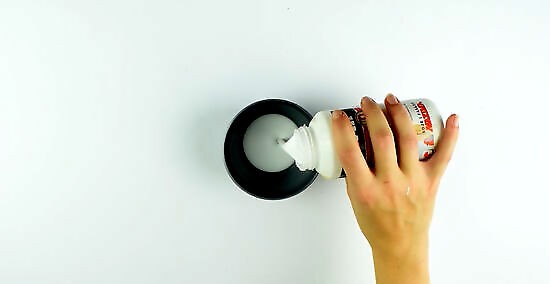
Pour a little glue in a small dish to use as an adhesive and varnish. Go to a craft supply store or purchase decoupage glue online. If you'd rather buy just glue, choose PVA glue since it will dry clear. Pour a small amount into a dish and set it on your work surface. If you prefer, use a glue to make the decoupaged item and then apply a standard varnish later. You may be able to use a spray glue, if you can find one that dries clear.
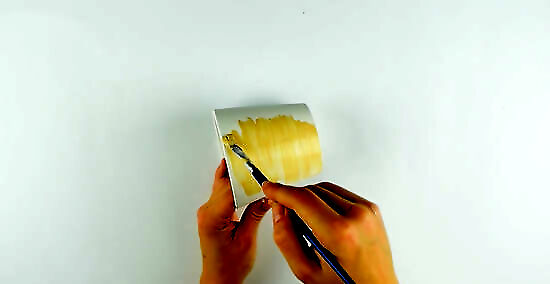
Dip a brush into the glue and apply the material to the surface. Dip a small paint brush or a larger foam brush into the glue in the dish. If you're decoupaging a small item, brush the glue onto the back of the material and press the piece onto the object. If you're decoupaging a large object, use the brush to spread the glue directly onto the object. For example, brush the glue onto an entire dresser draw and then quickly press the material onto the glued surface.
Dry the item and varnish it if you'd like to protect it. Leave the item in a well-ventilated space and let it dry completely before you use it. If you'd like to protect the item from peeling and give a slight gloss, spread another layer of glue across the entire surface and let it dry. You can buy a varnish that dries clear, matte, or glossy.
Decoupaging Wooden Furniture
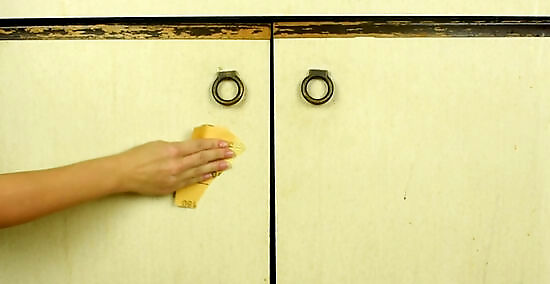
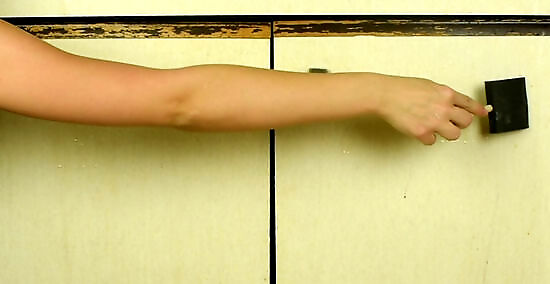
Sand and fill in any holes if you plan to stain or paint the furniture. If you'd like to refinish the furniture before you decoupage, remove the hardware such as the handles and lightly sand the furniture with medium-grit sandpaper. Wipe away the dust and fill any holes with wood filler. Let the filler dry and sand it to smooth any bumps. Wipe the dust away each time you sand the furniture.
Apply primer or paint if you want to refinish the furniture. To change the look of the furniture before you decoupage, apply a primer and let it dry. Then apply your choice of paint. While you should avoid latex paint because it will bubble and blister when you decoupage, you can use: Acrylic paint Chalk paint Spray paint Watercolors Waterbase stain
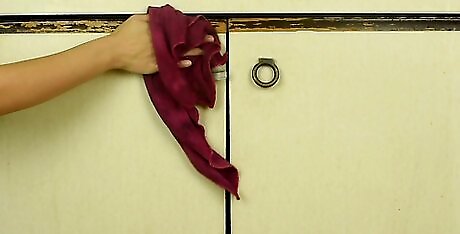
Clean and dry the furniture. If you've painted the furniture, let it dry for at least 24 hours before you begin. If you're not painting it, wipe the furniture clean with warm, soapy water. Then let it dry completely.
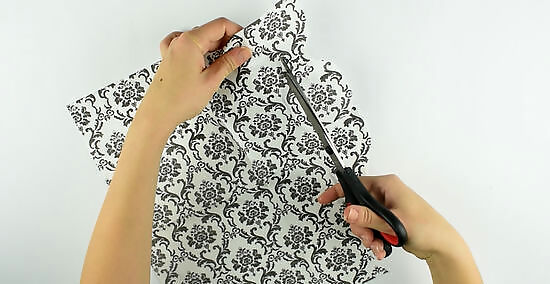
Cut out or tear the material you want to apply. Use scissors or the craft knife to cut out the paper or fabric you're going to decoupage onto the furniture. For example, if you're decoupaging a dresser, you could cut long strips of wallpaper or tear smaller pieces of book pages.
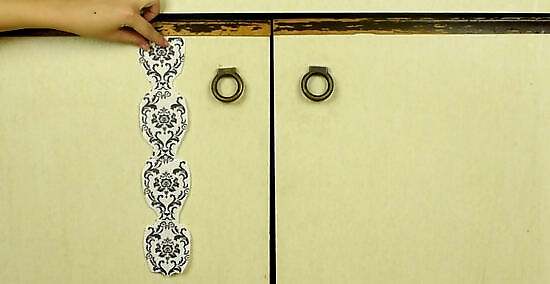
Decide where you'll place the material. If you're decoupaging a large piece of furniture, it's a good idea to plan where the pieces of paper or fabric will go. Consider laying them out so you can see if you like where they're positioned before you glue them to the furniture. You might not need a plan if you're decoupaging 1 or 2 large pieces, but it's helpful if you'll be making a patchwork effect with lots of smaller pieces.
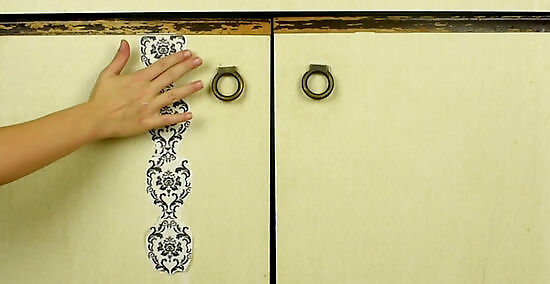
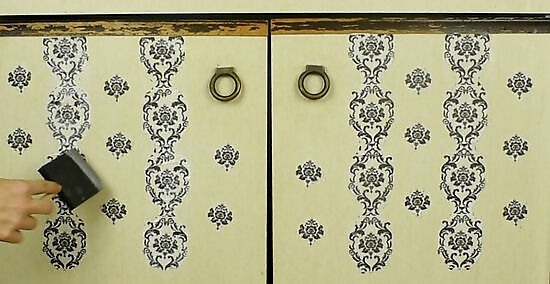
Spread the glue onto part of the furniture and apply the material. Dip a paint brush or foam brush into your glue and spread it over a small area of the furniture. Quickly place the paper or fabric onto the glue and use your fingers to smooth out any wrinkles or bubbles. If you're decoupaging a large piece of furniture, avoid coating the whole thing in the glue before placing some of the material on it. Some of the glue will dry before you have a chance to apply the material.
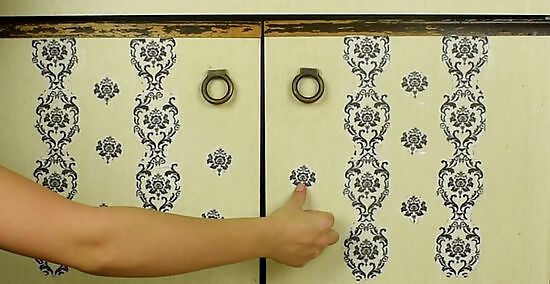
Continue to decoupage until you've used all of your material. You don't have to wait for the material to dry before you spread more glue and put more material on the furniture.
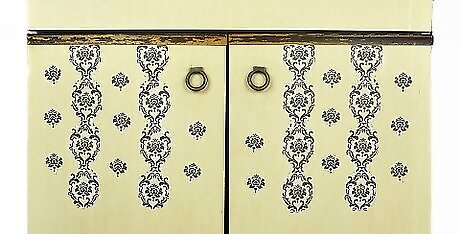
Let the furniture dry for at least a 2 to 4 hours. Once you've finished decoupaging the furniture, leave it to dry in a well-ventilated space. The furniture should be dry to the touch before you apply a varnish. Follow the manufacturer's instructions about drying time since they'll vary by product. Make sure your piece is dry between layers. "I added extra coats of lacquer, then sanded, wiped, and repeated. It took patience to wait for the piece to dry between each layer but the results were well worth it." - Rachel T. Try decoupage with family. "Decoupage is the perfect activity for me to do with my elderly mother who is suffering from severe depression. It’s fulfilling for both of us to make something beautiful that we're proud of when finished." - Vivienne R. Varnish and sandpaper are great tools to have. "I totally would have used my printer and I'm glad I didn't. I highly recommend using layers of varnish and sanding your piece between decoupage layers. My bowl looks amazing!" - Kitty M. Did you know that wikiHow has collected over 365,000 reader stories since it started in 2005? We’d love to hear from you! Share your story here.
Seal the furniture with another coat of glue. Spread a thin layer of glue or varnish over the entire piece of furniture. This will keep the materials in place and protect the furniture from wear. If you'd like more protection, let the first coat dry and apply another coat of glue or varnish.
Making Decoupaged Terra Cotta Pots
Paint and seal the terra cotta pots. Get out as many clean terra cotta pots as you want to decoupage and wipe them clean. If you want to paint the pots so they're colorful, paint them with acrylic paint and let them dry completely. Then coat the inside of the pot with a sealer such as an acrylic or water-based polyurethane sealer. If you don't want to paint the outside of the pot, you'll need to apply a sealer to protect the pot from water damage.
Cut the material you want to apply. Take your paper or fabric and cut out the design, image, or shape as you want it to appear on the pot. For example, if you're covering the pot with photos of roses, cut the outline of the roses with the stems and leaves. For an improvised look, you could tear the material instead of cutting it. You can also cut out interesting shapes to make an abstract design on the pot.
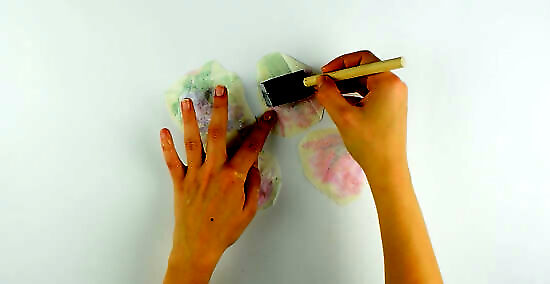
Use a brush to coat the bottom of the material with glue. Dip a paint brush or small foam brush into the glue. Spread a thin layer of it on the back of your cut or torn material. If you'd like a large, bold image on your pot, just decoupage 1 image. For a fun pattern, stick smaller torn or cut images onto the sides of the pot.
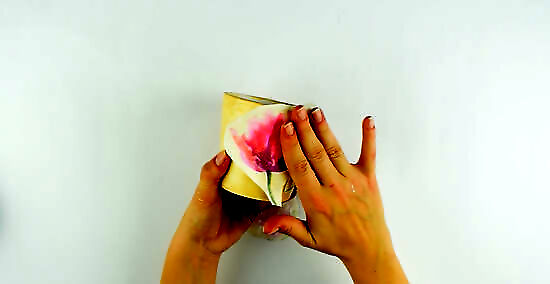
Press the material onto your pot. Set the material on the pot and smooth it out with your fingers so there are no bumps or wrinkles. If you put too much glue on the back of the material, it may leak out of the sides. Use a cotton swab to wipe away the excess so you don't have bumps on your pot. Continue to apply the rest of your materials to the pot. You don't need to wait for the material to dry if you'd like to overlap other pieces over the material.

Cover the pot with a layer of glue. Dip a foam brush into glue and spread it evenly across the entire outside of the pot. Apply a thin layer so it dries quickly and clear. Let the pot dry completely. If you'd like an extra layer of protection, brush on another layer 15 minutes after the base layer has dried. You may only need to apply 1 layer if the decoupage items you've decoupaged thin materials or the pot won't be placed outside.


Comments
0 comment