
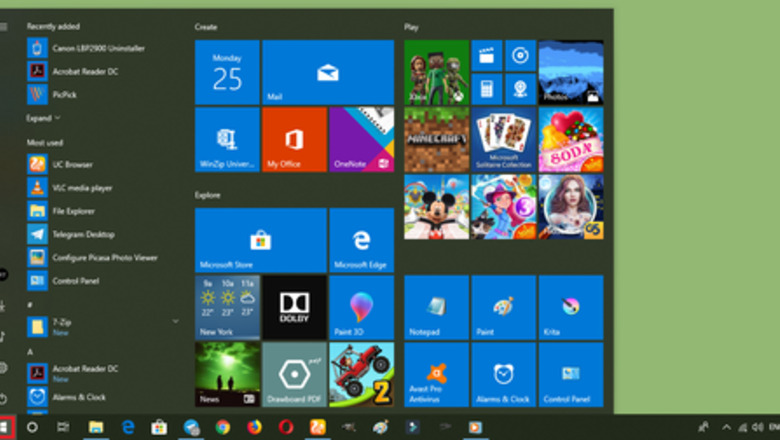
- Open the start menu and type “netplwiz”.
- Open the netplwiz program and uncheck "Users must enter a username and password to use this computer"
- Click Apply, type your password, and finish by pressing OK.
Open the Start menu. Hit the Windows button on your keyboard or click on the blue colored Windows icon to open this menu.

Type “netplwiz” in the Start menu. You can also use the copy & paste feature to speed up your actions.

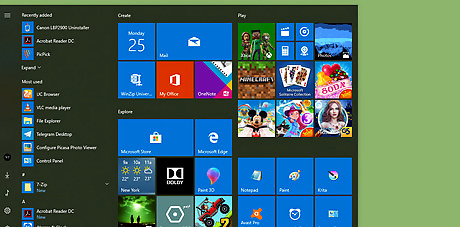
Click on netplwiz program from the search results. This will open a dialog box on your screen.
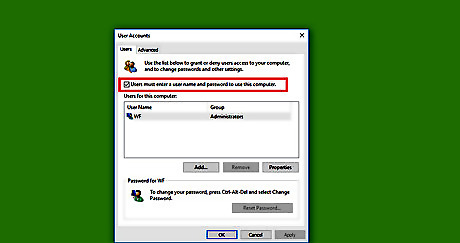
Uncheck the Users must enter a username and password to use this computer labeled checkbox from the dialog box. Then navigate to the bottom section.
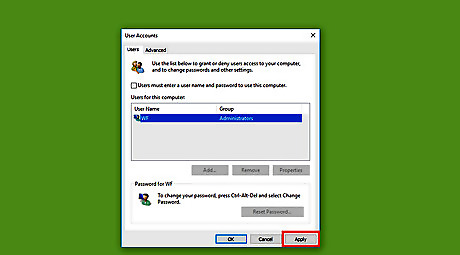
Click on the Apply button. You'll see the "Automatically sign in" box after doing so.
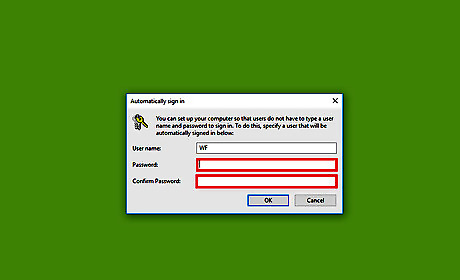
Provide your password. You need to type your password in two boxes in order to confirm your changes.
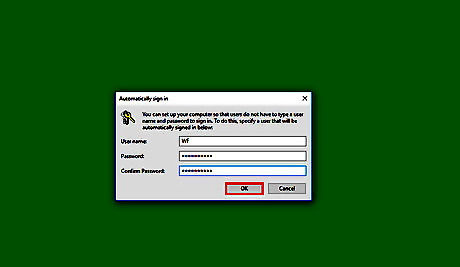
Click on the OK button to finish. When you are done with all of these steps, you’ll no longer need to type in your password every time you use your Windows 10 computer. Finished!


Comments
0 comment