views
Taking Immediate Action
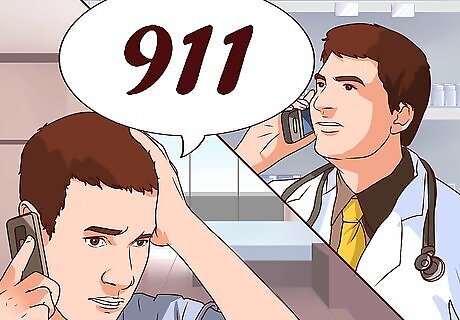
Call emergency services. Getting immediate professional care for the patient is crucial. It can mean the difference between life and death. Before you take steps to dress the wound yourself, call for emergency medical personnel if possible. In many places where cell phone service is not available, it is still possible to call emergency services. If you cannot personally make the phone call for any reason, designate another specific person to make the call. If you know what to do for the wound and there is someone else around, have them call the emergency services while you work on the wound.
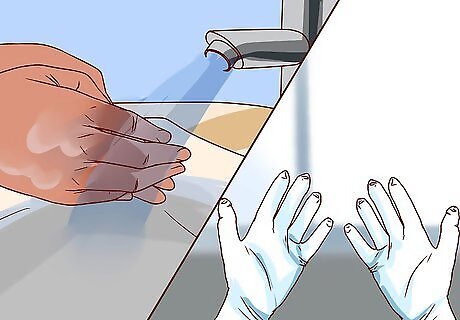
Protect yourself. There are universal precautions that you should take before dealing with an injured person. These are for your protection and theirs. Make sure to be safe even as you work to prevent more serious harm to the victim. Wash your hands with soap and water. Wear gloves, if available. If they are unavailable, you can use shopping bags or bread bags. Wear a face mask and eye protection if possible. Dispose of anything contaminated with blood or bodily fluids in a safe way.
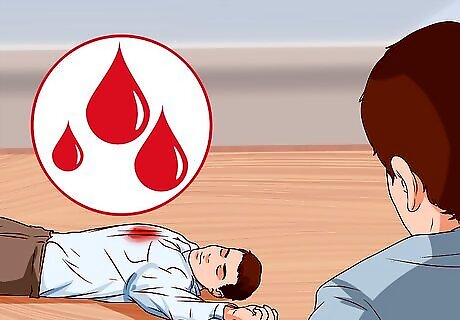
Check for entry and exit wounds. If there are both exit and entry wounds, both of them will need to be dressed. The wounds may not be obvious, depending on what the victim is wearing, so be sure to look underneath their clothes and on their back. If there is more than one wound or opening, you should first handle a wound that is gaping and uncovered. Using a cloth or a piece of clothing or plastic, cover the entire wound, as well as two inches past its edge. If you can hear air passing through the chest cavity or see blood bubbling, tape two or three sides of the cloth down. This will stop air from building up in the chest. After you deal with a gaping wound, you should look for wounds where you can stop the bleeding, if applicable. A gaping chest wound should be your first priority, but, after that, you should work to stop bleeding, wherever it may be. A chest wound is often characterized by bleeding, frothy blood, shortness of breath or difficulty in breathing. The chest may not rise normally when the person inhales.
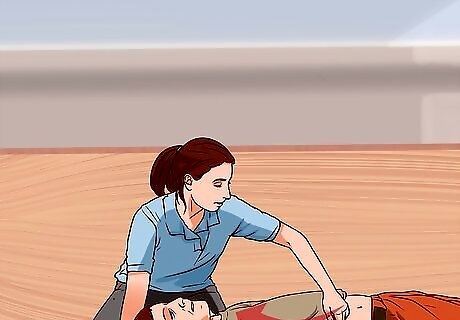
Expose the wound. The wound should be immediately exposed by removing clothing and any other objects from the area. Cut the clothes off if they are covering the wound, but if clothing is stuck to the wound, don’t try to remove it, as it could cause more pain or injury. Do not attempt to clean the wound. If you’re in a chemical environment, do everything you can to prevent exposing the wound and the first aid provider to the chemicals.
Preparing a Dressing
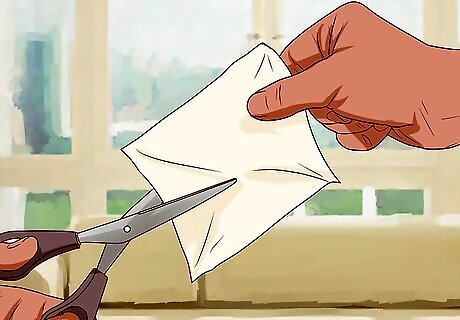
Cut a dressing from airtight material. Sterile plastic is the ideal thing to create a dressing out of. However, depending on your circumstances, you may not have access to this. Use the best thing immediately available to you. The plastic packaging for a sterile bandage can be a good makeshift dressing. A clean ziploc bag works well. If the wound is small, a credit card can sometimes be used when there is nothing else available. If clean plastic is not available, you can try using a folded piece of clean fabric. If you have absolutely nothing else you can use, you can use your own hand, which should be protected with a glove, as a last resort.
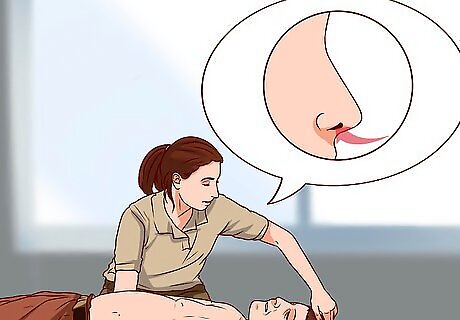
Ask the person to exhale. If the person is able to, they should exhale and hold it, so that their chest cavity is flat while you place the plastic. This helps force some of the air out of the wound. Forcing air out before sealing the wound will allow the person to breathe more easily after the wound is sealed. If the person is unconscious or can’t hold their breath for any reason, place the plastic on the wound after their chest falls and before it rises.
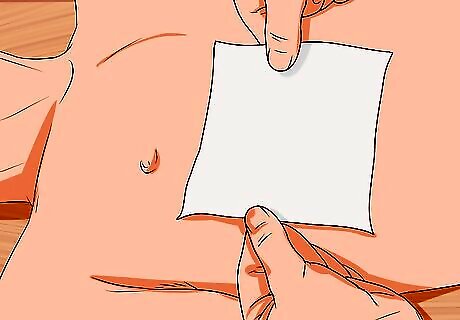
Place the plastic over the wound. Make sure that the plastic dressing extends at least 2 inches (or 5cm) beyond the wound edges. This prevents the dressing from being sucked back into the wound. The dressing should be taped down on three sides. It’s best to tape the top and sides of the dressing and leave the bottom open. Leaving one side open allows for air to escape when the person exhales. Sterile medical tape is ideal, but use whatever you have available. If no kind of tape is available, you or the victim will need to hold the plastic in place until the chest can be bandaged.
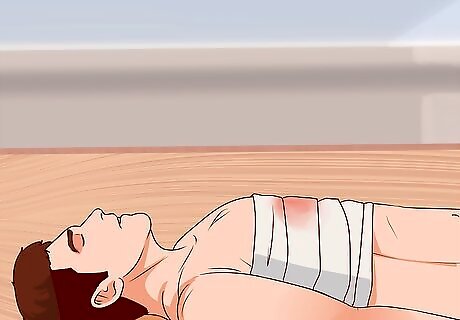
Wrap a dressing around the chest. If you have a field dressing available, wrap one tail under and around the victim. Wrap the other tail around them in the opposite direction and bring it back over the dressing. Tighten the two tails and tie them with a nonslip knot over the center of the dressing. The knot will provide additional pressure over the wound and will help to keep the seal airtight. The dressing should not interfere with breathing. Keep pressure on the plastic as you apply the dressing so that the plastic doesn’t slip off the wound. If you don’t have a proper field dressing, you can use a sheet or long piece of fabric instead.
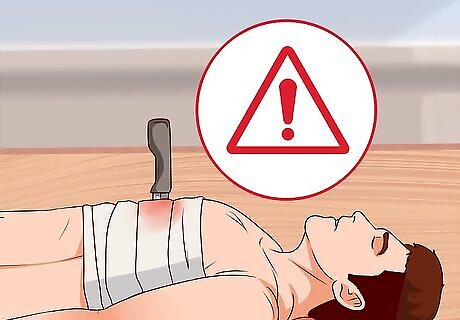
Leave any protruding objects. If an object is protruding from the wound, don’t try to remove it. The plastic dressing should help form an almost airtight seal around it. Stabilize the object by placing a heavy dressing around it. This dressing should be made from the cleanest material available. When applying bandages, don’t wrap the bandages around the protruding object. When tying a knot in a bandage, tie the knot beside the object, not on it. Trying to remove the object can cause life-threatening bleeding, so an impaled object should only be removed at the hospital, in an operating room, where bleeding can be controlled.
Monitoring the Chest Wound
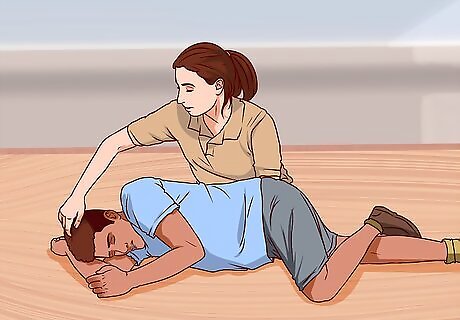
Position the victim on their side. If possible, have the victim lie down on their side, with the injured side of their body toward the ground. If this makes it difficult to breathe, they can sit up instead. If sitting up, the victim should rest against a tree or wall. If the victim becomes tired of sitting up, have them lie back down on their side.
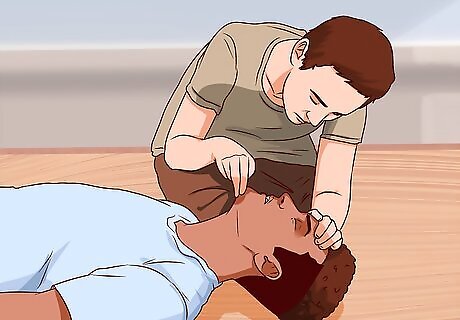
Look out for signs of a tension pneumothorax. A tension pneumothorax is a collapsed lung that has leaked lots of air between the chest wall and the lung. This is often deadly and must be avoided.Signs of a tension pneumothorax include: Severe shortness of breath Unequal chest (one side looks bigger than the other) Veins on the neck bulging (jugular vein distension) Blue lips, neck or fingers (cyanosis) No lung sounds on one side

Look for signs of subcutaneous emphysema. This can be an early sign of pneumothorax, too. If the patient has a "crackling" sensation on their chest, face, or neck (and rarely the abdomen). This condition, also called crepitus, is not necessarily dangerous, but it often associated with pneumothorax.
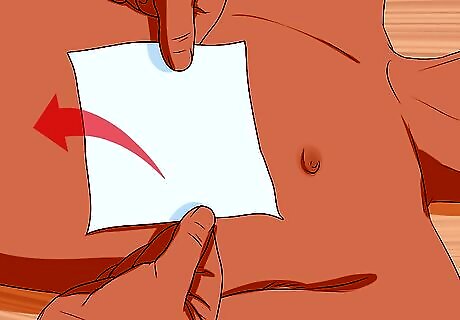
Remove the seal, if necessary. If you suspect a tension pneumothorax is building, immediately take off the seal to allow the air to escape. This will help relieve pressure and can save the victim’s life!
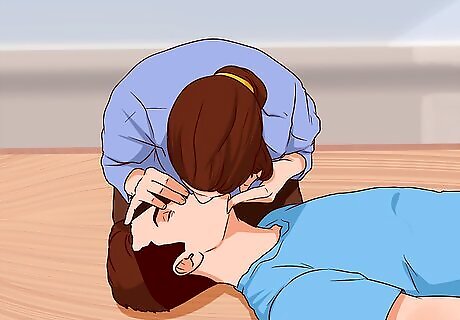
Help minimize shock. Until the victim can be taken to a medical facility, do what you can to minimize shock. If a person is severely wounded, chances are they have already gone into shock. Some things you can do to minimize shock are: Keep the person still and don't move them unless it's necessary. Begin CPR if the person shows no signs of life. Loosen tight clothing. Cover the person with a blanket to prevent them getting a chill. Prevent them from eating or drinking anything. Apply pressure to bleeding sites so that the person experiences less blood loss.


Comments
0 comment