
Preparing the Shoes for Dyeing

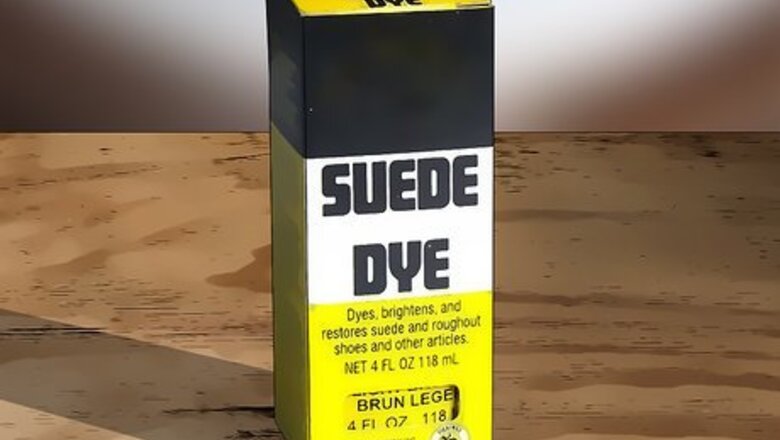
Purchase a dye formulated specifically for use on suede. These types of dyes are designed to penetrate soft, textured materials like natural leather, unlike ordinary varieties, which will simply roll off. Shop around until you find a color that you think is a good fit for the shoes you’re modifying—the bolder, the better. Your shoes must be 100% pure suede for this to work. If they’re partially synthetic, this won’t work. Keep in mind that it won’t be possible to go from a darker shade to a lighter one. For this reason, you’ll have the most success dyeing shoes in light and neutral colors, like white, gray, or khaki. Fiebing’s, Angelus, Lincoln, and Kiwi are all well-reviewed brands that offer suede-specific dyes.

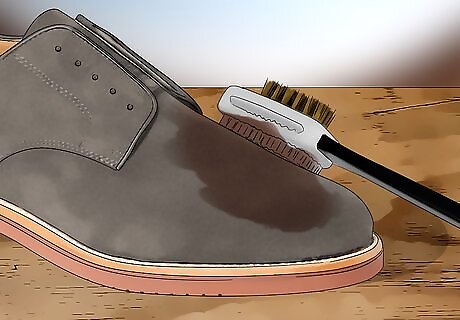
Brush out the suede with a soft-bristled shoe brush. Sweep the brush over the entire outer surface of the shoe. A preliminary brushing will remove troublesome dust and debris and get the tiny fibers standing on end, making it easier for the dye to soak deep into the fabric. Make sure you brush the grain in all different directions, not just the way it lays naturally.

Clean the suede if necessary. A good once-over with a brush should do away with most dry dust and dirt. If the shoes have seen a lot of hard wear, however, they may require more intensive treatment. Use a damp sponge or washcloth (not dripping wet) to wipe down the shoe all over. The "all over" part is the key to ensuring that the moisture touches every part of the shoe and leaves it with a consistent appearance. Remove pesky oil stains by sprinkling them with cornstarch, then brushing it off once it's had time to absorb the worst of the mess. Heavy staining is best left to a dry cleaner or shoe repair expert.

Cover or remove all external accessories. If the shoes have laces, pull them out and set them aside. Use small strips of painter’s tape to protect any other visible features, such as buttons, zippers, stamps, and accents like sequins. While you’re at it, fold a few strips around the outsole of the shoe (unless you’re planning on recoloring this area as well). The dye will permanently stain anything that it comes into contact with, so if you don’t want it ruined, tape it up. Cut the tape as needed to hide difficult areas like logos and stripes.
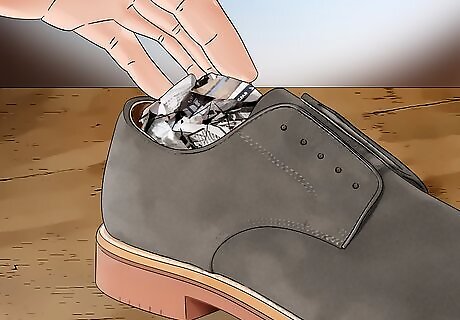
Stuff the shoes with newspaper. Crumple several sheets of newspaper into loose balls and push them down into the toe and heel section. Filling the shoes with a bulky material will help them hold their shape throughout the dyeing process. It will also prevent the wet dye from running into the interior of the shoe. For boots and high top sneakers, you’ll need to keep stuffing to the ankle or shin. You could also use some old rags instead of newspaper. Just remember that anything the dye touches will be marked for good.
Applying the Dye
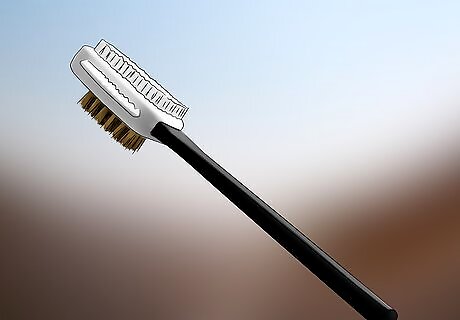
Grab a brush for easy application. Most suede dyes come with a special applicator tool for more convenient use. These are typically no more than a cotton ball attached to a piece of wire. You’ll get better results using a sturdier tool, like a small scrubbing brush with a handle. Whatever brush you use should have stiff bristles that can reach down into every little nook and cranny of the suede. An unused (clean) toothbrush can make a perfect makeshift applicator.
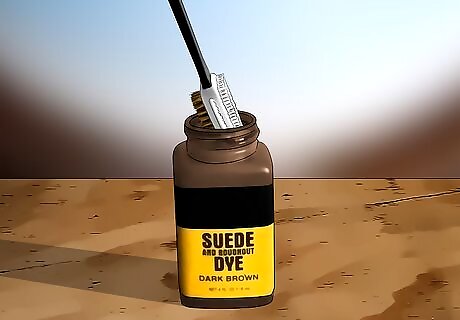
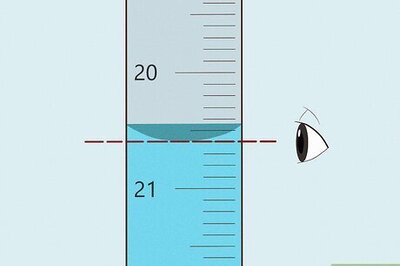
Dip the brush into the dye. Wet the bristles thoroughly and let the excess dye drip off into the container. Watch out for drips and splatters as you move the applicator back and forth from the dye bottle. Aim to rub on about half a teaspoon of dye with each application. Unless specified in the direction, there should be no need to dilute the dye or mix it with any other substances. It’s a good idea to pull on a pair of rubber gloves to keep your hands from getting stained.
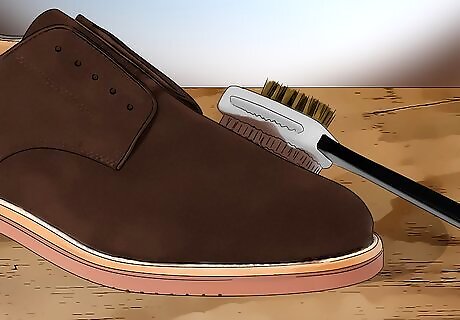
Spread the dye over the shoe. Run the head of the brush over the surface of the shoe to transfer the dye in a single large glob. Make sure you use a conservative amount at first—you can always apply more later if you need to. Start with a broad, flat surface, such as the heel or toe, and work your way to the tighter sections from there. Be careful not to oversaturate the suede. Concentrating too much dye in one area could create permanent dark spotting, which can be extremely difficult to even out.

Massage the dye into the suede using smooth, circular motions. Proceed in small sections until you’ve covered the entire shoe, making sure there are no obvious gaps. It should begin taking on the new color immediately. To avoid making unnecessary mistakes, work slowly and methodically, especially when you're first getting used to the technique. Don’t be surprised if the seams don’t take the new color very well. Many newer shoes are stitched together with synthetic thread, which may not be as absorbent as natural materials.

Allow the first coat to dry overnight. Stash the dyed shoes in a cool area with low humidity while they’re drying. It may take anywhere from a few hours to a full day for the dye to dry to the touch. For a more stable base color, leave them to sit for at least 24 hours. It’s important to give the dye ample time to set into the soft suede. Avoid handling the shoes in meantime. The wet dye will rub off very easily. Exact dry times will vary depending on the type of dye you use, the size of the shoes, and the temperature of your environment.
Brush on additional coats for a darker color. The finish may not be even after a single coat of dye. If this is the case, follow up with a second or even third application, adding more dye until you achieve the desired depth of color. Wait until each coat is dry to the touch before moving on to the next. The initial coloration may hold fast to light-colored shoes, or it may fade somewhat once it’s dry. Hold off on applying subsequent coats until you know how the pair you’re dyeing will react. Try not to layer on too many coats, as too much dye can eventually dry out the leather.
Protecting the New Finish

Buff the shoes to touch up the suede. Once again, go over the surface with the shoe brush to fluff up the nap that’s been weighed down by the dye. It may help to waft a hairdryer over the shoes while you do this to make sure every last fiber is completely dry. If you’re using the same brush as before, clean it thoroughly with warm soapy water or acetone to strip the remaining dye before putting it to work again.
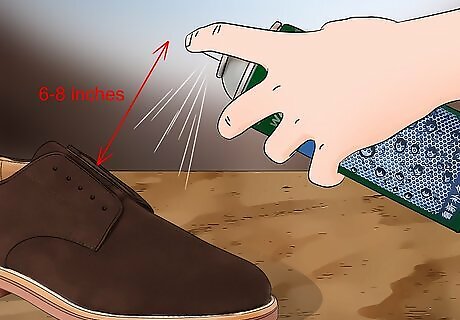
Treat the shoes with a waterproofing spray. A quality silicone or acrylic waterproofer will help preserve the updated color. Hold the can 6–8 inches (15–20 cm) away from the shoe and mist on a light, even coating. Once the waterproofing has dried completely (which could take anywhere from 20 minutes to an hour), you’ll be able to model your new shoes with confidence. Aim for full coverage from heel to toe, but avoid oversaturating the suede. The clear, odorless waterproofing agent works by filling in the tiny gaps in the soft fabric, creating a barrier that repels water.
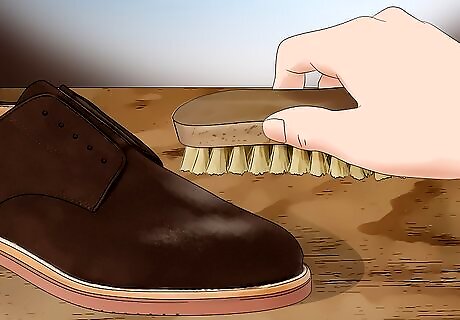
Clean your dyed shoes carefully. Brush out the suede every once in a while to dislodge clinging debris. To deal with stains and buildup from other substances like mud, it's best to lightly scrub the suede with a modest amount of water, as you did with your preliminary cleaning. The wisest course of action, however, is to keep them from getting dirty in the first place. Excessive moisture could simply spread the stain around, or worse, cause the dye to bleed.
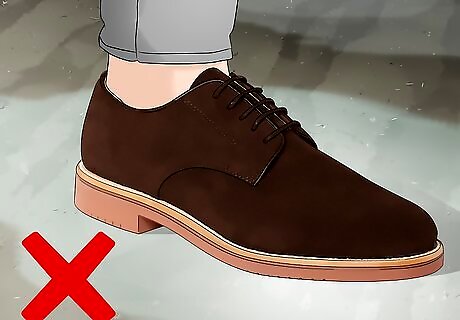
Avoid wearing the shoes in wet conditions. Even with the waterproofing spray, the dye will be prone to running when exposed to moisture. Save your refurbished footwear for clear days, and do your best to steer clear of puddles, sprinklers, wet grass, and other watery pitfalls. When worn cautiously, you can get many more years of use out of your favorite shoes. Dyed athletic shoes could become blotchy or faded after a few sweaty workouts. It may be a good idea to keep a spare change of shoes with you if the forecast is calling for rain.
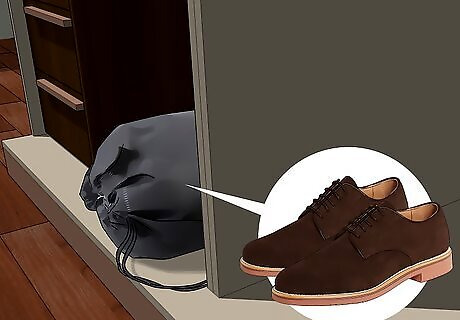
Store your dyed shoes somewhere with good ventilation. Pick up a drawstring dust bag and make it a point to keep your shoes in it when you're not wearing them. Once safely inside the bag, the shoes should find their way to the top shelf of your closet or another cool, dry place where they're unlikely to encounter any messes. Leave the mouth of the bag slightly open, or take the shoes out periodically to give them a chance to breathe. With a dust bag, you won't run the risk of drying out the suede or trapping unwanted moisture when the shoes remain in storage for long periods of time, unlike a lidded shoebox or sealed plastic bag. Consider investing in a shoe tree. Shoe trees allow footwear to be hung up on "branches" that are similar in dimension to feet, so they'll always retain their shape and can easily be moved in and out of storage. For added security, a dust bag or pillowcase can be slid directly over the entire shoe tree.


Comments
0 comment