

Finding Skin Irregularities Using Photoshop
Take the picture. You don't need to do anything specific except for making sure that the photo is well lit.
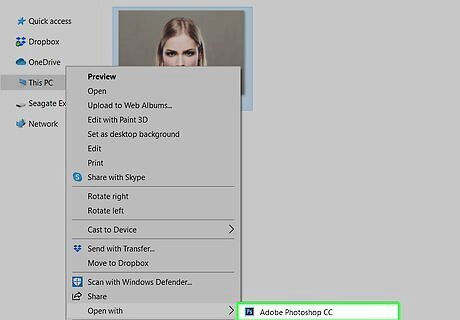
Open up the photograph in Adobe Photoshop.
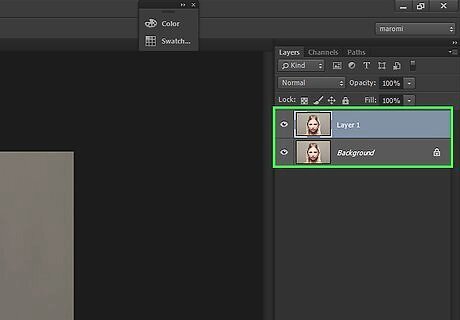
Duplicate your background. This is always a good idea.
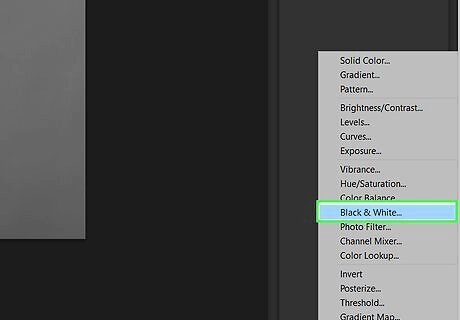
Add a black and white layer by clicking on Black & White from the dropdown menu.
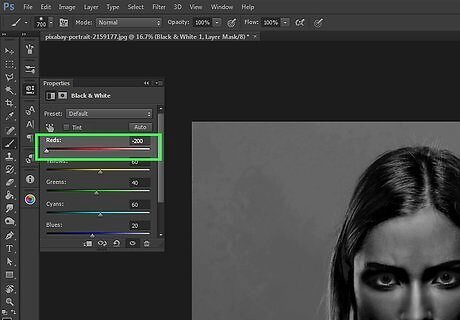
Slide the red slider all the way to the left when the colors panel comes up for the Adjustment layer. Be prepared. It probably won't look that great. What this is doing is isolating the red that is in your skin. If your subject is older or has been in the sun a lot, you will see the red.
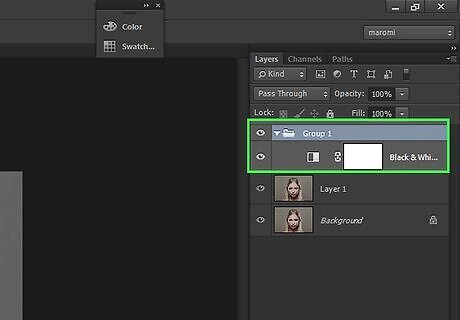
Put the adjustment layer in its own group. Select the layer and then press Ctrl+G on your keyboard.
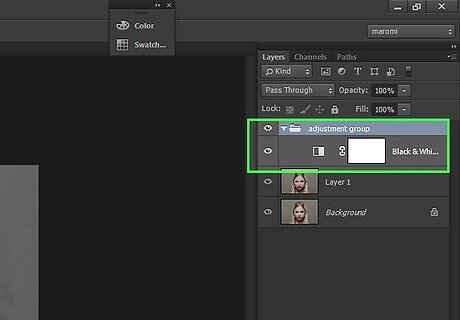
Rename the layer so that you know what is in it. Name it something that makes sense or whatever works for you.
Correcting Skin Irregularities in Adobe Photoshop
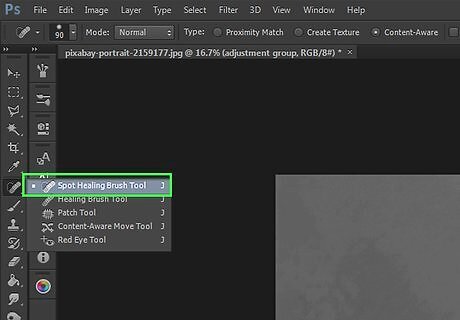
Pick your tool of choice. Start with the Spot Healing Brush Tool. It is the easiest one to begin with. Better options are the Healing Brush Tool and the Clone Tool.
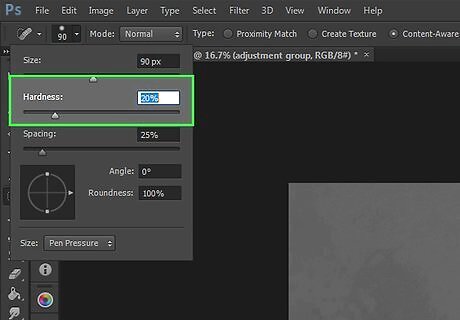
Make sure that your brush is fairly soft. Slide the Hardness slider well to the left of the bar. You are going to want it to be able to blend with the photograph well.
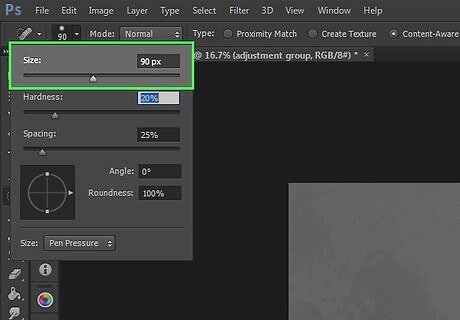
Use the same panel to adjust the size of the brush. You want it to be different sizes for different irregularities.
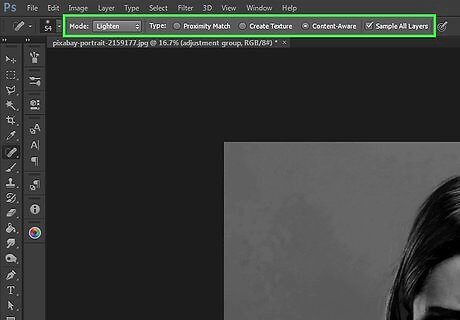
Be sure that these options are marked appropriately as follows: Mode: Lighten or Darken (usually Lighten) are your best options. If that doesn't work, use Normal. Type: Content-Aware Check the Sample All Layers box.

Add a blank layer. Do this by clicking the '+' sign icon. Having the corrections on their own layer allows you to be able to erase them if you decide something doesn't look right. If you do it on the actual layer, you are making destructive changes that you can't take back. Rename it Cleanup or whatever you like.

Move the blank layer in the group with the Black & White adjustment layer. This allows you to turn the repairs off to make it easier to compare before and after looks.
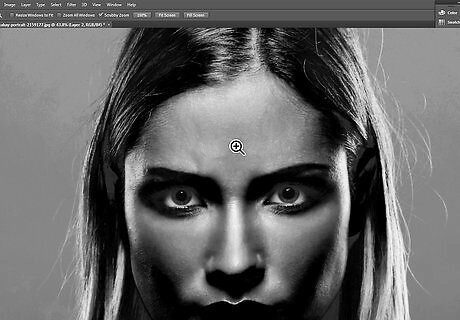
Zoom into your image. How much it takes to zoom in depends on the size of your image. You can do this in a couple of ways: Hold down Z and slide your mouse left or right to zoom in and out. Press down Ctrl++.

Experiment with the size of the brush and the various spots and begin brushing away the patches on the blank layer. Sometimes getting it all at once will work. Most times though, you will want to do it one piece at a time. If the blemish is too large, use a smaller brush and gently work your way into the center of it.
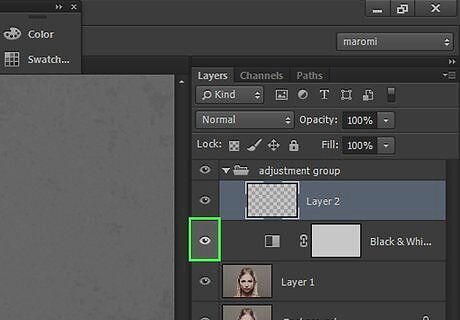
Click on the eye beside the adjustment layer and the cleanup layer periodically. You want to make sure that you don't overdo your changes. It is extremely easy to take it too far.


Comments
0 comment