
Filling Nail Holes
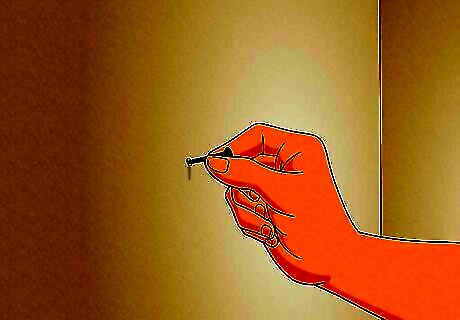
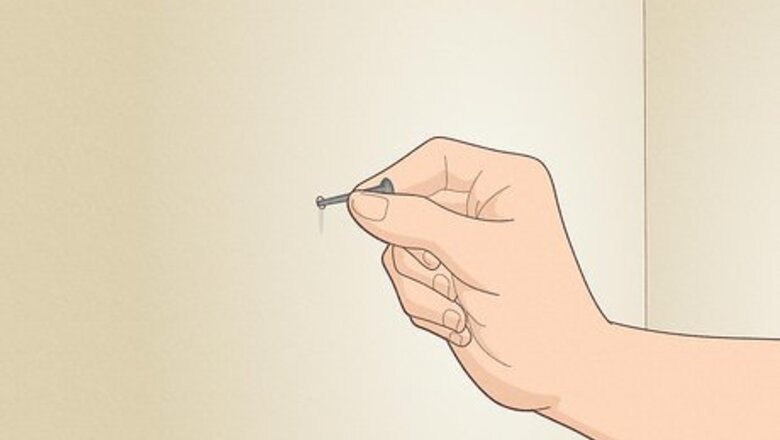
Pull a nail out with your fingers or plyers - don't use a hammer. Rotate the nail to loosen it, then pull it straight out. This will leave a small hole which can easily be repaired. Don’t use a hammer to pry out the nail out unless necessary because the hammer's claw will leave large marks in the wall. If you use a hammer, hold a wide piece of wood or a book between its claw and the wall. Tip: If you’re removing a screw, unscrew it, don't pull it out. Pulling it out could create a big hole. First, scrape out any paint from the two cross slots using a utility knife or paring knife
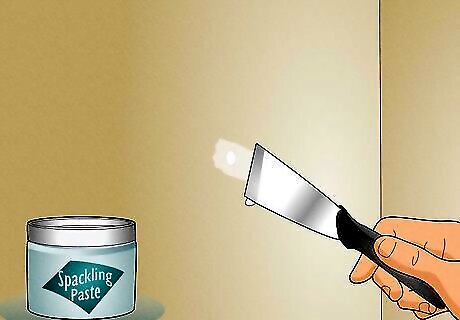
Fill the hole deeply with spackle or joint compound using a 1" putty knife. Overfill it slightly, leaving a small mound. When this dries, it will be sanded down. Use latex spackling compound for the best finish for nail holes. You can find spackle at your local hardware store or online.
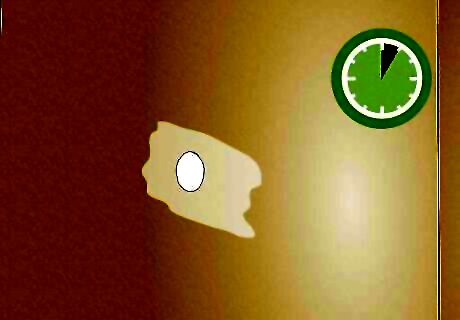
Let the spackle or joint compound dry. The time required depends on the brand. Warm or humid areas require a longer drying time.
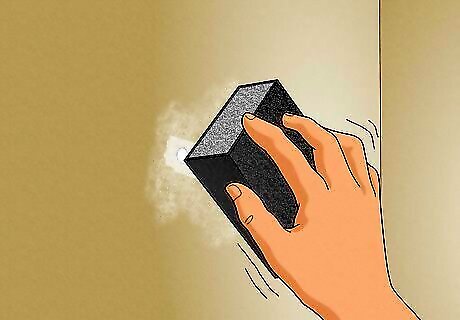
Sand it with a sanding sponge to create a smooth surface. Wipe away any dust with a damp paper towel.
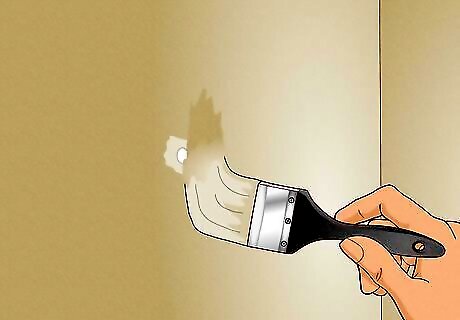
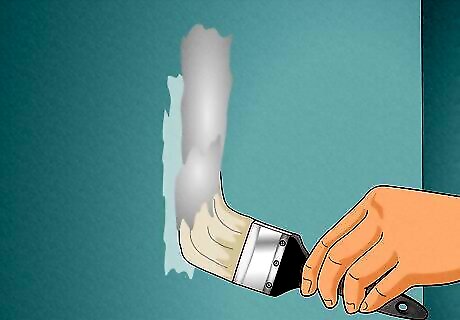
Paint the hole with the same paint color as the wall. It may not match well, so paint only the spot you have plastered so a slight difference in color will be barely noticeable. A 1" wide foam paint brush will paint a small spot. You can bring paint chips of the wall paint to a hardware store to find a matching paint color, but it probably will not be a perfect match.
Covering Nail & Screw Pops
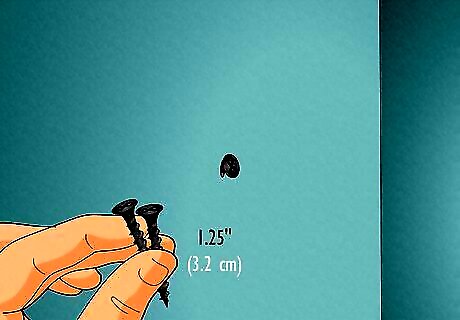
If a nail or screw has popped out slightly, 1.25 in (3.2 cm) nail or screw it back in to just below the surface of the wall and spackle over it. If it is a Philips head screw, scrape out the two cross-slots with a utility knife or paring knife. Screw it in with a hand screw driver or cordless drill.
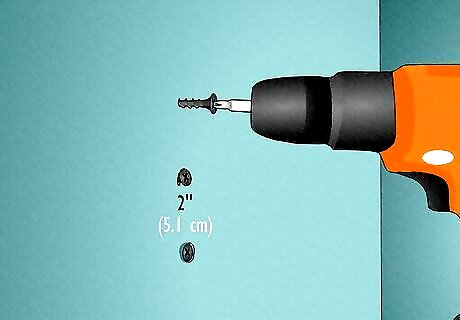
To prevent the wall from crumbling or cracking when you repair the nail pop, if it appears necessary, drill a drywall screw above and below it so the drywall is held securely. Very old plaster can crack easily. Screw them in slowly until the head of the screw is just below the surface of the wall.
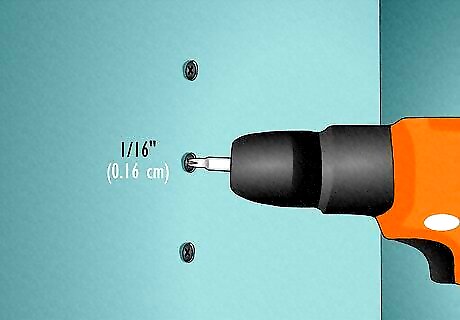
Drive in a nail with a hammer and nail set. A square flooring nail will also work for this. Drive a nail or screw about ⁄16 inch (0.16 cm) into the wall to have a small hole to fill with spackle.
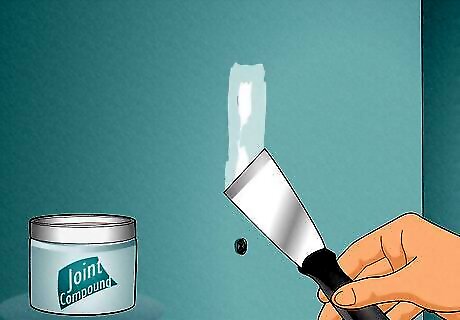
Fill the hole with spackle or joint compound, using a 1" putty knife. Overfill the hole slightly. Tip: Touch the surface of the repair to make sure it’s dry.
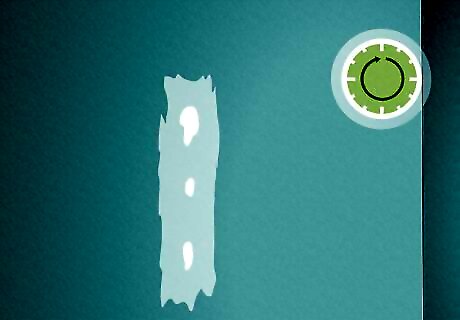
Let the spackle or joint compound dry.
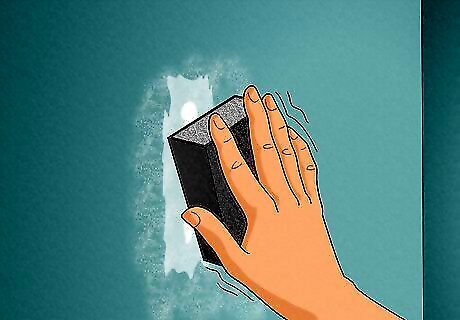
Sand over the compound with a sanding sponge. Take a drywall sanding sponge and rub the surface of the drywall and the joint compound to create a smooth surface that can be painted. Use gently, circular motions to sand the surface. Pay extra attention to the edges of the compound so it isn’t detectable when you paint over it. It helps to go over it with a wet sponge.
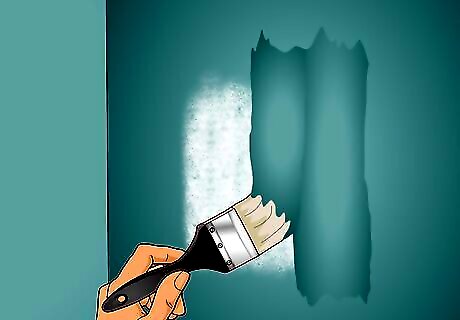
Prime the patch with a coating of paint primer. Use a paint brush to apply the primer with broad, even strokes. Use enough primer to cover the patch and the area where the wall and the compound meet.
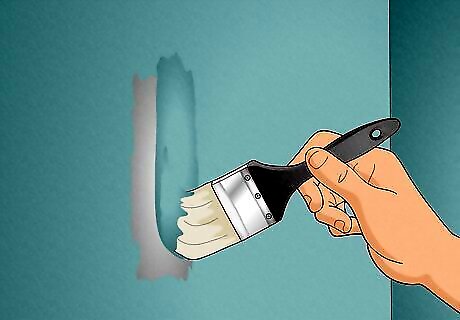
Paint over the compound to match the surrounding wall. To ensure that the repair isn’t visible, you need to use the same paint color as the wall surrounding the patch you created. Use a clean paint brush to apply enough paint to cover the primer. Allow the paint to dry and add a second coat if it’s necessary. Take paint chips to a local paint supply store to match the colors if you don’t have any of the original paint.
Fixing Small Holes in a Textured Wall or Ceiling with Spackle
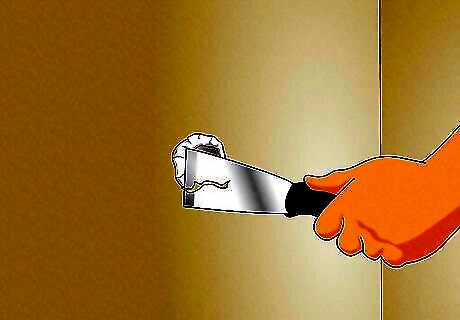
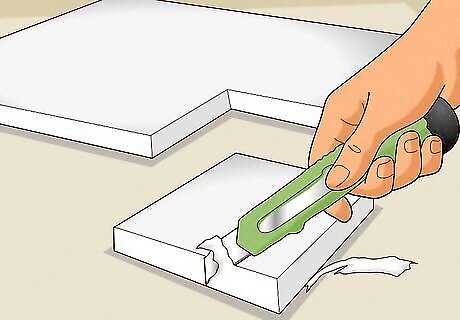
Use a stiff putty knife to scrape the surface around the hole, removing the texturing material. This will be small pieces of joint compound that was applied to give the wall a texture. Scrape any loose paint from the edges of the hole.
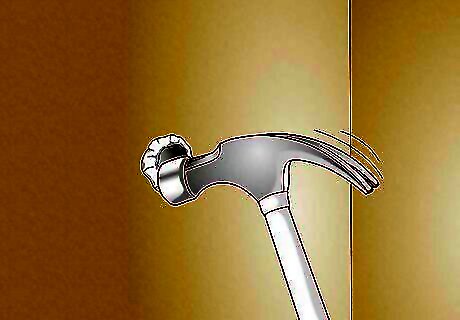
Use a hammer to bevel the edges of the hole. Tap gently as you move around the hole in 1 direction to create an even slope on the edge of the hole. This will create a slight sloping of the sides, which allows you to fill it in better. If the wall or ceiling is old plaster (not drywall), be careful not to hit too hard or you could crack the plaster.
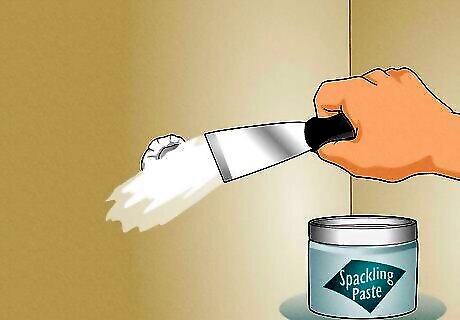
Fill the hole with spackle using a flexible putty knife. Overfill the hole, leaving a small mound, which you will scrape or sand down when it is dry. Use a latex spackle for the best results.
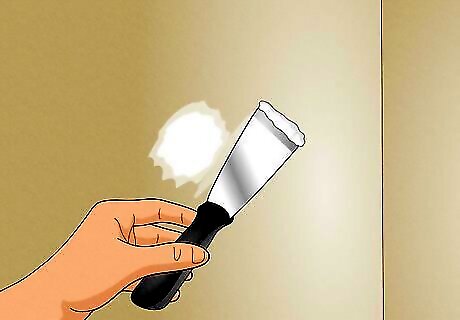
Smooth the spackle with the edge of your putty knife. Make multiple passes in different directions over the spackle to create a smooth surface. This will pull the spackle in every direction so the hole is completely and evenly filled.
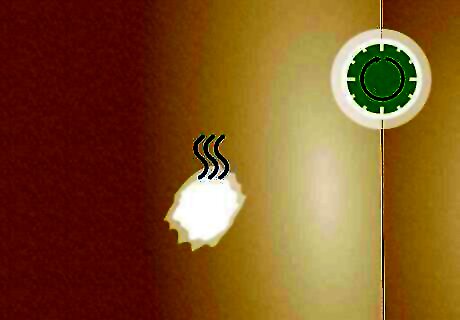
Allow the spackle to dry thoroughly. You can use a hair dryer to dry it more rapidly.
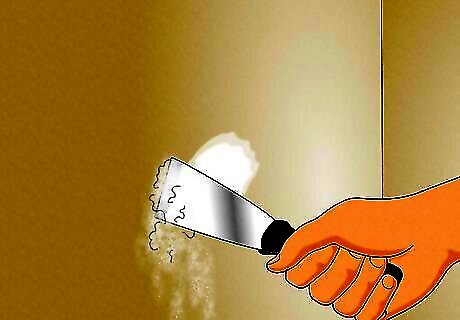
When the spackle is dry, sand it down or use a stiff putty knife to scrape it flush with the wall or ceiling. Be careful not to chip or crack the spackle with the edge of your putty knife.
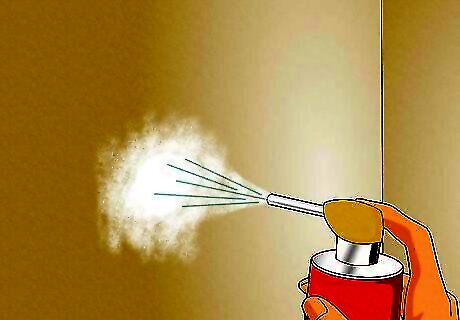
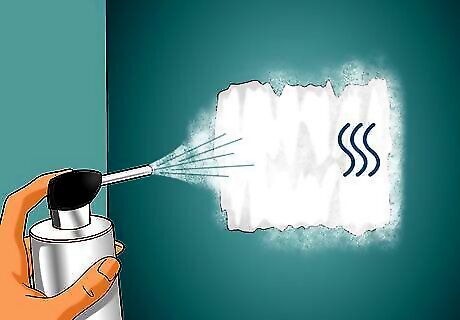
Spray a layer of wall texture over the spackle. Adjust the nozzle on the can of wall texture to match the texture of your wall or ceiling. To match the texture of the surrounding wall or ceiling, you must practice by spraying it on a piece of cardboard. Hold the can about 6 inches (15 cm) away from the wall. Spray enough to blend the edges of the spackling with the drywall. Let the texture dry as per the package instructions.
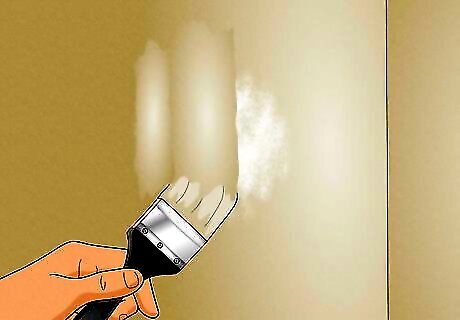
Paint over the hole Use the same color paint as the wall surrounding the hole you filled. Use a 4" roller to create a surface similar to the surrounding surface, which was painted with a roller. Use paint chips to match colors if you need to buy the paint.
Patching a Large Hole with Drywall or a Wall Patch
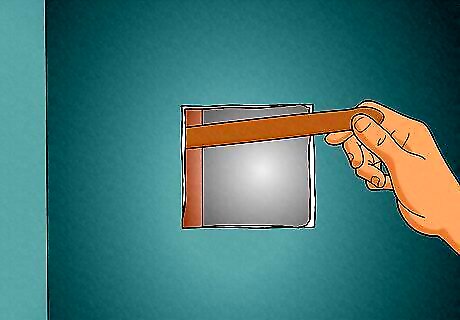
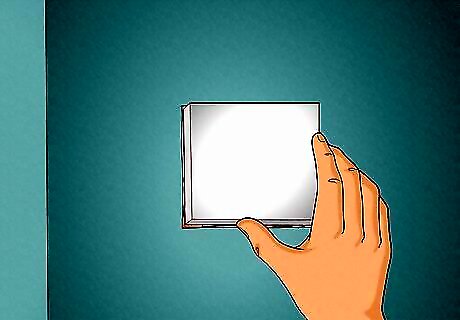
If the hole is up to 5" x 5" (13 cm x 13 cm), use a 6" x 6" (15 cm x 15 cm) wall patch. For a smaller hole you can use a 4" x 4" (10 cm x 10 cm) wall patch. Attach the wall patch to the wall using joint compound (see instructions on package). Allow joint compound to dry, and then cover the wall patch with a thin layer of joint compound. Apply it with a 6" taping knife and a 16" trowel (to hold the joint compound). When dry, sand and apply a second coat. Apply two coats of paint. Use a 4"roller to match the paint texture of the surrounding wall.
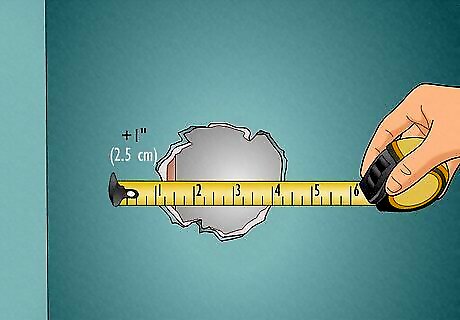
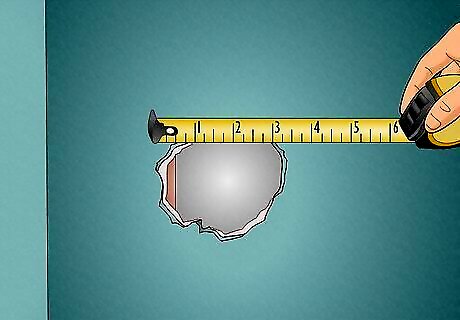
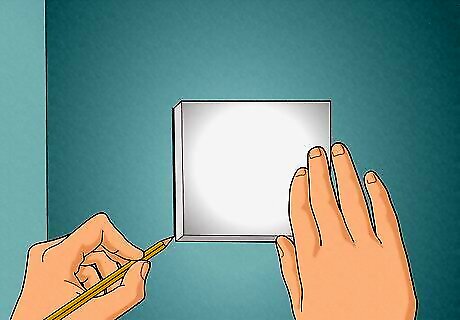
Patch a hole that is too large to repair with a wall patch. Make the hole perfectly rectangular, so a rectangular piece of drywall will fit well. Use a 16" by 24" framing square to draw the borders of the hole. Measure the hole.
Cut out a rectangular piece of drywall to the size of your measurements. Use drywall of the same thickness as your wall, if it is available. Three thicknesses are available. A drywall saw (wallboard saw) can be used. If you don’t have drywall of the correct thickness, use material that is thinner and use several layers of cardboard behind the patch to make it flush with the wall. Buy a piece of drywall of the smallest size available, which should be 24" by 24" ( 60 cm x 60 cm). Make sure the edges of the drywall are trimmed and smooth. Use a utility knife if necessary.
Cut out a rectangular hole in the wall. Reach in to check for cables, pipes and small wires, to avoid cutting them.
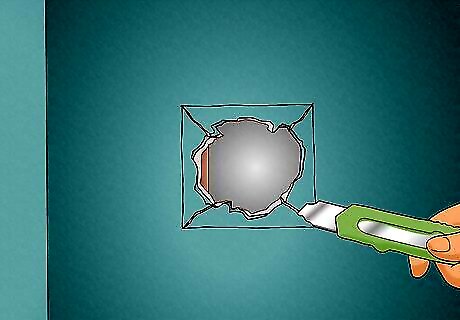
Slice towards the center of the hole from each corner of the outline. Take your utility knife and start at the corner of your outline. Cut towards the center of the hole in a straight line. Then, repeat the process with the rest of the corners. Cut all the way through the drywall.You will need to make several passes with your utility knife.
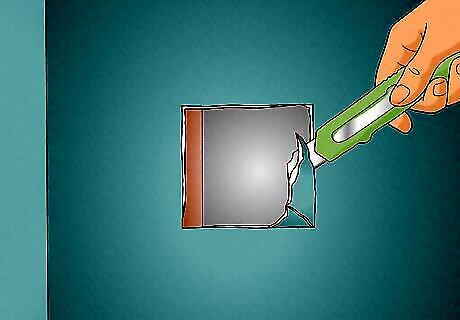
Remove the pieces of drywall and trim around the edges of the hole. Grab one side, bend it inward and pivot it up to pull it out of the wall. Continue the process until all of the sides have been removed. Take your utility knife and scrape along the edges of the hole to remove any pieces that may be sticking up. Be careful not to yank or rip off the pieces so you don’t damage the wall. The hole you’ve cut out of the drywall must be uniform and smooth in order for you to insert your drywall patch.
Place two thin boards, such as 1" x 2" (2.5 cm x 5 cm) or 1" x 3" (2.5 cm x 7 cm) horizontally between the 2 closest studs. The piece of drywall will rest against them. Mount them by screwing in drywall screws through the existing drywall into them.
Put in the piece of drywall. It must have gaps around it of no greater than about 1/8" (0.32 cm). Screw it onto the thin boards. Don’t try to jam or force the patch or you could bend or crack it.
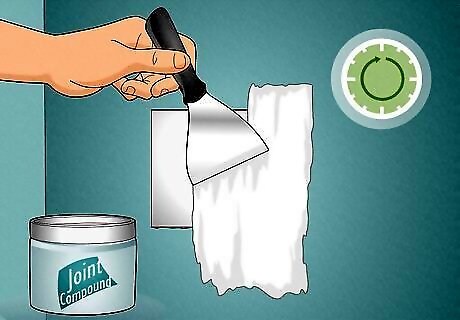
Tape it all around with joint tape. This is attached with joint compound. Use a 6" (15cm) taping knife to apply the joint compound and to remove the excess. Allow the joint compound to dry for about one hour. Cover the patch and the joints with a thin layer of joint compound using a 6" (15 cm) or 12" (cm) taping knife. Allow it to dry overnight.Tip: Scrape the edge of the putty knife up and down over the patch in different directions to remove any excess or uneven compound and to create a smoother finish.
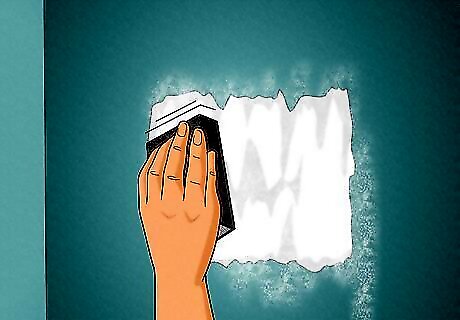
Carefully sand the joint compound with an electric palm sander or a sanding sponge. Apply another coat and allow it to dry. This coat may take only about 2 hours to dry because it will be thin. Sand in circular motions and sand around the edges thoroughly.
If the wall is textured, apply a layer of spray wall texture over the patch and wait for it to dry. To match the texture, use a can of spray wall texture and apply it over the patch and the edge where the patch meets the wall. Hold the can about 6 inches (15 cm) away from the wall and apply a thin layer. Check the packaging to see how long the wall texture takes to dry. Adjust the nozzle on the can of wall texture to match the texture of your drywall.
Paint over the patch Take paint chips to a paint department or paint store to match the color.. Use a 4" roller, to appear more like the surrounding paint, which was applied with a roller. Apply two coats of paint.


Comments
0 comment