views
Getting Ready to Plant the Seeds
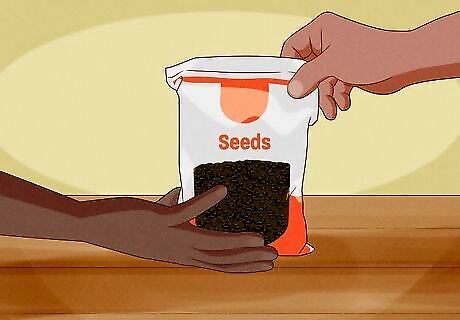
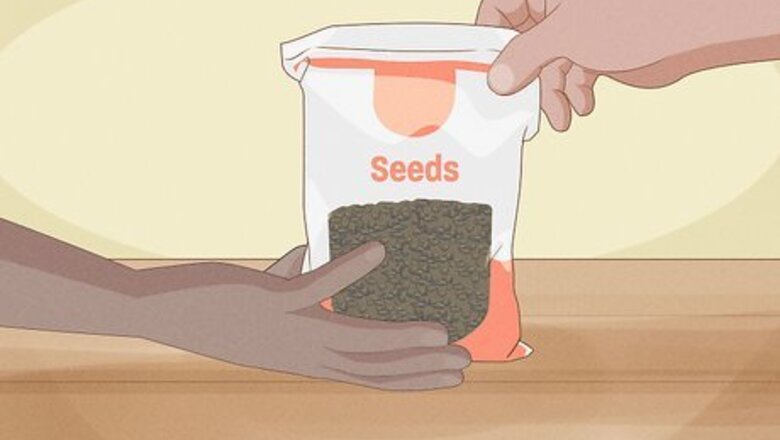
Start with good seeds. They should be less than two years old, from a reputable source, and suitable for your growing region. You'll have better luck with seeds that came from plants local to your area - they'll like the environment, soil, and other conditions you can provide. Buy your seeds at a local nursery, a farmer's market, or an online vendor that sells seeds for different growing regions. Try checking to see if there is a seed swap in your area. You can meet other gardeners, get seeds, and get tips for germinating specific types of seeds in your area.
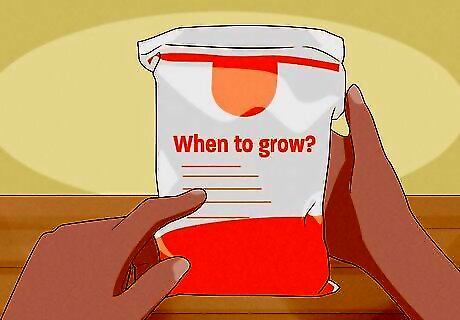
Plan to start them at the right time. Some seeds need to germinate indoors several weeks before the weather gets warm, while others need only a few days' time. The time you need to start your seeds also differs by growing region. Getting the timing right is important if you want to give your seeds the best chance to grow into strong, healthy plants. Check the back of the packet your seeds came in for instructions on when they should be started. Seed packets come with a lot of vital information. You can also look online for more info about when to start your seeds. If you're still not sure when to start your seeds, plant to start them a few weeks before the last frost of the season. You can start growing them indoors and let them sprout a few inches high before transplanting them outside. This is a safe bet for many types of plants.
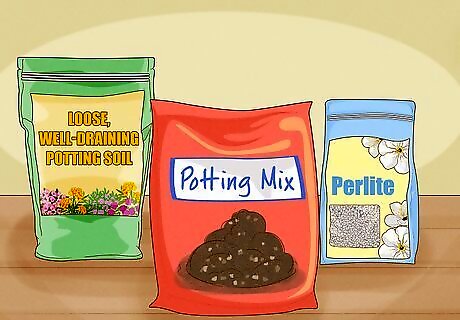
Get the right growing medium. Seeds need to germinate in a growing medium that's usually different from standard potting soil or dirt. They require a certain soil texture to germinate, and it's different for different seeds. Research the needs of the seeds you're growing and get the appropriate growing medium from a nursery or online vendor. You can buy a soilless growing medium that's premixed, and it works for many types of seeds. It's cheap to make your own growing medium from vermiculite, perlite, and milled sphagnum moss, all available at garden stores. A ration of 1:1:1 is usually effective. Don't try to plant seeds in regular soil. Seeds already contain all the nutrients they need to germinate within them. The extra nutrients in regular potting soil are detrimental during the germination period.
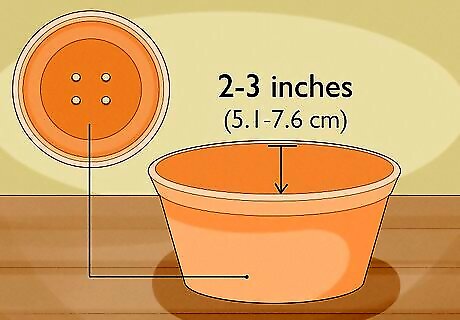
Choose a seed container. You'll need a container that's 2 or 3 inches (5.1 or 7.6 cm) deep with drainage holes in the bottom. It can be shaped like an open tray or have individual segments for different seeds. The width of your container depends on how many seeds you're planting; make sure you allow plenty of space for the seeds to germinate. You can buy a seed pallet or tray, but it's just as easy to make your own out of an old egg carton, newspaper, a wooden box, or other household supplies. When the seeds germinate and sprout, the seedlings will need to be moved to larger containers or planted in the ground. For this reason the aesthetics of the seed germination containers aren't as important as their utility.
Planting the Seeds
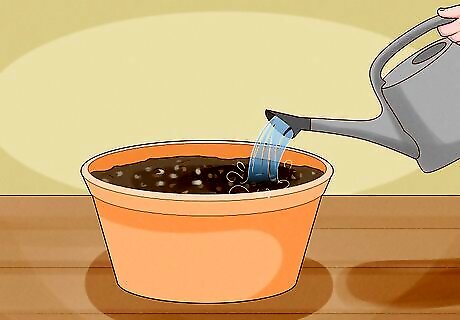
Get the containers ready. Line your seed containers with your seed growing medium. Fill the containers to within half an inch of the rim, rather than all the way to the top. Sprinkle water over the growing medium to moisten the growing medium all the way to the bottom. Don't douse it in water; it should just be slightly wet to provide a good environment for the seeds.
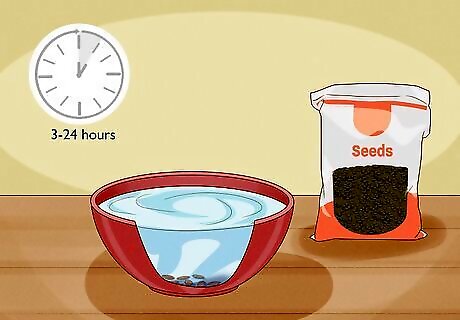
Determine whether to soak the seeds. Some seeds need to be soaked for a few hours before planting, while others can go straight into the growing medium without soaking. Determine whether the seeds you have need any type of pre-processing before they get planted. Look on the seed packet or check online. To soak seeds, place them in a clean container and cover them with room temperature water. Let them sit for between 3 and 24 hours. Strain them and pat them dry with a paper towel. If you soak your seeds, plan to plant them directly afterward. Don't let them dry out again first.
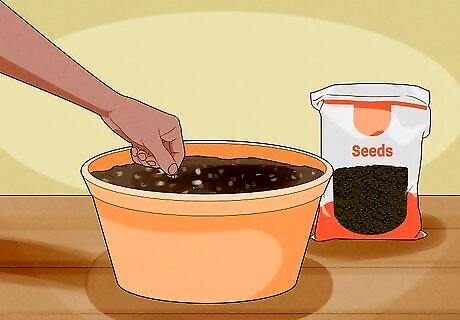
Sow the seeds. Scatter seeds evenly over the growing medium and use your fingers to lightly press them in. Cover the seeds with a layer of growing medium about three times the thickness of the seeds. Moisten the growing medium again once the seeds are sown. Don't sow too many seeds together; make sure not to overcrowd them. Check the seed packet for each type of seed you are planting to get specific recommendations for spacing the seeds. Some seeds need to be planted deeper in the growing medium, and others shouldn't be covered at all. Most seeds are fine with a light covering of growing medium as described above, but you should check to make sure the seeds you have don't need special treatment.
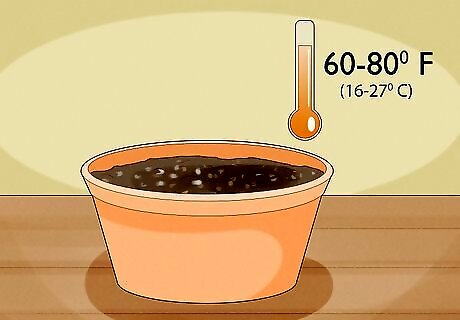
Put the seed containers in the right environment. Most seeds don't need sunlight to germinate, but some do, so you'll need to check to make sure you give your seeds the proper conditions. Placing the seeds in a room with a temperature between 60 to 80 °F (16 to 27 °C) is a safe bet, but again, some seeds need special treatment and require very cold or hot temperatures to do well. You can use a heat mat under the seed tray to regulate the temperature and keep things on the warmer side during the germination period. Once the seedlings sprout, keep them in an area with a temperature above 70 °F (21 °C) until they're ready to be transplanted outside.
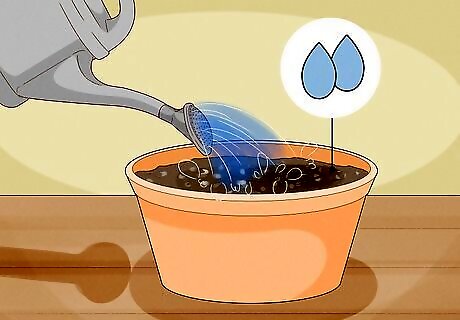
Keep the growing medium moist. Cover the trays lightly with a sheet of plastic wrap to keep the moisture in and regulate the temperature. Lift the plastic wrap each day to lightly water the seeds. Make sure they never get the chance to dry out, or they won't germinate properly. Do not overwater the seeds. If they get waterlogged they won't grow. You can use newspaper instead of plastic wrap. Use a spray bottle to keep the newspaper moist while the seeds germinate.
Caring for Seeds Post-Germination
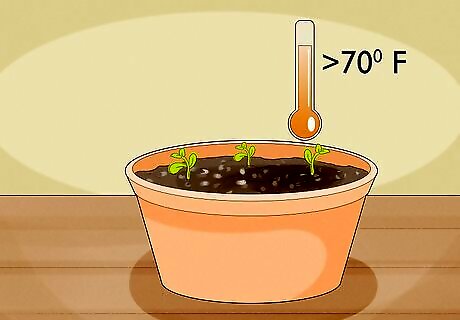
Move the seedlings to a sunny place. When you see the first green shoots poke through, move the seedlings to a sunny area. Make sure the room temperature is above 70 degrees, but provide a bright space so they can grow strong and healthy.
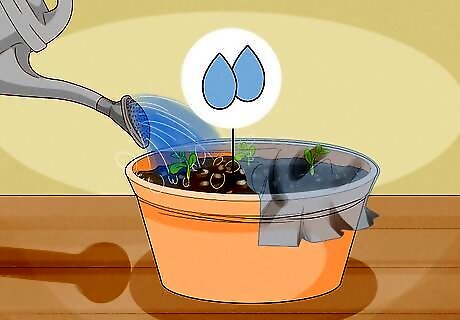
Keep the seedlings moist. If you covered your seedlings with a sheet of plastic wrap or newspaper, remove it and keep the seedlings moist with a couple of waterings a day. Water in the morning and early afternoon, but avoid watering later in the day. If water sits on the growing medium all night long it might facilitate the growth of mold.
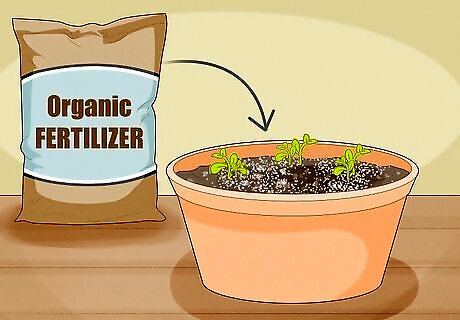
Feed the seedlings after a few weeks. Since the growing medium doesn't contain nutrients, you'll need to fertilize the seedlings with plant food after they've gotten a few inches tall. Find out what type of plant food is appropriate for the seedlings you're growing. Use organic fertilizer if at all possible.
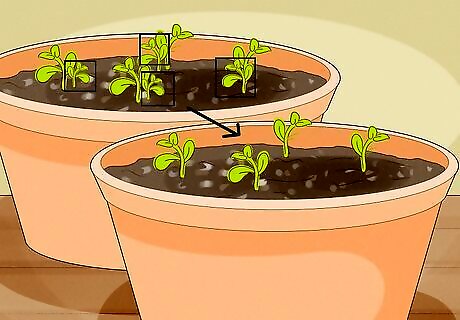
Thin the seedlings. If a lot of the seeds germinate and sprout, it's necessary to thin out some of the weaker seedlings so the strong ones can get even stronger. Thin them out to the point where you have 2 or 3 sprouts per seed container, or 2 or 3 sprouts for each area the size of one egg carton segment. Pick the extra sprouts out close to the base, pull out the roots and discard them.
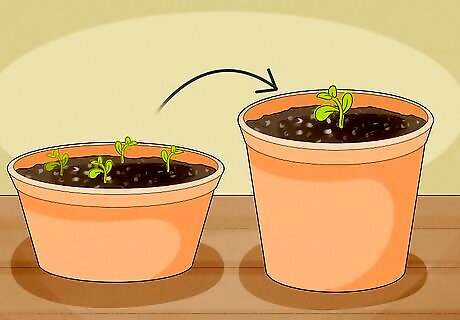
Transplant the seedlings when it's time. When the growing season begins it will be time to move the seedlings to bigger containers or your outdoor garden. Make sure you get the right type of soil for your plants, and plant them in an area with the correct amount of sunlight and drainage.






Comments
0 comment