
views
Choosing a Suitable Location

Pick an area with full sun. Wheat does best with a lot of sunlight, so try to pick an area that doesn't get much or any shade during the day. Watch your garden off and on throughout the day to find the best area for full sun. If you don't have a full-sun location, just pick the sunniest spot you can.
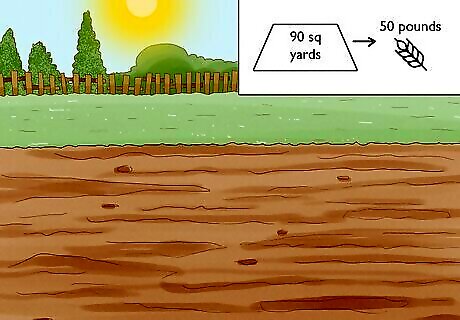
Carve out a large area of your garden for growing wheat. Wheat has a relatively low yield in relation to the space it takes up in your garden. You need about 90 square yards (75 m) to produce about 50 pounds (23 kg) of wheat, the amount of wheat an average person consumes in a year. Put in other terms, you need an area that's at least 16.5 feet (5.0 m) by 16.5 feet (5.0 m) to produce enough wheat for 1 person for a year. However, you could always plant less than that and just replace some of the wheat you buy each year. Keep in mind that in colder areas, you'll likely have a lower yield, as little as 60 pounds (27 kg) per 1,100 square feet (100 m). You shouldn't expect high yields with your first crop. Growing wheat, like growing any vegetable, involves a learning curve.

Test the soil pH level. Purchase a pH testing kit from a local gardening store or online. Follow the instructions on the back of your kit to determine the pH level of your soil. You can also send samples to a lab to test your soil, either from your local agriculture extension office at a university or from another soil-testing lab. Wheat doesn't like low pH levels, so if yours are below 7, amend the soil. Add about 2.5 pounds (1.1 kg) of limestone per 100 square feet (9.3 m) of soil for each half a level you need to increase the pH.
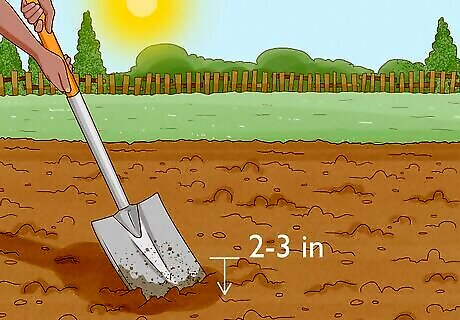
Turn the soil to get it ready for wheat. Turning or digging the soil helps loosen it up, improving airflow and helping the plant grow. The simplest method to turn the soil is to take a spadeful from the ground, and flip it over in the same spot. Go across the whole bed this way. Only dig 2 to 3 inches (5.1 to 7.6 cm) down into the soil. You can also dig trenches, and flip the soil from one trench into the previous trench. If your plot is large, you can use a rototiller to turn your soil more easily.
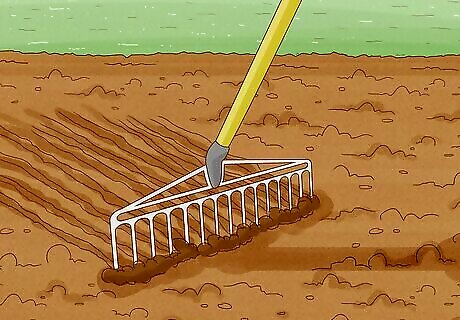
Till the soil with a fine rake. Wheat does best in soil without large clumps. Go over your garden patch with a fine rake or tiller to break up any clumps and ready the soil for planting. Walk over the soil to help even it out, and then till it once more.
Planting Wheat
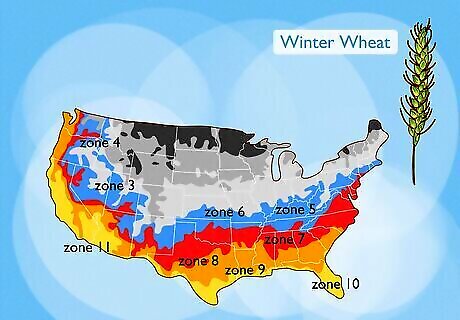
Choose winter wheat up to growing zone 3. You plant winter wheat in the fall, so it is a relatively sturdy plant. However, it won't survive very cold growing areas, such as any growing area at zone 3 or above. Some winter wheat varieties will survive down to −10 °F (−23 °C). Plant winter wheat seeds about 6 weeks before the first expected frost. While winter wheat does well in cooler climates, you do need to sow it when it's a bit warmer. Doing so will help the wheat germinate more readily.
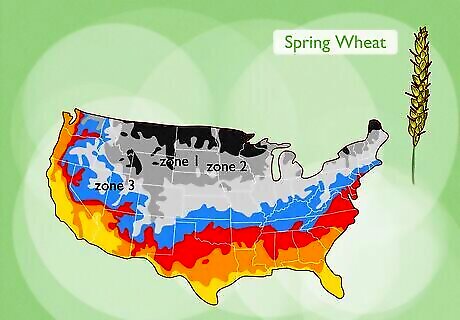
Try spring wheat if you live in a hardiness zone 3 or colder. Because winter wheat won't survive where it's very cold, opt for spring wheat in those areas. In the United States, only the very northern states in the Midwest and East Coast fall into zone 3, such as most of Montana, Wisconsin, North Dakota, and Minnesota and parts of Michigan, New York, Vermont, and Maine, so those are the areas you should plant spring wheat instead. Plant spring wheat after the last frost in your area. Check weather sites for when the first and last frosts typically happen in your area.
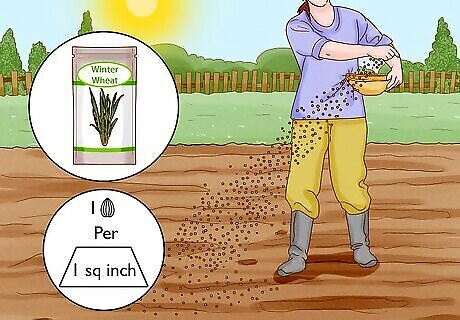
Toss the seeds on the ground with your hand. You don't need to plant the seeds in evenly spaced holes with wheat. Instead, just scatter the seeds with your hand across the area you've prepared. Aim for about 1 seed per 1 square inch (6.5 cm). You won't be able to get this exactly precise, and that's fine. If you're not confident you can spread the seed uniformly, try a broadcast seed spreader, which you can find in the lawn section at your local home improvement or gardening store. Adjust the hole size at the bottom for wheat, and then roll it over the garden area. It will disburse the seed evenly for you.
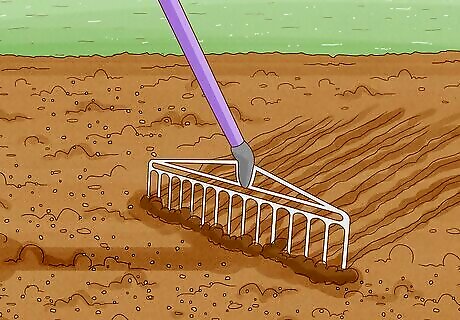
Rake the ground lightly to cover up the seeds. If you don't cover the seeds with a little soil, birds will eat them. Just run a fine rake over the area to move the soil on top of the seeds.
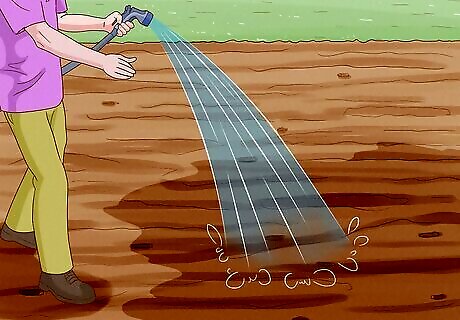
Water the ground to start the germination process. Use a hose with a gentle head to spray the ground with water until the area is fairly well saturated. The water will help the seeds begin the growth process.
Maintaining Your Wheat
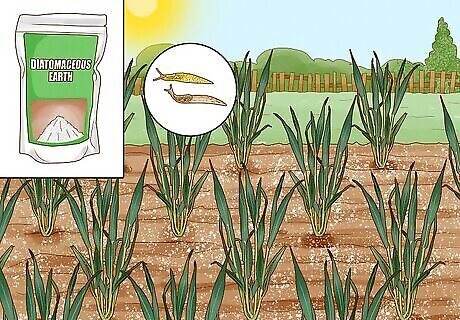
Repel slugs and snails when the plants are young. These bugs can ruin your crop when it's just coming up. Use slug repellents or spread diatomaceous earth on top of the soil to keep the slugs at bay. Diatomaceous earth is harmless to humans and animals. It basically drys out any crawling insect, keeping them away from your plants. You can find it online or in organic garden stores.
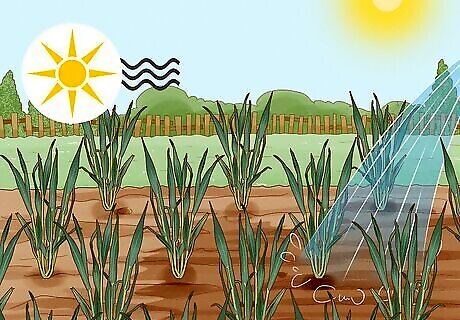
Water the plants 1-2 times a week in very dry weather. Typically, you won't need to water wheat, as it is fairly hardy. If you've gone more than a week without rain, give the wheat a good soaking. Fortunately, because you plant wheat so close together, you don't need to worry about weeds, as they have no room to grow.
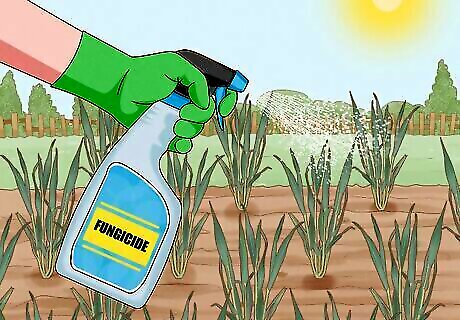
Apply a fungicide if you see drooping leaves and rusty patches. If you see these signs, you may have a fungus such as rust or blotch. Apply a fungicide to help prevent the spread of the disease. Typically, you'll only apply these once when you see the disease popup, and spraying is a common method of application. However, it varies based on what kind of fungicide you choose, so always read the directions. Pick a fungicide meant to treat wheat, which may be listed under "cereal" or "grain." Typically, the active ingredients you'll need will be one of the following: propiconazole, azoxystrobin, trifloxystrobin, Pyraclostrobin, or Tebuconazole.
Harvesting the Stalks
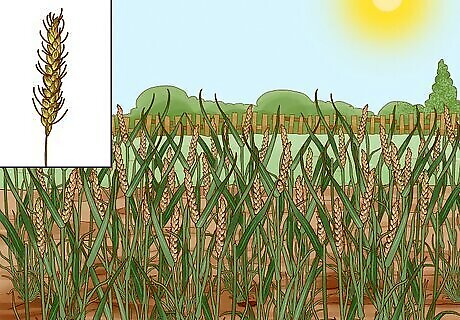
Watch for the maturation of the grain. Once your wheat develops stalk heads, check the growth of the grains. When the head starts turning all brown or mostly brown, you're near the end of the maturity cycle. The head of the stalk will also start to bend over when it's ready to be harvested.
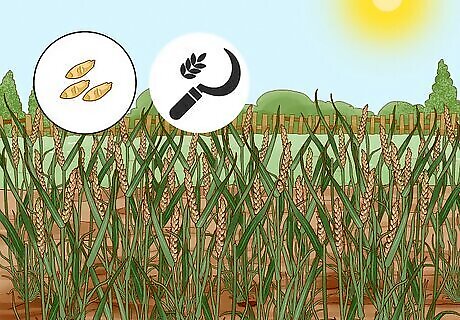
Cut stalks when the grains reach the "hard dough" stage. Grain goes through 4 stages. It has a soft, milky stage (like corn on the cob), a soft dough stage, a hard dough stage, and a flint stage. In the hard dough stage, you should be able to dent the grain with a fingernail, but it shouldn't squish. Typically, the grains will reach this stage about 30 days after the heads flower.
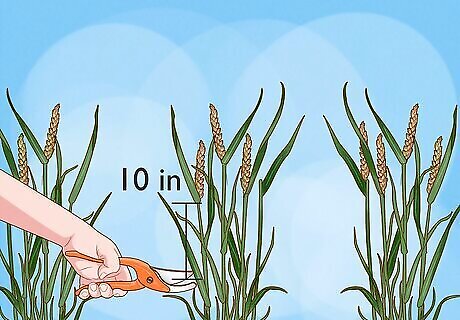
Harvest the stalks with a scythe or pruning shears. If you don't have a lot of wheat, simply cut off about 10 inches (25 cm) of stalk near the grain head. If you have a scythe or other large harvesting knife, grasp the stalks in the middle, then cut them at the bottom of the plant near the soil.
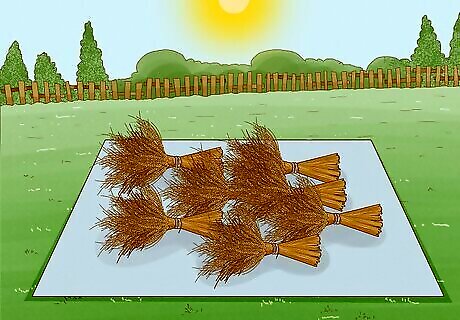
Let the grain cure in bundles. Make piles of the stalks as you cut them. When you have a large pile that you can still wrap your arms around, tie up the stalks in a large bundle with string or even just a green stalk of wheat. Lean the bundles against each other to help them stand up, and let them sit in the sun for 3 or 4 days, until the grain hardens to the flint stage. Some rain won't hurt the grain. If you have a downpour or rain over a couple of days, cover the wheat with a tarp. You can harvest the grain in the flint stage instead of letting it dry after you cut the stalks. However, you'll get a better-tasting and better-grinding wheat if you let it dry to the flint stage after you cut it.





Comments
0 comment