views
Finding the Correct Lights
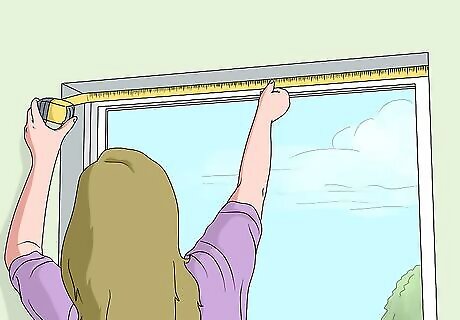
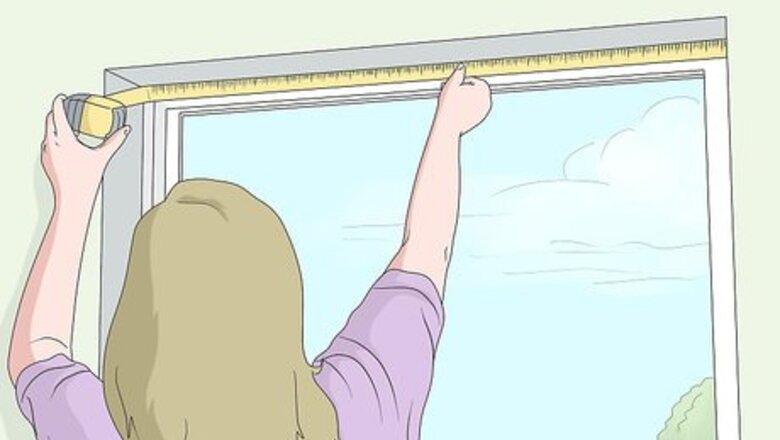
Measure the edges of the windows where you want to hang the lights. That way, you’ll know how many strands of what size you need to fully outline all your windows. Use a measuring tape to get exact measurements, as you don’t want to be a few inches or centimeters short of making your window look perfect. Make sure there’s a power outlet nearby to plug the lights into if you don’t plan on using battery-operated lights.
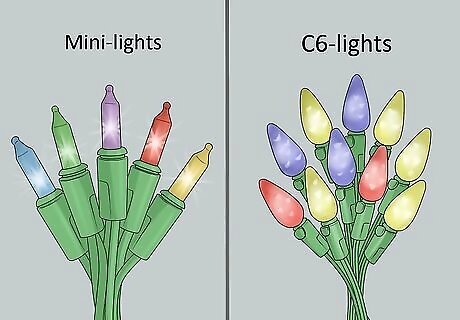
Choose mini-lights or C6 lights to better outline your windows. There are other types of Christmas light bulbs available to use as well, if you’d prefer to lend your windows a slightly different aesthetic. For example, LEDs have a more bluish tint. There are also wide-angle LEDs, transparent, ceramic, globe, net lights, and RGB LEDs. Not only are mini-lights cheap, but the light they give off is more ethereal and delicate since they’re smaller. C6 lights are the smallest version of the traditional strawberry-shaped Christmas bulb, so they look classic without being overwhelming.

Pick battery operated LEDs for a cleaner look. Sometimes, seeing an extension cord attached to the lights can ruin the look of a wonderful display. Furthermore, because battery-operated lights don’t use electricity, they give off less heat and are less likely to pose a fire hazard.
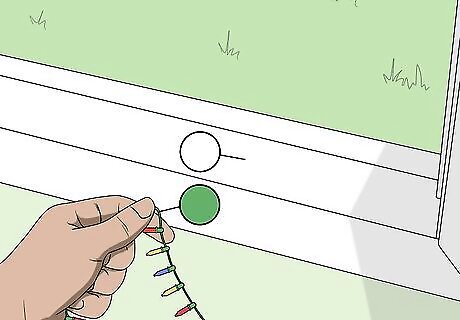
Match your wires to the woodwork of your window. If you have white woodwork, a string of Christmas lights with green wire will stand out and be less subtle than a string with white wire. Dark woodwork requires darker wire. If the wires match the woodwork, the lights themselves will be more emphasized. The shorter the distance between each lightbulb, the denser the lights will be and the more focus will be taken away from the wires.
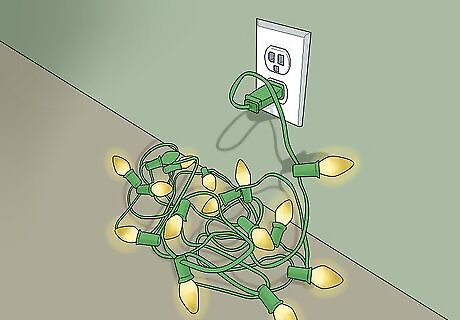
Test that your lights and cords are working. You don’t want to get them all set up, only to plug them in and discover a section of the lights are dark. All you have to do is plug the lights into an outlet and make sure each bulb is glowing. If one of the bulbs is broken or dim, see if you can purchase a replacement bulb rather than an entirely different strand of lights. Frayed or otherwise damaged cords are a safety hazard and should not be used at all.
Putting Up the Lights
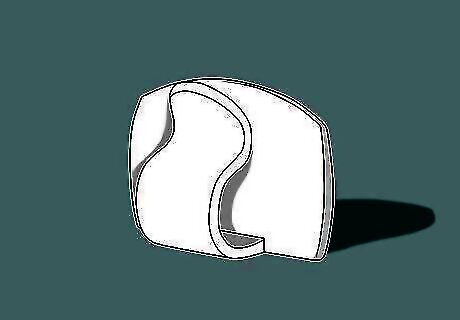
Purchase plastic stick-on clips/hooks for the inside of the window frame. The clips will be easy to remove at the end of the holiday season and won’t damage your windows or leave behind sticky residue. These can be found at most hardware stores. Each window usually requires 6-8 clips.
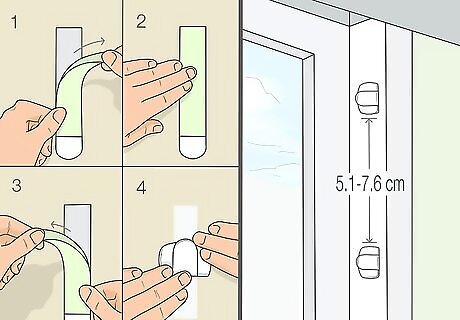
Place the plastic clips on the inside of the window frame. To do this, remove the backing from one side of the adhesive strip and press that side firmly on the window frame. Wait 30 seconds, then remove the paper from the second side of the adhesive and press the flat end of the plastic clip against the second side. You only need to place the clips on the top and sides of the window frame. The clips should be about 2 to 3 in (5.1 to 7.6 cm) apart and spaced out regularly.
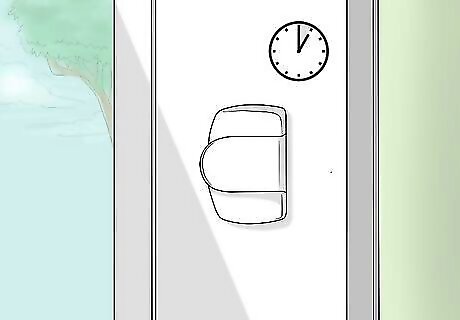
Let the clips set for at least an hour. If you hang anything on them prior to the time running out, the clips may come down. That might damage not just the window frame from the clips being removed incorrectly, but also the Christmas lights if they are dropped from a substantial height onto a hard surface.
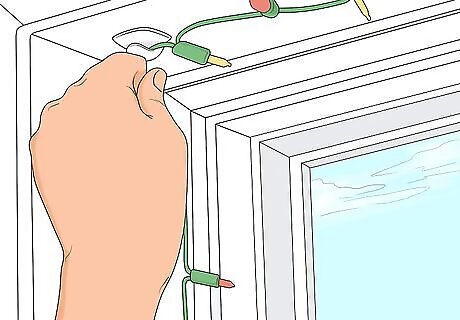
Slide the lights into the clips. Squeeze the wires of the string of Christmas lights into each clip. Then, work your way carefully around the window frame, squeezing more wires into place as you go. Try to get the light bulbs to all face in the same direction.
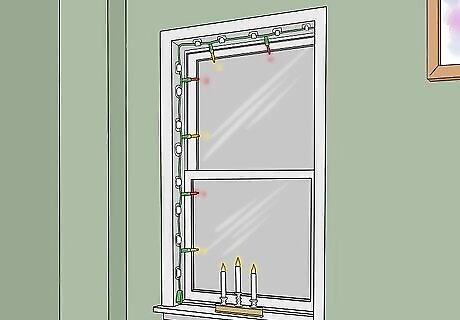
Add additional decorations to the window, if you’d like. For example, you can place some battery operated candles on the windowsill or some festive garlands. If the garlands come with their own lights, make sure you like how they look in conjunction with the ones around the window.




Comments
0 comment