views
Assembling a Swinging or Sliding Door Frame
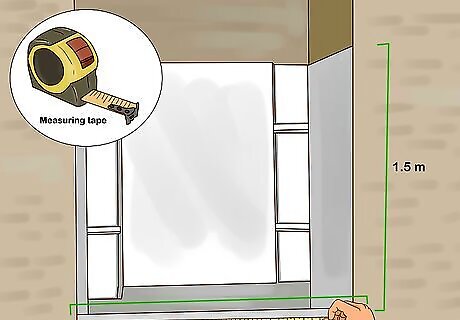
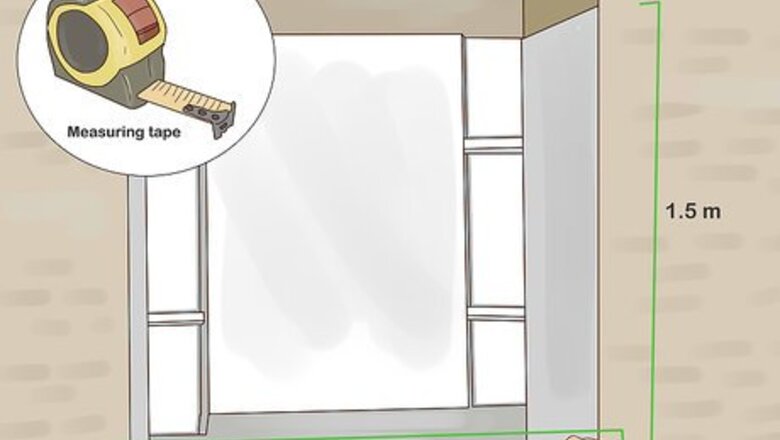
Measure the opening of your shower. To ensure that your new shower door fits correctly, you’ll need to take 3 separate measurements—the total length of the threshold, the threshold’s halfway point, and the height of the walls up to 5 feet (1.5 m). These numbers will help you find the necessary dimensions for each of the door rails. Note the distance between the opening of the shower and any nearby plumbing fixtures, such as the toilet or sink, to leave adequate clearance. Record the measurements of the shower stall on a separate piece of paper in case you need to refer to it at any point during the installation process.
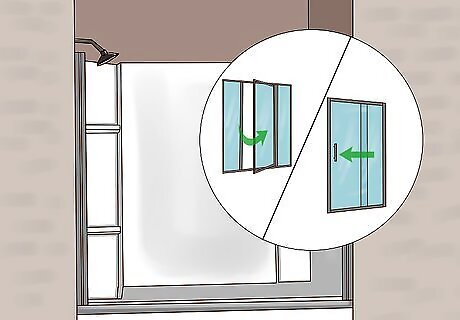
Choose between a swinging or sliding door. The style you go with will largely be a matter of preference. That being said, the size of your shower can impact the look and function of the door. Swinging doors tend to be better suited for small shower stalls—those that measure 48 inches (120 cm) or less from wall to wall—where limited space makes it easier to have a single large door. For enclosures that are greater than 60 inches (150 cm) across, a pair of sliding doors will economize space by offering a more practical pattern of movement. Should you decide to put in a sliding door, the measurement for the threshold's halfway point will become important, as this is where the edges of the 2 separate door panels will overlap when closed. Compare different sizes and styles of doors to find one that matches your shower enclosure.
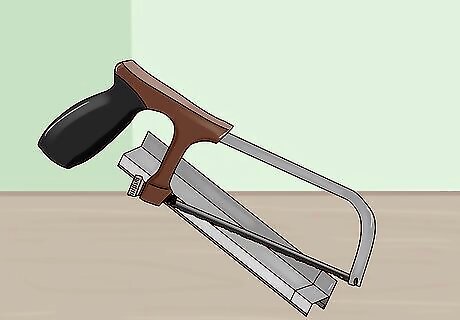
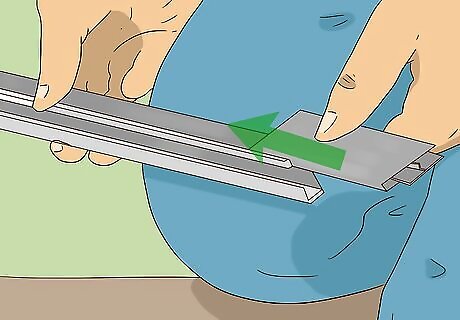
Cut the base track to the appropriate length. Use a fine-toothed hacksaw to trim the metal piece to match the measurement of the threshold. The length of the base track should correspond exactly to that of the threshold in order to fit snugly in the stall opening. A miter box can help you make cleaner, more precise cuts. Go over the sawed ends with a metal file to smooth them down. Be sure to vacuum up any stray metal shavings afterward to keep them from leaving scratches on the bathroom floor.
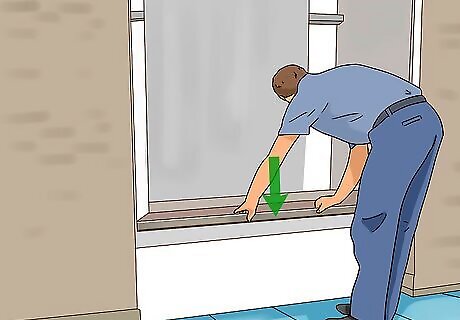
Center the base track on the threshold. Position the piece over the raised threshold, using a tape measure to look for an equal amount of space on either side. See that the alignment is carefully adjusted—if it's off by even 0.75 inches (1.9 cm), the door may not shut correctly. Mark the placement of the base track with a pencil. That way, you’ll be able to easily recenter it should it happen to slip while you’re working.
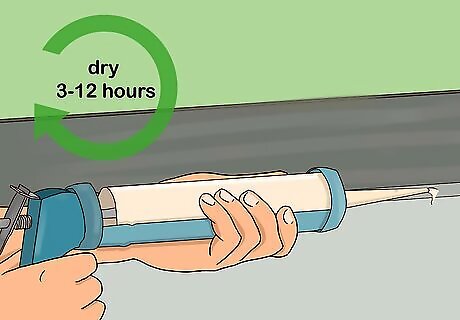
Secure the base track with silicone sealant. Once you’ve got the bottom piece where you need it, run a line of silicone sealant along either side to glue it down. Apply constant pressure to the base track for about a minute until the sealant has dried enough to hold it in place. Most quick-drying sealants will set up within 3-12 hours. However, it may take up to a full day for the sealant to cure completely. To prevent leaks, avoid using the shower until the sealant has had time to dry.
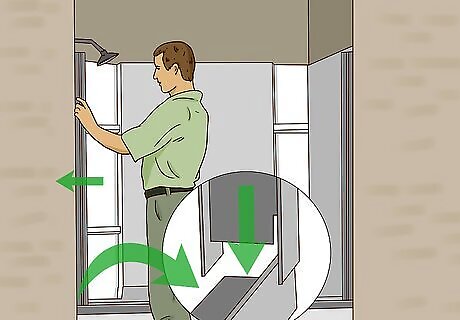
Align the hinge-side jamb with the base track. Slide the jamb down into the grooved base track. Take a minute to make sure it’s both flush (lying flat against the wall) and plumb (perfectly straight). Otherwise, you could end up with small gaps in the finished frame. The hinge-side jamb can be distinguished from the strike-side jamb by the mounting slots for the door hinge on the inner edge. In most showers, the door hinge is placed on the opposite side of the stall from the shower head. Sliding doors won't have specific hinge side and strike side jambs, but the installation of the side rails is essentially the same process.
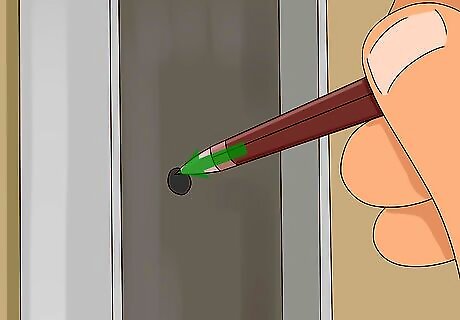
Mark the screw holes on the wall. Insert the tip of a pencil into the screw holes running up the face up the hinge-side jamb and make a small dot in each. These dots will be used to indicate where to drive the screws needed to secure the jamb. Grease pencil markings may show up on tile or acrylic shower walls better than graphite.
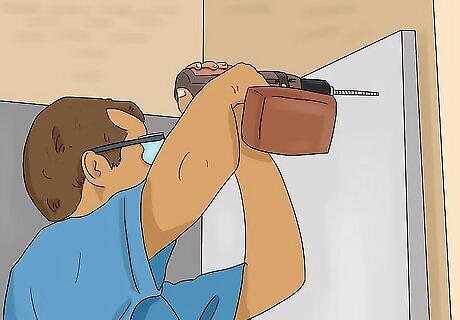
Drill the screw holes. Remove the jamb from the wall and open up the holes using a ⁄16 inch (0.48 cm) masonry drill bit. Each screw hole should be roughly 1.75 inches (4.4 cm) deep to accommodate the mounting screws. After you’ve finished drilling the holes, tap in plastic wall anchors to protect the surface of the shower from damage. It may help to notch the screw holes with a small chip or divot to get them started. This will provide a shallow seat for the drill bit, making it less likely to wander. Drill carefully to ensure that each hole is perpendicular to the wall.
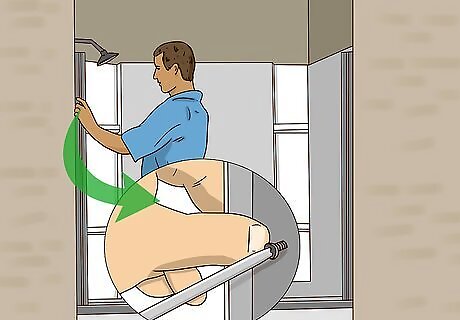
Position the jamb and fasten the screws. Place the frame piece against the wall, lining up the screw holes with the ones you just drilled. Have a helper hold the jamb steady while you fit a 1.5 inches (3.8 cm) pan-head screw into each hole and drive it down tight. Drill slowly to avoid overtightening. This can create stress fractures on the surrounding frame.
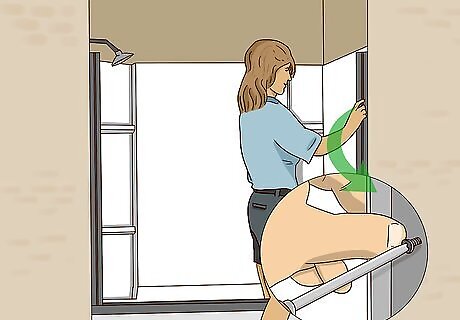
Repeat with the strike-side jamb. Align, mark, drill, and set the wall jamb on the opposite side just as you did the first. When you’re finished, you’ll have assembled 3 of the 4 frame pieces. Don’t forget to confirm the plumb and flush of the piece and insert wall anchors before you fasten the screws. The construction of the strike-side jamb is simpler than that of the hinge-side—it’s most often an L-shaped piece that acts as a stop for the door.
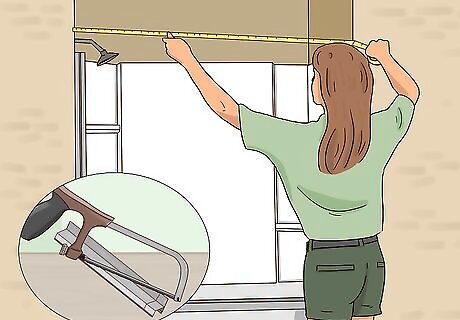
Measure and cut the header rail. Pull the shower door closed and extend your tape measure from one side to the other. Mark the dimensions on the frame header and use your hacksaw to cut it to size. Smooth down the raw edge using a metal file. It’s important that you measure and cut the upper rail separately, rather than duplicating the dimensions of the base track. It may not be exactly the same width as the bottom of the frame.
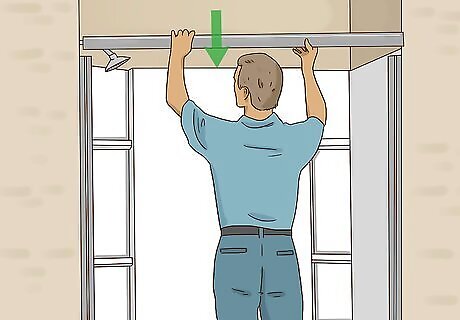
Set the header at the top of the frame. Lift the top rail onto the upper edges of the door and adjust it until it slides into place. If the header you’re working with has screw holes on the end, it should be fastened down for extra security. This piece will complete the fourth and final side of the frame. Many shower door headers are slotted to fit over the the top of the jambs, without the need to join them to the frame separately. For swinging doors, make sure the shorter arm of the header is facing outward so the door can swing open and shut freely.
Installing a Swinging Door
Insert the hinge rail into the hinge-side jamb. Guide the bottom corner of the door into the grooved base track, then lift it and press it into the side jamb. Use your tape measure to check whether the opposite edge of the door is plumb, or running straight up and down where it meets the strike-side jamb. Take your time to get the plumb just right. The frames of most glass shower doors allow for a 1.5 inches (3.8 cm) margin of error to enable you adjust the alignment without disengaging the hinge rail from the jamb. Recruit an extra set of hands to help you maneuver the heavy shower door into place. It may be too unwieldy to safely handle on your own.
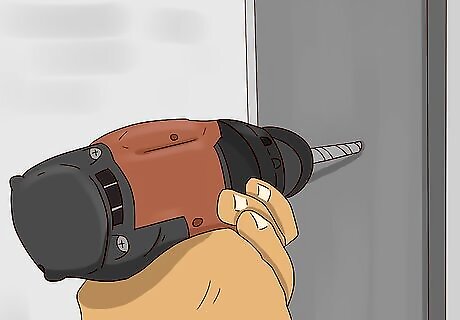
Drill screw holes into the side jamb. Have your assistant hold the door as you drill a ⁄32 inch (0.56 cm) pilot hole directly into the hinge-side jamb through each of the screw holes in the hinge rail. It typically takes 3-4 screws to successfully mount most glass shower doors. If you’re working alone, a few strips of duct tape can come in handy for preventing the door from shifting. Suction up and dispose of any loose metal shavings after drilling.
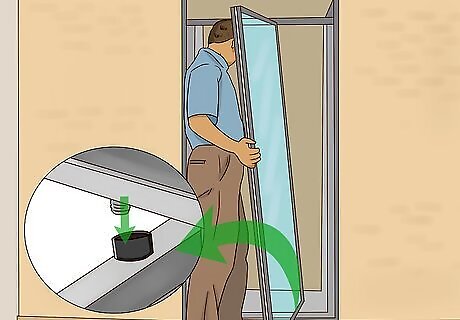
Attach the door to the jamb. Sink the screws into the holes from bottom to top to finish mounting the door. Make sure each screw is nice and secure, but not overly tight. The frame should be able to support the weight of the door without any wobbling or extra movement.
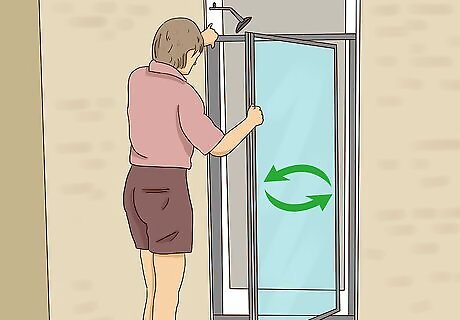
Test the shower door. Swing the door open and shut a few times to see whether it tracks the way it’s supposed to. Assuming it’s been aligned correctly, it should glide through its full range of motion smoothly and with little or no noise. When closed, the handle-side of the door will also sit firmly against the header rail and strike-side jamb. If the hinges meet with resistance at any point or you notice excessive squeaking, it may be necessary to check the tightness of the screws or inspect the flush, plumb, or level of the base track and hinge-side jamb.
Installing a Sliding Door
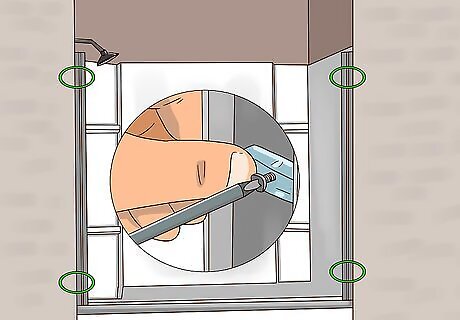
Install bumpers in the side jambs. Most sliding shower door installation kits come with bumper stops—small, blunt pieces of rubber or plastic that prevent the door from colliding with the strike-side jamb when it's closed. These can be attached by simply sliding them over the fastening screws before securing the strike-side rail in place. Some shower doors only feature one bumper stop in the center of the strike-side jamb. Others may use 2 or 3, spaced at regular intervals wherever there's a screw hole in the rail.
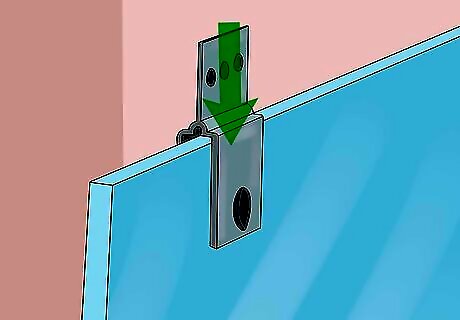
Attach hanger brackets to the tops of the door panels. Identify the 2 mounting holes on either side of the upper edge of both panels. Fit a plastic separator clip over each hole, then slide the metal hanging brackets over the separators. Insert bushings into the holes from the outside face of the door, then secure them on the inside face using blind nuts. Repeat with the other door panel. Double check that the brackets are resting flush against the plastic separators to ensure a stable connection. If the rollers that allow the door to slide open and shut aren't built into the hanging brackets, you'll need to attach them separately using 1.5 inches (3.8 cm) screws.
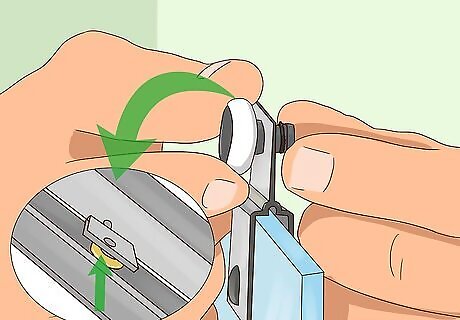
Attach the rollers to the hanging brackets. Align the holes in the rollers with the mounting slots at the top of the brackets. Insert the included bolts or screws through the rollers and secure the ends with nuts. Tighten the bolts or screws by hand until you can no longer turn them. The rollers should go on the outside (the uncoated side) of the inner door panel, and the inside (coated) of the outer door panel. This will allow the doors to glide open and closed in opposing directions.

Mount the doors from the header rail. Lift the inside panel into the inside of the header rail, making sure the rollers on the hanger brackets are set into the grooves on the underside of the rail. Guide the bottom edge of the door into the base track and check the alignment there as well. Then, hang the outside panel on the outside track of the header rail. Slide both doors from one end of the base track to the other a few times to confirm that they track properly. Be sure to hang both doors with the coated or textured side facing in. This coating is designed to protect the surface of the glass from continual exposure to the water in the shower. It also hides the appearance of streaks and water spots to make them less noticeable. If the doors aren't moving the way they're supposed to, remove them from the frame and reposition them until you get the alignment right.
Finishing Installation of Swinging or Sliding Doors
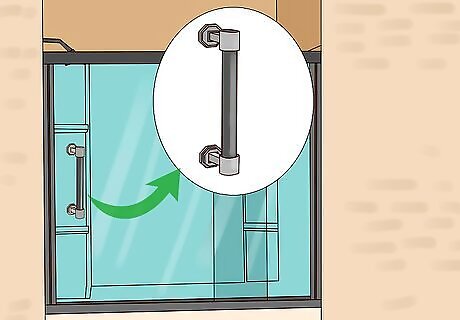
Install the door fixtures. Sort through the accessories that came with your shower door installation kit and remove all handles, pulls, hooks, and towel racks. Attach these pieces using the included screws and hardware. Give each a gentle tug to test their stability. Typically, glass door fixtures are designed to be positioned from outside the shower and fastened from inside. You also have the option of shopping around for different fixtures or having them custom made to your personal specifications, though this may require additional drilling.
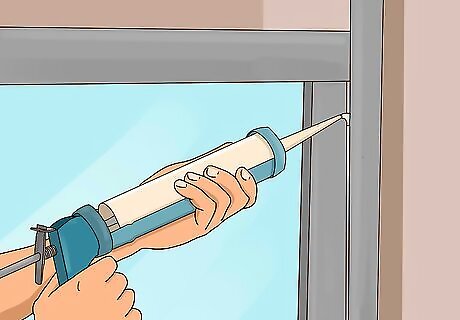
Fill in remaining gaps or cracks. Go around the edges of the completed frame and apply a thin strip of silicone sealant anywhere that it’s needed. This will seal any tiny openings that may be invisible to the eye and prevent water from leaking through when you run the shower. Allow the sealant to dry overnight before running the shower. Provided you’ve assembled the door frame correctly, you’re unlikely to discover any glaring structural imperfections. Still, thorough sealing is a good precaution to take if you want to be certain that the construction of your new enclosure is totally watertight.
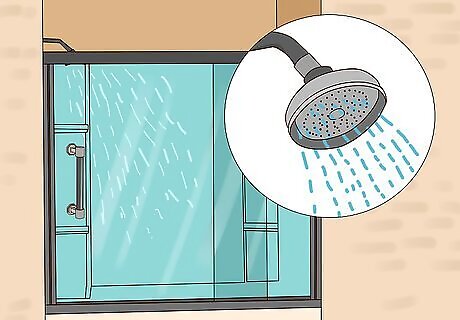
Test for leaks. A good way to see whether the closed door creates a tight enough seal is to turn on the shower and aim the water directly at the door. If there are any defects, you'll notice the water seeping out from the sides or along the bottom within a few moments. Apply additional sealant to the frame anywhere you see dripping or overflow. Towel off the wet frame before adding more sealant, and allow the sealant to cure completely prior to your next test. If water is escaping between the door and base track, consider attaching a separate drip tray to catch and redirect what would otherwise end up on the floor.


Comments
0 comment