views
Choosing a New Seat
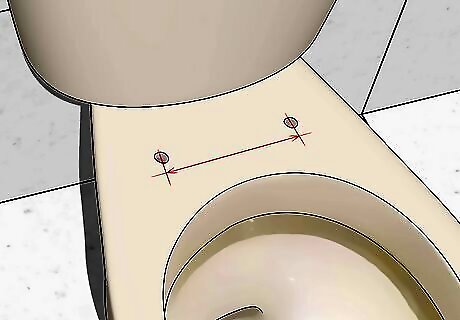
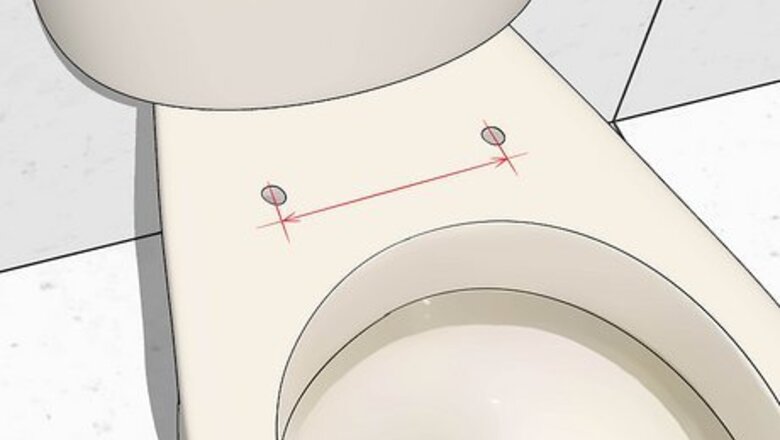
Measure your current toilet bowl before buying a new seat. Most toilets are standard sized, and any replacement seat should fit. If you want to be extra sure, take a tape measure to check the distance between the bolt holes in the toilet bowl. Then make sure the distance between the bolts on the replacement seat is the same.
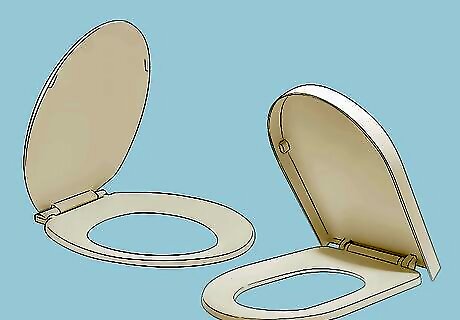
Choose the style of seat you want. Toilet seats come in 2 basic styles, and a home supply store should have several brands to choose from. The standard variety is rounded, but you can choose an elongated one if you prefer. You can also purchase a “whisper close” seat that has special pads on the bottom to prevent it from slamming down on the bowl. Toilet seats come in a range of prices. You should be able to find the cheapest for $20-30, but others that cost twice as much or more.
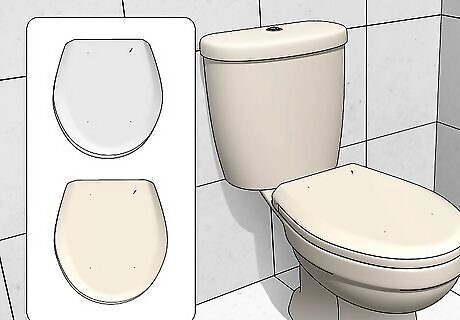
Choose a seat color that matches your current toilet bowl. You can find toilet seats in a variety of colors. Choose one that matches the toilet bowl (usually white) for a classic look, or choose a contrasting color to make a bolder statement. For instance, you could choose a blue or wooden toilet seat to contrast with a white bowl.
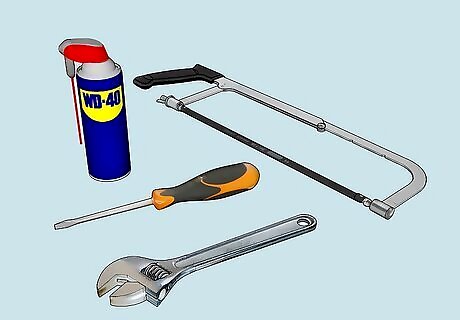
Gather your tools for the project. You’ll need just a few simple ones to handle this project. If you don't already have these at home, head down to the hardware store and get: An adjustable wrench or pliers A flathead screwdriver Spray oil such as WD-40 (optional) A small hacksaw (optional)
Removing the Old Seat
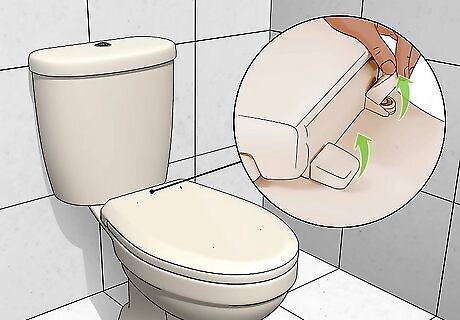
Pop off the bolt caps, if necessary. Look at the edge of the old toilet seat, near the tank. You may see plastic caps where the seat’s hinges attach to the toilet bowl, one on each side. If so, gently slide the flathead screwdriver under their edge and pry them off. If there are no bolt caps, you will just see the bolts themselves attaching the hinges of the seat to the toilet bowl.
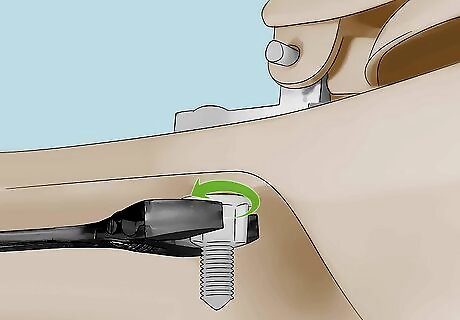
Loosen the nuts. Hold your adjustable wrench and look underneath the edge of sides of the toilet bowl. You should see bolts going down through the porcelain, held in place by nuts. There will be one on each side of the bowl. Attach the adjustable wrench to each nut. Turn the wrench counterclockwise to loosen the nuts.
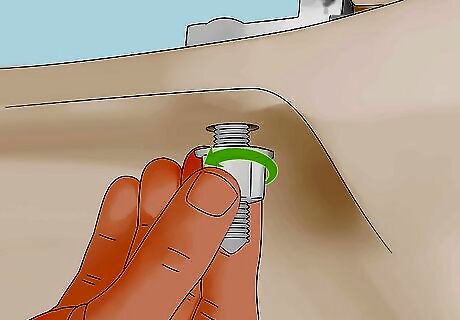
Remove the old seat's bolts. The bolts at the base of the hinges on top of the toilet bowl may be slotted for a screwdriver. If so, use yours and turn each bolt counterclockwise until it comes out. Otherwise, you can continue turning the nuts counterclockwise until they come off. If your old seat has washers between the nut and bowl, remove those as well.
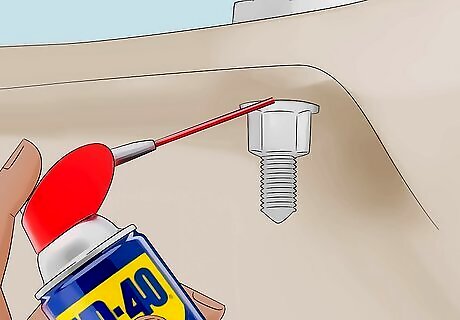
Wrestle with the old bolts, if they're stuck. On some older toilets, the bolts might be rusted or stuck in place by grime. If so, they may not come out easily. Don’t panic -- you have some options! First, spray WD-40 on the threads of the rusted bolts. Let it sit for 10 minutes, then try again to remove the bolts. If that doesn’t work, place your adjustable wrench on the nut. Hold it in place as you use the screwdriver in your other hand and attempt to turn the bolt out. If the bolts are still stuck, use your small hacksaw to saw them off. Place the blade just under the toilet bowl, at the top of the nut, and gently saw back and forth until you cut the bolt all the way off.
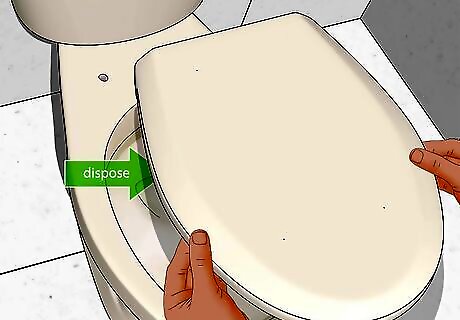
Dispose of the old seat and hardware. Lift the bolts out of the bowl, if you haven’t already. You should then be able to remove the toilet seat and its hinges easily. Toss out the old seat, bolts, and nuts.
Installing the New Seat
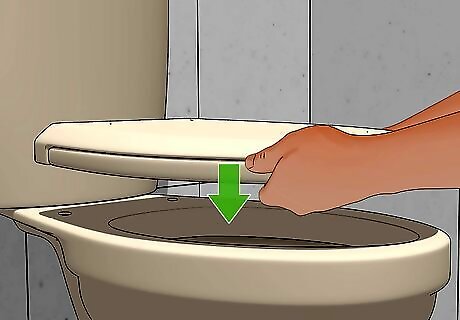
Set the new seat in place. Remove it from the box. The hinges on the seat will be pre-attached. Place these exactly where the hinges on the old seat were located. The box will also contain bolts and nuts. It may also include plastic caps to go over the bolts. Set this hardware to the side.
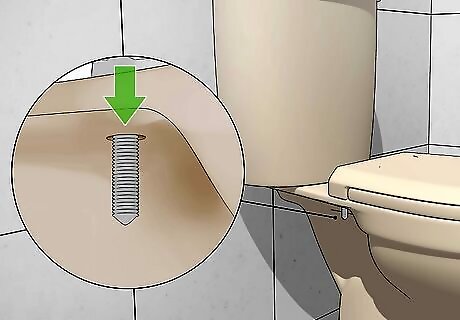
Drop the bolts into place. Take a bolt in your hand. The hinges will have holes for the bolts to be inserted into. Since the toilet seat is in place exactly where the previous seat was, these holes will also be positioned directly on top of the holes in the top of the toilet bowl. Drop the bolts through the holes in the hinges and bowl, with the head of the bolt on top. Don’t worry. Since the bolts have a head, they won’t fall all the way through the holes.
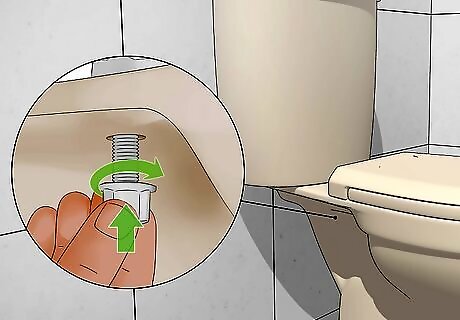
Thread the nuts onto the bolts. Pick up one of the nuts. Look at one side of the toilet bowl. You should now see the end of one of the bolts sticking down through the top of the bowl. Turn the nut onto the bolt (clockwise) until it is as tight as you can get it by hand. Use your adjustable wrench to tighten the nut just a bit further. Repeat with the other nut on the other side of the toilet. If your hardware includes washers as well, place these on the bolts threads, then put on the nut. If the hinges have plastic caps attached (or if these are included in the box with the new toilet seat), snap these in place by pushing them down on the heads of the bolts once you’re done.
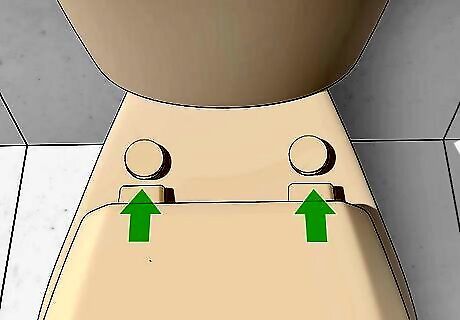
Snap the seat into place, alternatively. For some models of toilet seats, you don’t drive the bolts through the hinges. Instead, you drop the bolts directly to the holes on either side of the toilet bowl, instead of driving them through the hinges first. Then fix them in place with nuts. The seat's hinges will snap onto or slide over the bolt heads. Double-check the instructions that came with your toilet seat if you have this variety.




Comments
0 comment