views
Knitting the Foundation Row
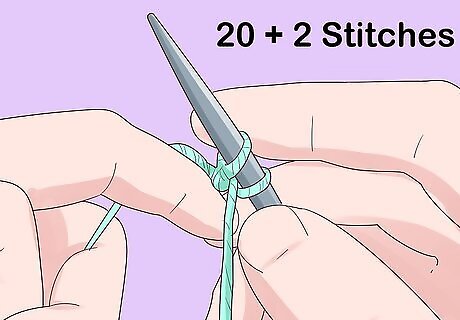
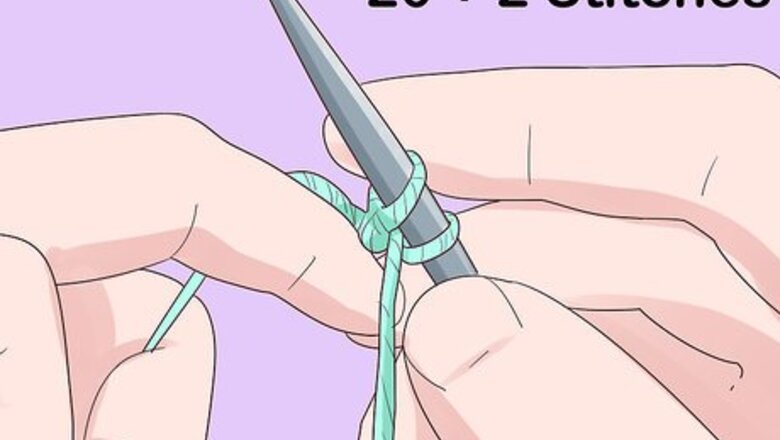
Cast on a multiple of 2 plus 2. You will need to have an even number of stitches to work the loopy stitch. Cast on a multiple of 2 for your total number of stitches and then cast on 2 more stitches. For example, you could cast on 20 stitches plus 2 for a total of 22 stitches, or 64 stitches plus 2 for a total of 66 stitches.
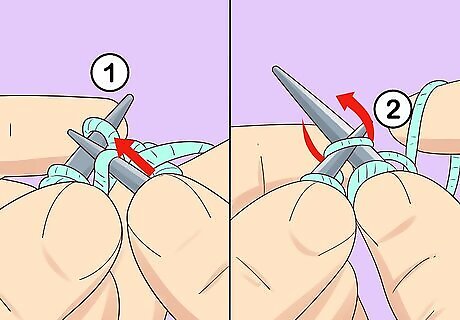
Knit the first row. Use a basic knit stitch to work the first row of your loopy stitch project. To knit, insert the needle into the first cast on stitch going from the front of the stitch to the back of the stitch. Then, loop the yarn over and pull the loop through the cast on stitch. As you do this, let the cast on stitch slip off the end of the needle. The new loop will replace this stitch on the right hand needle.
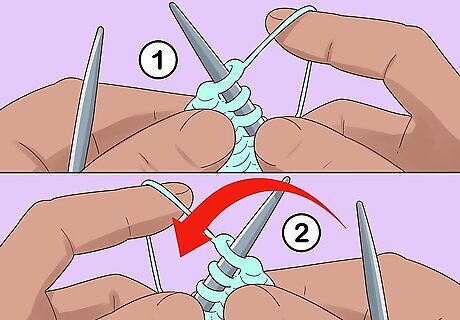
Turn your work to begin a new row. When you get to the end of the first knit row, all of your stitches should have transferred from the left hand needle to the right hand needle. Take the right hand needle with all of the stitches on it, turn it around, and place it in your left hand. Put the empty needle in your right hand. This will set you up to work the next row.
Working the Loopy Stitch
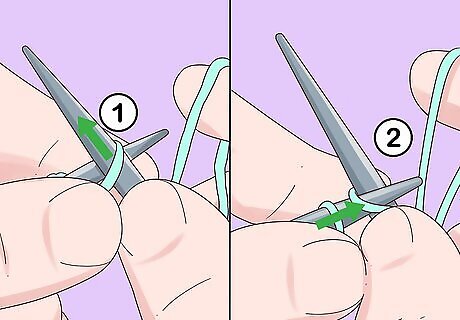
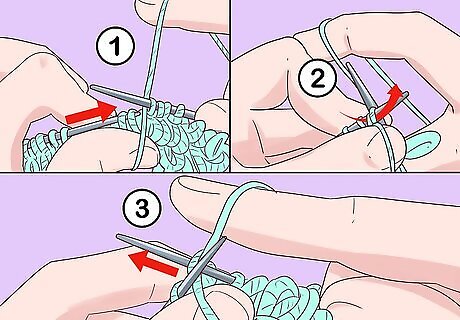
Slip 1 stitch from the left needle to the right needle. Take first stitch in the row and slide it off of the left hand needle and onto the right hand needle. Do not knit the stitch. Just slide it from one needle to the other.
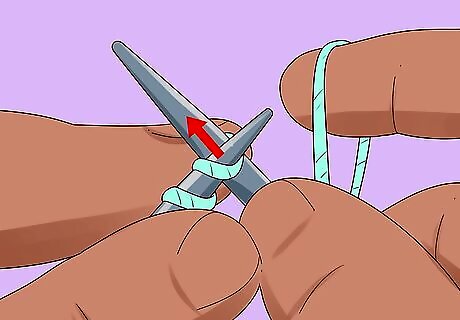
Insert your needle into the next stitch. Insert the right hand needle into the next stitch on the left hand needle as if you are going to knit the stitch. However, do not complete the stitch yet.
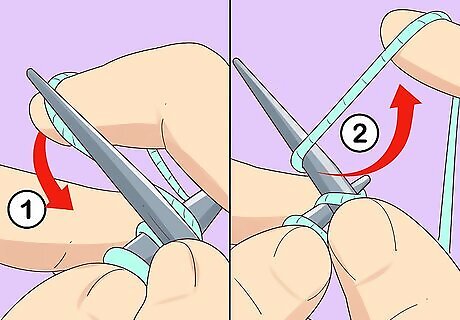
Wrap the yarn around the needle counter-clockwise 1 time. Take your working yarn strand and wrap it around the needle that you just inserted through the stitch. Wrap the yarn around the needle in a clockwise fashion and then bring the strand to the front of your work.
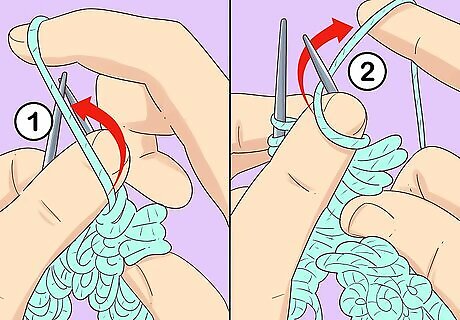
Loop the yarn around your thumb and then around the needle. Use your thumb to anchor the loop at the length you want it to be. If you want a long loop, then position your thumb a few inches away from the needles. If you want a shorter loop, then position your thumb right next to the needles. After looping the yarn around your thumb, bring it back up and around the needle again, but wrap it in the opposite direction (clockwise) this time.
Knit 1 stitch. Complete the first loop stitch by knitting 1 stitch. The loop will be secured by this stitch.
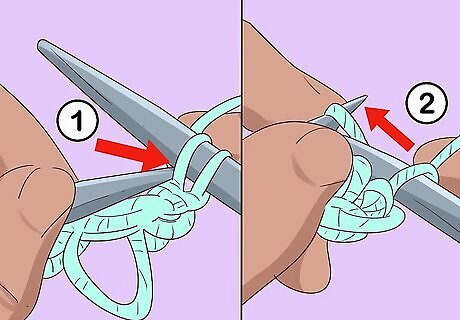
Lift the first loop on the needle over the stitch you just knitted. Next, lift the first loop up and over the stitch you just knitted.
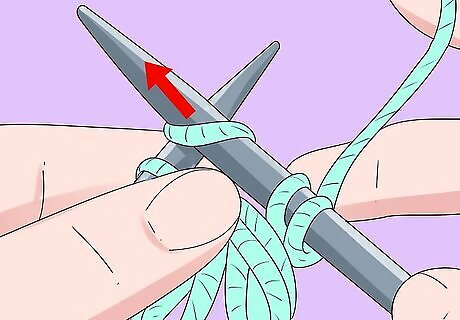
Knit 1 stitch normally. Knit the next stitch as a normal stitch. It is important to knit 1 regular stitch after each loop stitch.
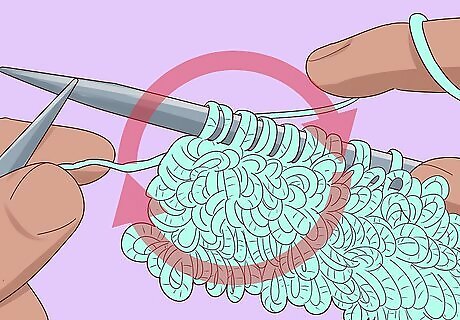
Repeat the stitch sequence to the end of the row. After you finish 1 loopy stitch, start the sequence over again and continue to repeat it to the end of the row.
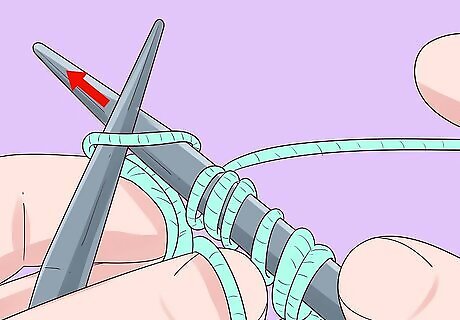
Knit the next row. The next row should just be knit stitches. This will ensure that your project is stable enough to support the loopy stitches.
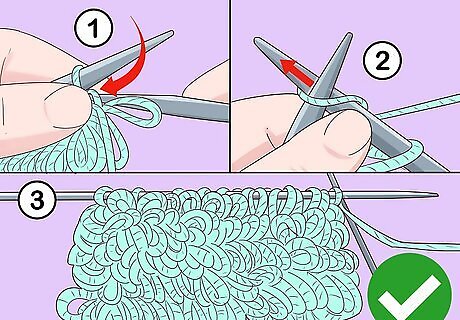
Alternate between loopy stitch rows and knit rows. After a knit row, return to the loopy stitch row, and then the knit row again. Continue this sequence until you have completed your project.




Comments
0 comment