views
Flat Projects
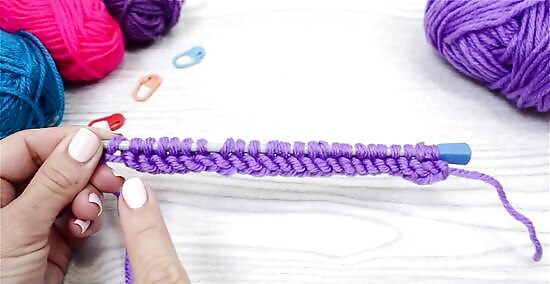
Complete the first row with knit stitches. Slide your empty knitting needle into the front loop of the first stitch—this creates an “X” shape with your knitting needles. Take the loose section of yarn and pull it on top of the empty knitting needle, creating a new loop in the process. Then, use the empty knitting needle to pull this new loop up and behind the first stitch. Slide this original stitch off the needle, and continue knitting the rest of the stitches in the row. Pulling a loose section of yarn over your back needle is also known as “yarning over.” When knitting, you always want to yarn over from front to back. This loose section of yarn always dangles from the backside of your project while you’re doing a knit stitch row.
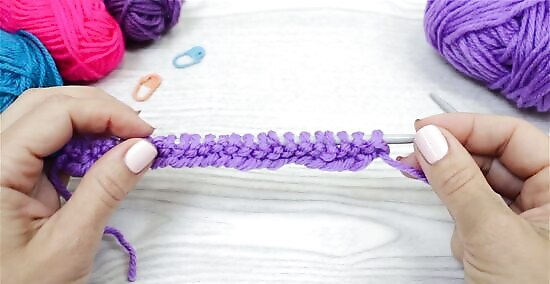
Turn your project so the “wrong” side is facing forward. Stockinette knitting projects have 2 sides—a “right side” made up of knitting stitches, and a “wrong side” made of purl stitches. You just finished knitting on the “right side” of your project, so it’s time to flip your project over and do purl stitches on the “wrong,” bumpy side. The “right,” knitted side of the project resembles rows and columns of pointed arrows, while the “wrong,” purled side of the project resembles curly rows of bumps.
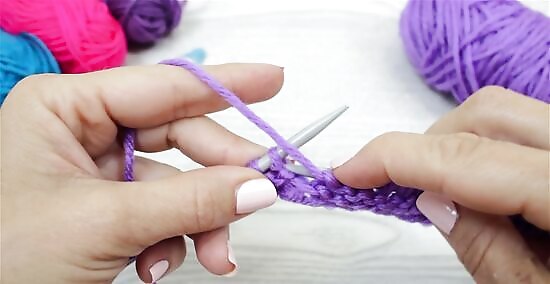
Purl the second row of stitches. Slide your empty needle into the front loop of the first stitch, going from back to front. Then, create a new loop around the front, empty needle with your working yarn. Slide this new loop in and beneath the first stitch on the opposite needle to create your first purl stitch, and slide the old stitch completely off the needle. Repeat this purl stitch for the rest of the row. Your loose, working yarn always needs to dangle in front of your project when you’re knitting a purl row. Always loop your working yarn from front to back when creating the new loop for your purl stitch.
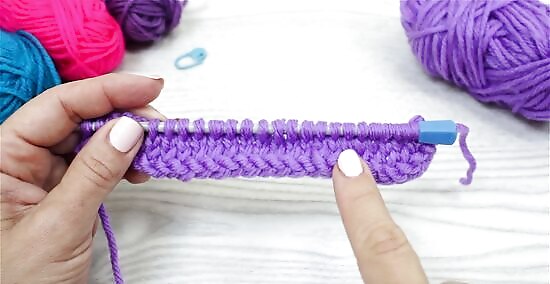
Flip your project around and knit the third row. Turn the knitting so the knitted, arrow-looking side of the yarn is facing forward. Then, use the knit stitch to finish the third row of your stockinette project.
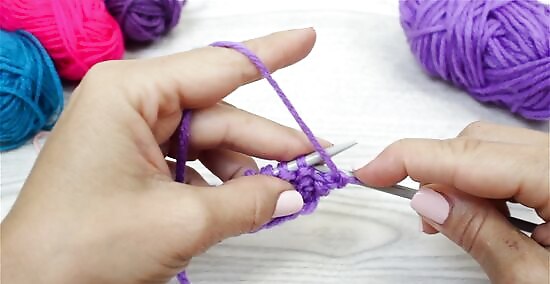
Rotate your project and purl the fourth row. You know the drill—flip your knitting all the way around so the purled, bumpy side is facing you. Then, continue your project by purling along the “wrong” side of your knitting. Remember: always purl when the “wrong” side is facing forward, and always knit when the “right” side is facing forward.
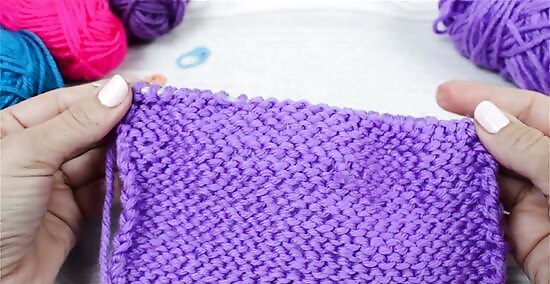
Alternate between knit and purl rows until you’re happy with the size of your project. The stockinette stitch is all about balance and consistency. For every knit row you create, make sure you’re also knitting a purled row. Follow the recommendations on your knitting pattern, or just continue knitting and purling until you’re happy with the size of your project. Many knitting patterns give a size suggestion rather than telling you how many rows to stitch. Instead of saying “complete 40 sets of stockinette stitches,” the pattern might just say “continue until knitting is 30 in (76 cm) long.”
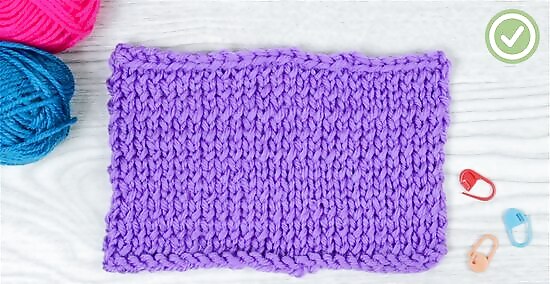
Cast off your stitches to complete the project. Knit 2 regular stitches onto your empty needle using the traditional knit stitch. Then, slip the other needle beneath the second stitch, pulling it up and over the first stitch and off the needle completely. Continue casting off by knitting another stitch onto the empty needle and pulling the second stitch off. Slide the last of your working yarn through the final loop to finish casting off your project. Then, use a yarn needle to work the leftover section of yarn into your finished knitting.
In-the-Round Projects
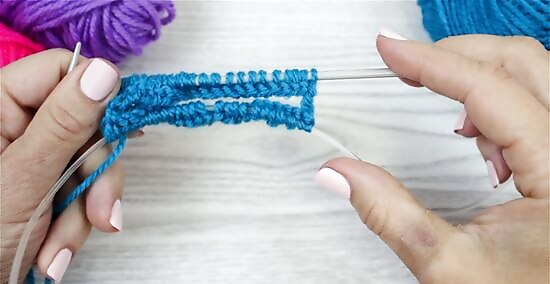
Knit the first row of stitches. Using the traditional knit stitch, work your way around the entire circle of stitches until you reach your original starting point. Many knitters like to mark the beginning of their circular knitting rows with a stitch marker so they don’t lose track of where they are.
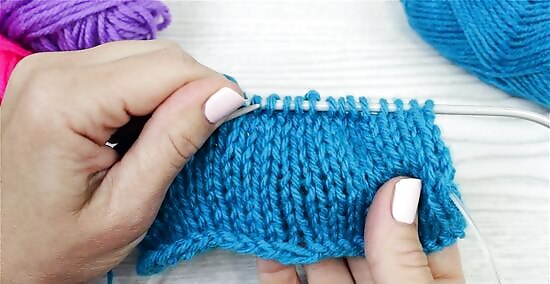
Continue knitting each row until you’re finished with your project. In a flat stockinette project, you’d repeatedly flip the knitting around and switch between knitted and purled rows. However, circular projects like hats don’t need to be flipped or inverted, so you can continue knitting for the entire project.
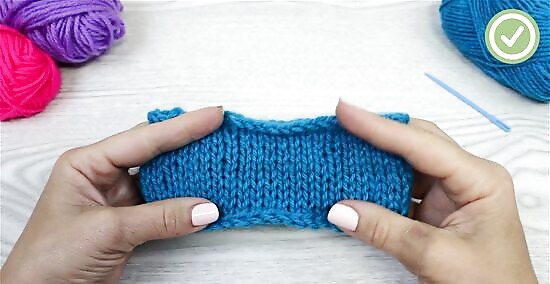
Cast off to finish up your project. Circular and straight knitting needles use the same casting-off technique. So, cast off your stitches as you usually would by knitting in pairs of 2 stitches. Then, pull the second stitch up and over the first stitch so it’s completely off the needle. When you have just 1 stitch left, pull the working yarn through the final loop and tighten it to secure your knitting. Feel free to work the yarn tail into your project with a yarn needle so it doesn’t stick out.





Comments
0 comment