
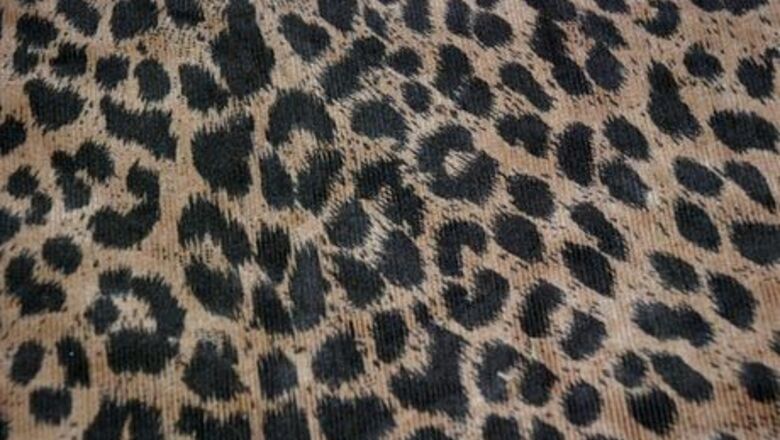

Obtain some sturdy giraffe patterned material. Brown leopard print material works well, but you could use non-toxic fabric paints to make your own pattern if you wish.
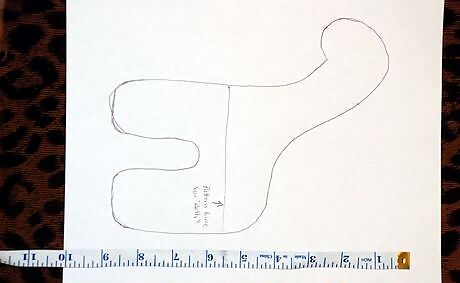
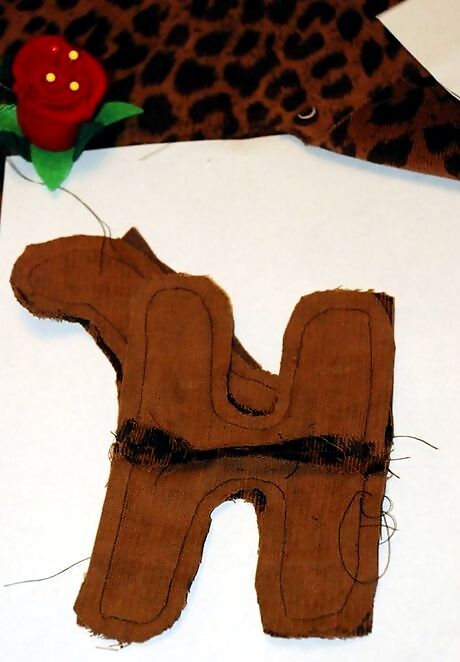
Copy the pattern in this photo to scale.
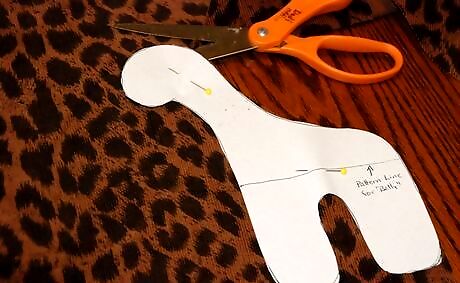
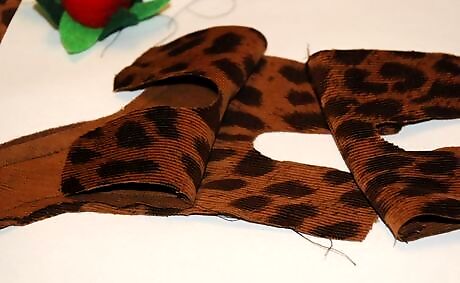
Cut out the pattern and pin to two layers of cloth. Remember to have the cloth back to back so that you have both sides of a giraffe, rather than two right sides or two left sides of a giraffe. In other words, the two sides will be "mirror images" of each other.
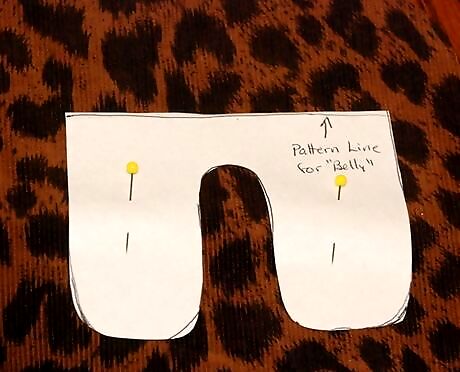
Cut two of the belly pieces by cutting the pattern along the belly line. Use it to cut the fabric as in the previous step.
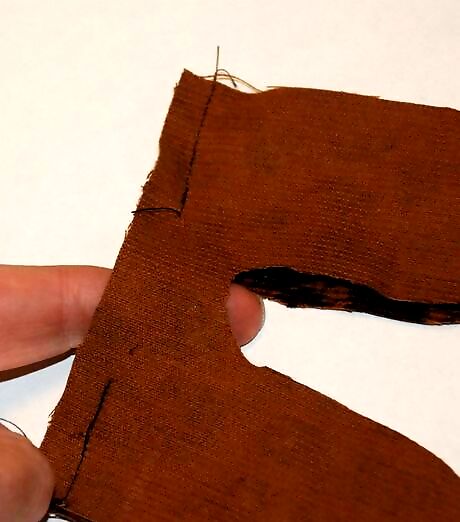
With right sides together, sew the belly pieces together along the straight edge, leaving two inches (5cm) in the middle for turning, stuffing and closing later.
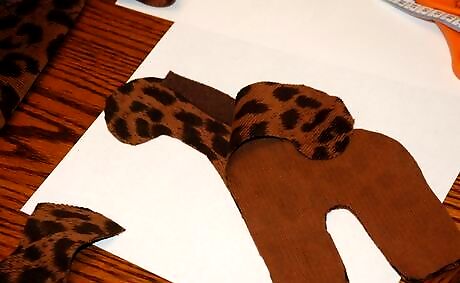
Pin a four inch /10cm strip of brown felt along the top edge of the giraffe's neck (see photo).
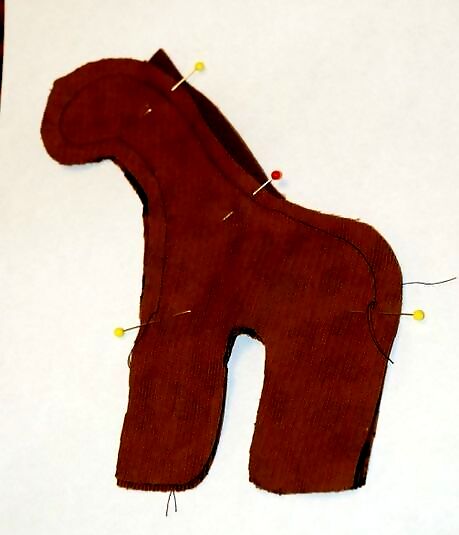
With right sides together, pin the giraffe together and sew the top half of his body from chest to tail.
Fold the belly pieces so that right sides face outward and insert them in between the body pieces, taking care to line up and either baste or pin the feet. Note: You may need to use a seam ripper to adjust the length of the top seams if the belly pieces are not lining up well at this point.
Sew the belly to the body.
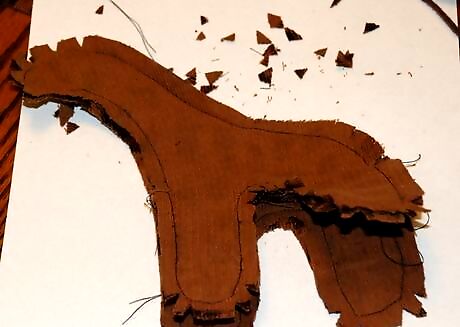
Clip all seam allowances.

Turn the giraffe right side out and stuff firmly through the two-inch /5 cm hole that remains in the belly. Too little stuffing will prevent the giraffe from standing up on its own.
Sew, by hand, the giraffe's belly closed.
Stitch the legs together as shown if you wish for your giraffe to stand up as opposed to sitting/laying down with legs splayed.
Cut and sew on the ears.
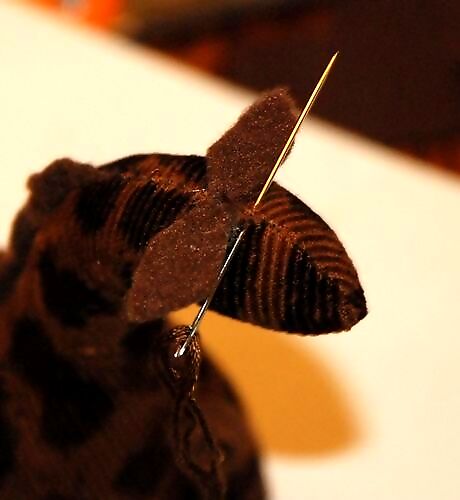
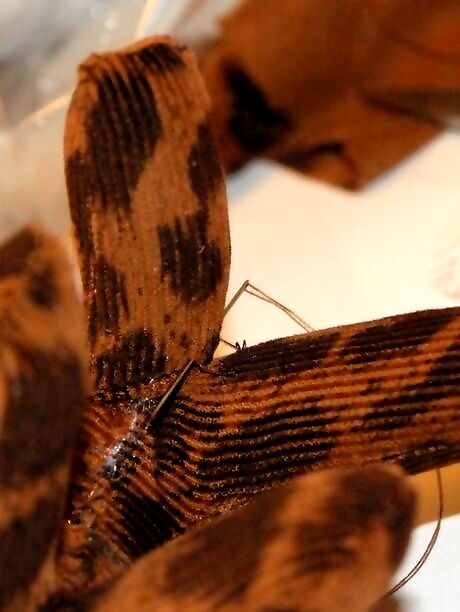
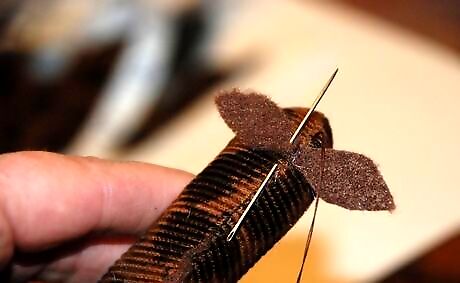
Use embroidery floss or yarn to form the giraffe's horns and tail. This particular project utilizes four thicknesses of floss (6 strands each). Georgehorn1.JPGPull floss through. Georgehorn2.JPGTie floss in a knot. Georgehorn3.JPGTie ends of floss for "horn knobs". Georgehornknot2.JPGCompleted "horns" are shown. Georgetail1.JPGKnot the tail twice, once near the body and once at its end. Alternatively, you could knot the tail on the rump and braid it for an inch or so before knotting at the end and clipping the excess length off.
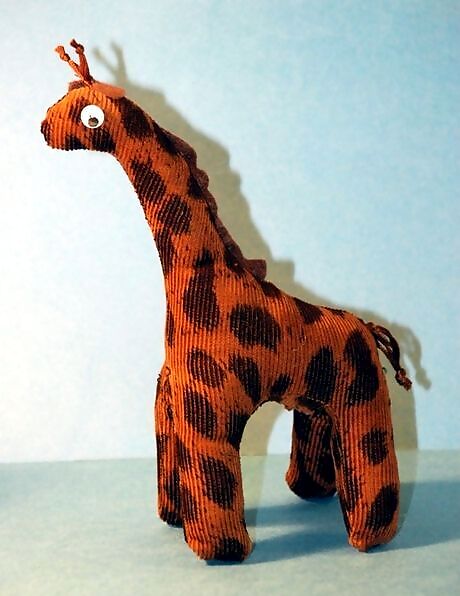
Sew the giraffe's eyes on. Display proudly or give to a friend to double your enjoyment of the giraffe.


Comments
0 comment