views
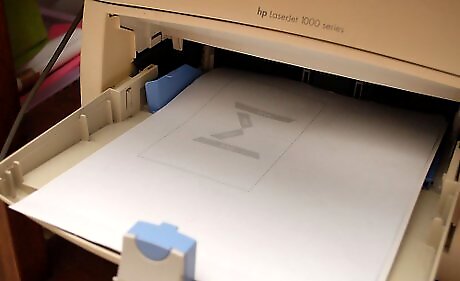
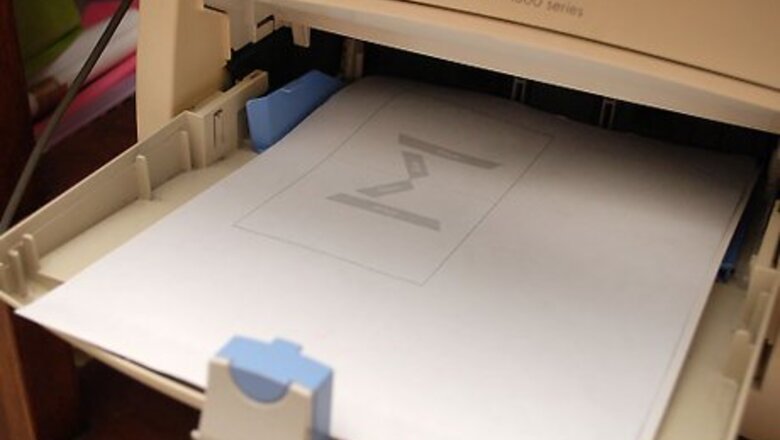
Click here to get the image. (Or you can click on the image at right.) Right click on the image and select "View Image" (for Macs, CTRL click and click "Open Image in New Window"). From there, print out the image on a heavyweight paper, like cardstock or construction paper.
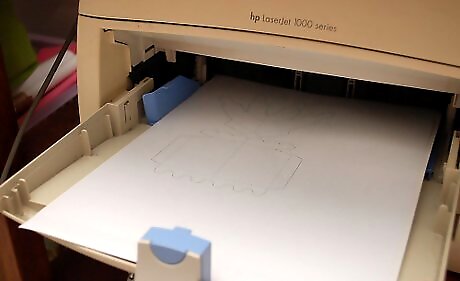
Click the image on the right to enlarge. Right click or CTRL click again to see the image in a separate window, and from there print out the pop-up pieces for the cake on another sheet of heavy paper.

Press along the dotted line. Do this on the center of the card with the rounded end of a paper clip (or a ballpoint pen that has run out of ink). Use a ruler as a guide. Go all the way from the top to the bottom of the card.
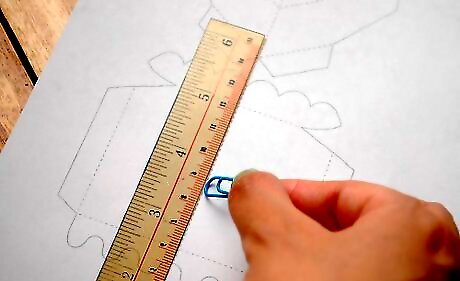
Repeat along the dotted lines of all the pop-up pieces.

Carefully cut out the cake's card. Follow the solid, black lines.
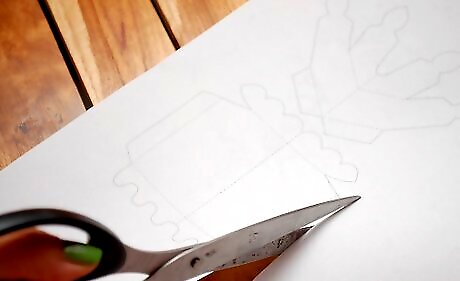
Slowly cut out the pop-up pieces. Follow the solid, black lines. Do not cut the dotted lines - those are fold lines you'll use later.
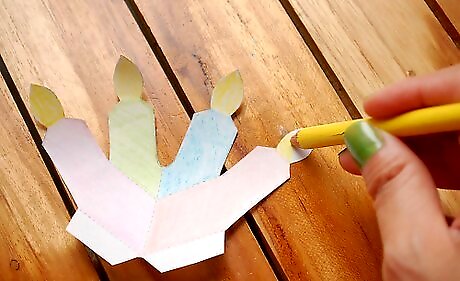
Color in the candles. Don't color the cake yet.
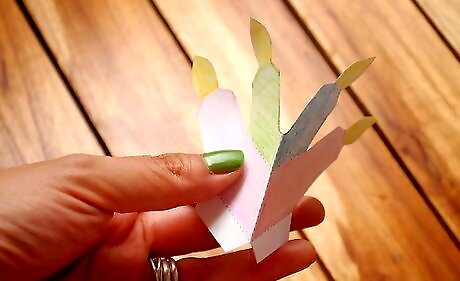
Fold the two sides of the candle piece. Fold away from you, along the center dotted line.
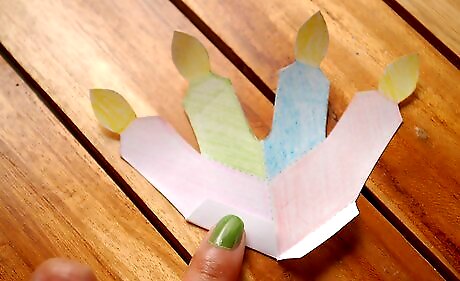
Lay the candles down flat and carefully fold the lower left tab up and crease. After you've creased it, return the tab to its original position.
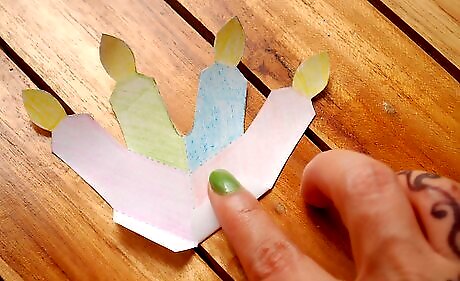
Carefully fold the lower right tab up and crease. After you've creased it, return tab to its original position.
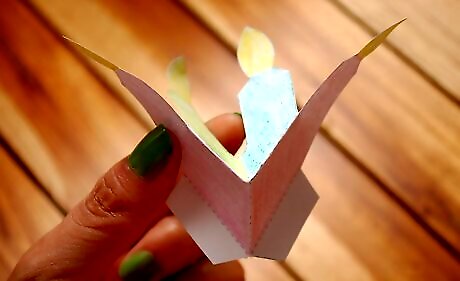
Pick up the candles. While holding the lower section still with your right hand, fold back the top section with your left.
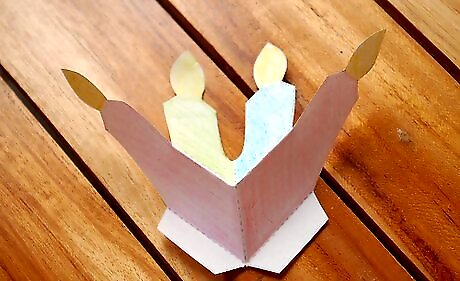
Your candle piece should now look like the image at right. The two candles in the center are pushed back away from you while the two candles on the ends are coming towards you.
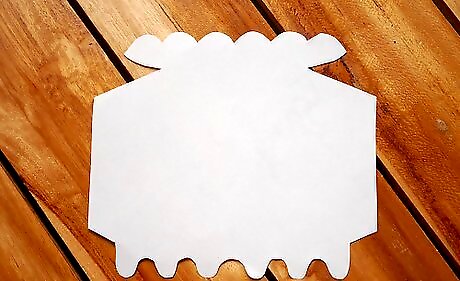
Turn the cake piece over. This is so that you do not see any of the black dotted lines on the finished product.
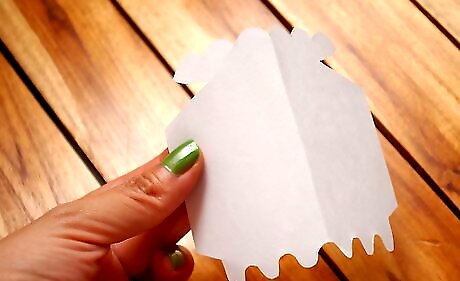
Fold the two sides away from you along the center, creased line.
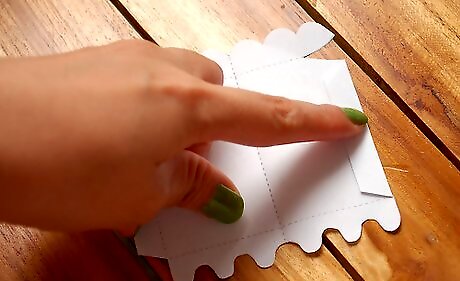
Turn the cake piece back over again so you can see the black, dotted lines. Lay the cake down flat and carefully fold the right tab up along the dotted line and crease. Leave the tab in this position.
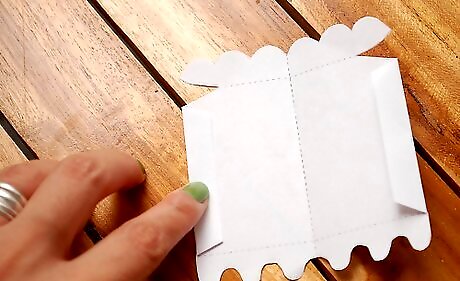
Carefully fold the left tab up along the dotted line and crease. Leave the tab in this position.
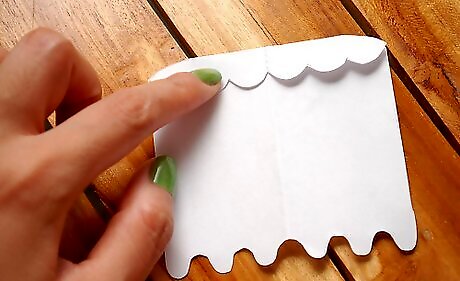
Fold down the "scalloped icing" tab at the top and crease. Leave the tab in this position.
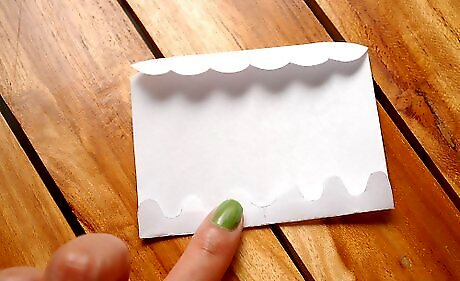
Carefully fold down the "wavy icing" tab at the bottom. Fold it up along the dotted line and crease. Leave the tab in this position.

Color in the cake and icing.
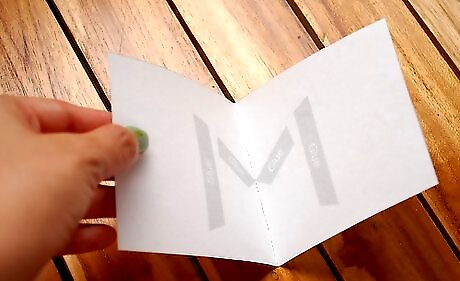
Fold the card in half along the center dotted line.
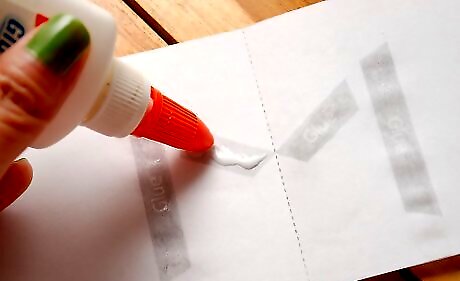
Apply white glue. Don't use too much glue or it will show through. Apply it first to the left angled area closest to the center of the card.
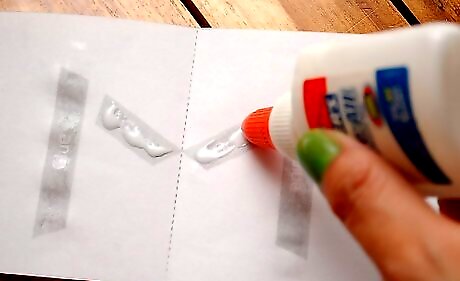
Apply glue to the right angled area closest to the center of the card.
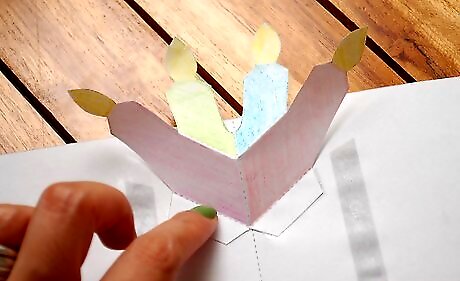
Carefully line up the tabs on the candles with the wet glue areas on the card. Press the candles' tabs into the glue. Make sure that the center dotted line on the candles matches the center dotted line on the card. Let the glue dry for 2 or 3 minutes.
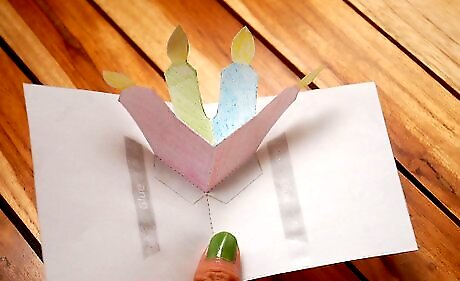
Wait until after the glue has dried and test the pop-up by slowly opening and closing the card. You may need to help the candles fold down for this first time.
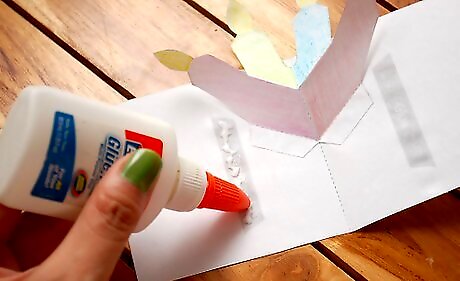
Apply glue to the remaining left glue area on the card.
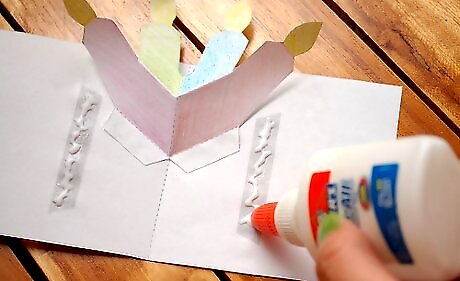
Apply glue to the remaining right area.
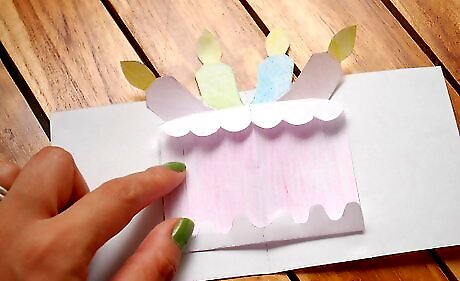
Line up the cake with the glue areas on the card. Press the tabs into the glue. Make sure that the center crease line matches the center dotted line on the card. Let the glue dry for 2 or 3 minutes.
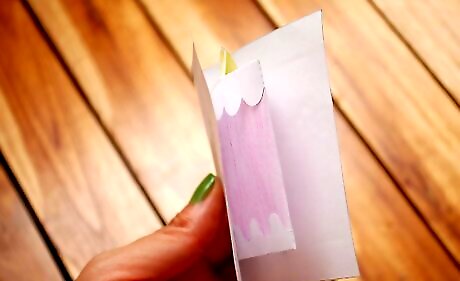
Slowly close the card after the glue is dry. You might have to help the cake fold in the first time. Open and close the card a few times to test the pop-up.







Comments
0 comment