views
Making a Cardboard Roll Mousetrap
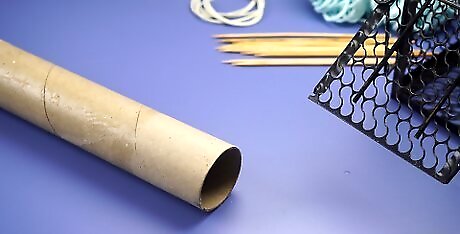
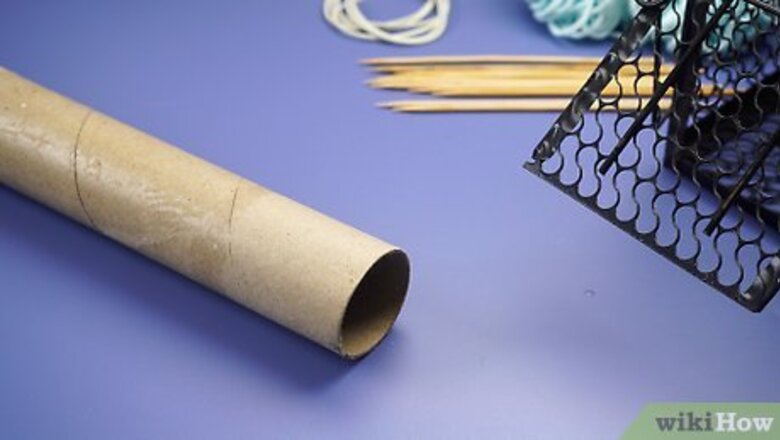
Obtain a long cardboard tube with one end closed. The tube might be from a paper towel roll or poster. It should be at least 12 inches long, 2-5 inches in diameter at its mouth, and have one end stopped with tape or with a cap. Place something soft in the closed end such as cotton balls or a wad of soft fabric.
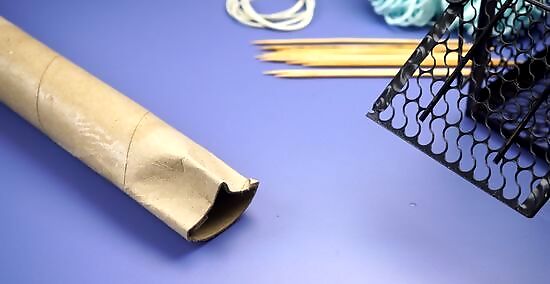
Flatten the tube along one edge. In order to make the the tube sit on a flat surface without it rolling about, you'll need to create a flat edge on the tube. Press a long crease in the tube along its length, then press another crease in the tube approximately 40 degrees around from the first crease. Stick a ruler in the tube to further flatten the space between the shortest distance from one crease to the other.
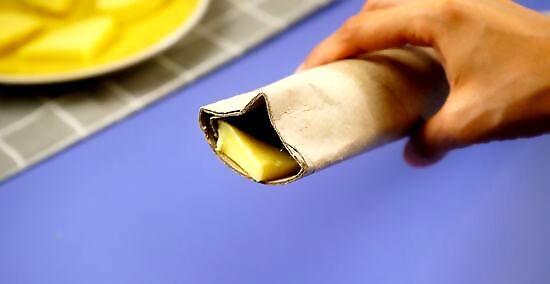
Bait the tube. Place a piece of cheese, candy, or bread in the far end of the tube. Ensure it is of sufficient mass to attract a mouse but not so heavy that it will significantly alter the weight of the tube. Do not choose foods which are sticky or gummy; they can be hard to get all the way down the tube. If you do want to use, say, peanut butter, you could apply them to the bait end of the tube before applying the cap.
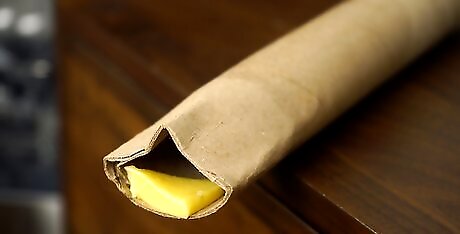
Place the tube on the edge of a countertop or second story landing. Place the tube in such a way so that about 40% of it, including the baited end, hangs over the edge of the landing. If necessary, affix the tube with a small piece of tape, but take care not to tape it so firmly that it would not give way and tip over the edge of the landing or countertop when the baited end was subjected to slight force. If you're in a single story home, obtain a cardboard box approximately one foot high and craft a cardboard ramp up to the top of the box. Place one end of the tube at the end of the box.
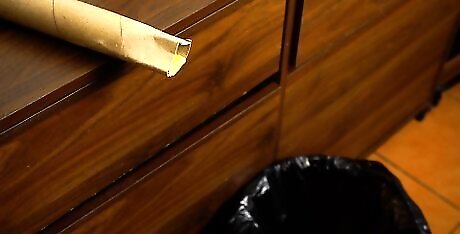
Place a trash can beneath the tube. The can should be wide enough to accommodate the falling tube. Place a small pillow, soft cloth, or pad on the bottom of the can to cushion the tube and mouse who will soon be trapped within. Do not use a trash can which is too wide. If you do, it's possible the tube will come to rest on an angle, rather than straight up and down. If that happens, the mouse will be able to climb out of the tube easily.
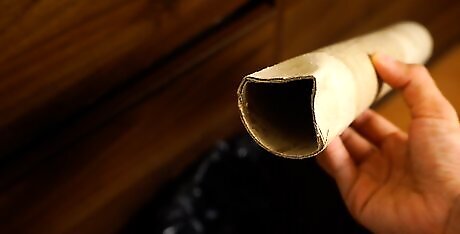
Check the trap frequently. When you see the tube sticking upright out of the trash can, it means the trap has been sprung. Look down the tube to ensure the mouse is within. Remove the tube and, keeping it upright with the open end up, take it at least five to ten miles from your house, preferably in an area free of housing. Dump the mouse out of the tube gently in a field or meadow. This type of trap is extremely effective, and ideal for mice living on or with access to a second story. If you don't think it's appropriate to drop the tube into a garbage pail several feet below the upper-story landing, you could affix the whole tube with a piece of string to the landing itself. That way, instead of dropping down into the garbage pail when the mouse triggered the trap, the tube would drop away and dangle harmlessly off the ledge until you recovered it.
Making a Plastic Bottle Mousetrap
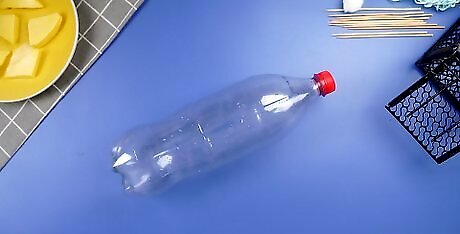
Obtain a one liter plastic water bottle. A similar bottle would work as well, but one liter water bottles are ideal because they are long and narrow, and often have flat sides which allow them to sit undisturbed. You could substitute a two liter bottle as well. Whatever type of bottle you choose, ensure it is transparent and composed of thin, pliable plastic.
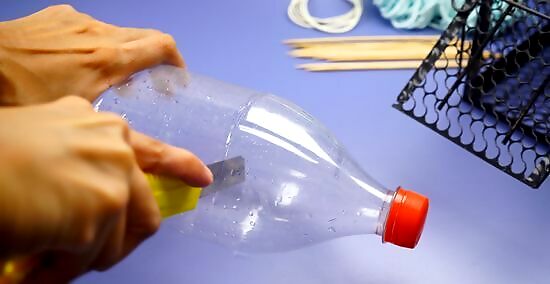
Cut around the bottle's circumference one inch from the place where it starts to taper toward the cap. If the bottle were standing up, you'd be cutting in a long horizontal line around its circumference. Do not cut the top completely off; rather, cut approximately 90% of the way around the bottle with a scalpel or extendable blade. When finished, the bottle should be flexible at the “hinge” (the 10% of the top and body of the bottle you did not cut).
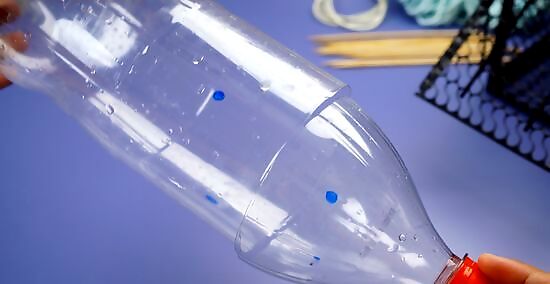
Lay the bottle on its side with the hinge on the table. With a black marker, mark two points on the side of the bottle approximately one centimeter from the place where it has been cut, one on the left side of the cut and one on the right side of the cut. The marks should be located half a centimeter from the top edge of the bottle. Rotate the bottle 180 degrees along its horizontal axis and place symmetrical marks on the other side. If you're using a round bottle rather than a bottle with roughly rectangular sides, it is more difficult to gauge where to place the marks. Try to place the marks about 90 degrees apart from each other around the circumference of the bottle, two on one side of the cut and two on the other.
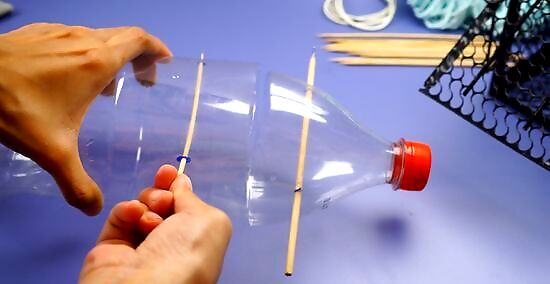
Insert skewers into the bottle. Take two five-inch wooden skewers of the kind used to grill shish kebab or construct various arts and crafts projects. They should be only a millimeter or so in diameter. Press the two skewers through the bottle from one set of points to the other using the marks you made. The skewers should pass through it in two parallel lines which run perpendicular to the normal orientation of the bottle if it were to stand on its base. Insert a third skewer, half as long as the first two, into the end of the bottle (the base the bottle would stand on in a standard vertical orientation). Stick a piece of cheese on the end of the skewer which is inside the bottle.
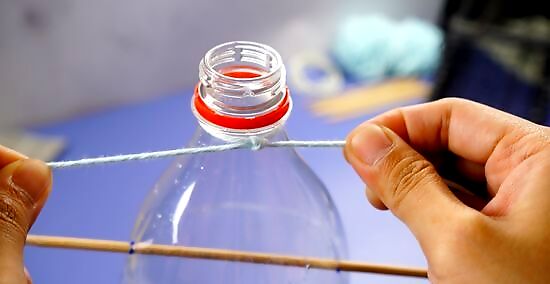
Affix a string to the bottle. With your bottle oriented so that the hinge is on the surface of the table, you should now have a bottle with two skewers through its upper part (one just to the left and one just to the right of the place you made the cut). Turn the bottle over so that the hinge is on the top. Unscrew the cap and place a string as long as the bottle approximately one inch down through the mouth. Screw the cap back on tightly with the string still partway inside. Give the string a slight pull to ensure it is snugly in place beneath the bottle cap.
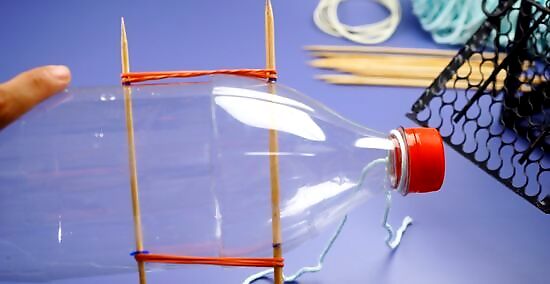
Place rubber bands around the skewers. Rubber bands about one centimeter in diameter are ideal. If you have trouble finding a band that small, try using some elastic hair ties. With the hinge on the upper side of the bottle, loop one band around the two skewers on the left side of the bottle and another band around the skewers on the right side of the bottle. When you pull up on the cap of the bottle while it's laying on its side with the hinge oriented above the skewers, the bands should pull back with slight resistance. Tie the other end of the string in a loop around the skewer sticking out the far end.
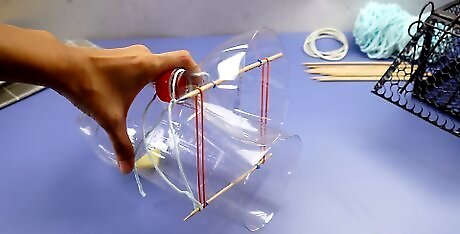
Place the trap in an enticing position. Place it in areas like along a wall or a high-traffic area near a mouse hole. When the mouse enters the bottle to eat the cheese, pull back on the string looped around the skewer sticking out of the bottle's bottom. The bottle will snap closed on the mouse, trapping it within. If you have a skittish mouse, you may need to modify the closing mechanism so that rather than pulling the looped string up from the skewer in the bottle's end by hand, you pull from a distance away with another length of string. Doing so could increase the trap's effectiveness, but will require more patience on your part.
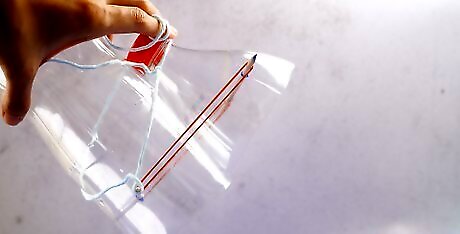
Take the mouse a distance from your home and release it. Wear sanitary gloves and carry the bottle in an upright position at least five to ten miles away from any human habitation. Open the trap in a meadow or forest, allowing the mouse to go free. Dispose of the sanitary gloves and bottle trap. This type of trap is perfect for a brave or arrogant mouse who thinks he has the run of the house. If mice have become accustomed to human activity and brazenly scurry about even in the presence of many people, you'll be able to snap this trap closed on them with little trouble.
Making a Coffee Can Mousetrap
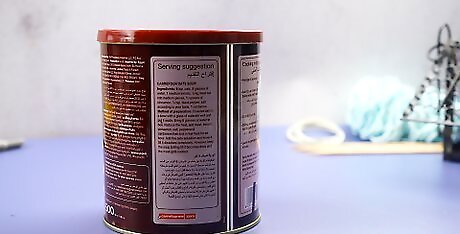
Obtain a large coffee can. The can should have a mouth approximately five to six inches across and a height of about seven to eight inches. The coffee can should have smooth sides which cannot be easily scaled by rodents. If using economy size coffee cans which are ten inches deep or more, place a small pad or bunched cloth at the bottom to prevent injury to the mouse you'll catch. You can use plastic or metal coffee cans. If using metal, though, ensure they aren't ribbed with concentric rings which the mouse might use like a ladder to escape.
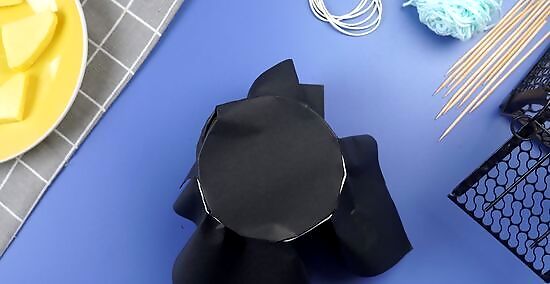
Wrap a piece of construction paper over the top of the can. Hold the paper in place using a rubber band wrapped around the rim of the can. Take an extendable blade and cut an “X” in the top of the construction paper, stopping about one inch from the edge of the can at each of the four lines. Tissue paper might also work in place of construction paper. It is important to maintain the appearance that the papered-over coffee can is capable of supporting the mouse when it walks across it. Instead of cutting a solid “X”, you could try poking small, closely-spaced holes in an “X” shape across the surface of the paper.
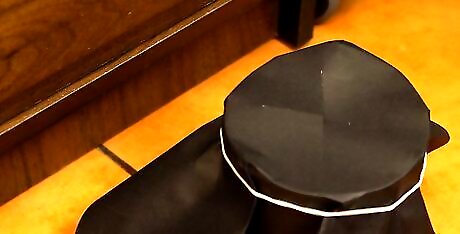
Place the can on the floor in an area where the mouse resides. Lay a long ruler or paint stirring stick from the floor to the mouth of the coffee can. If necessary, affix the ruler or stick to the can with tape. Mice come in different sizes. If you find that your mice are unable to scamper up the thin ruler, consider placing two next to each other and taping them together to ensure easy access to the trap.
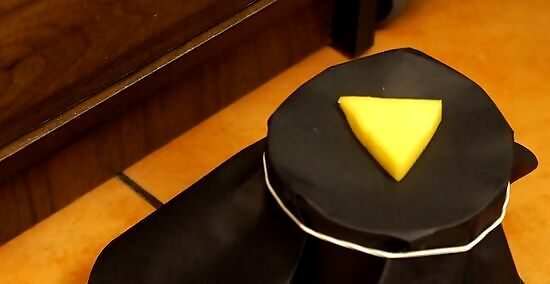
Place a piece of food on the construction paper. Place the food -- cheese, a piece of candy, or bread -- along the edge of the coffee can directly opposite the point at which the ruler, paint stirring stick, or other ramp-like object you've affixed to the coffee can meets the can's mouth. Do not select a bait food which is too heavy or gives lie to the illusion that the papered-over surface of the coffee can is stable. Do not place the coffee can near a countertop or step stool from which the bait could be eaten from the far side of the ramp without passing over the construction paper.
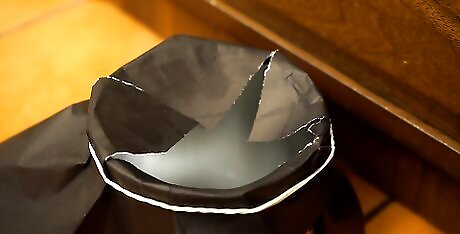
Wait for the mouse to fall in. The mouse will run up the ruler to reach the food on the opposite side of the coffee can, then fall into the can when the apparently solid surface gives way beneath it. You'll know the trap has been sprung if you see the bait you laid is no longer there, or if the construction paper has been partially torn. Check the can for the mouse. Remove the ruler or makeshift ramp from the can and take the can to a location about five to ten miles from human habitation. Place the can on the ground and turn it sideways, allowing the mouse to exit.





Comments
0 comment