views
Making an Old Shirt into a Crop Top (No-Sew)
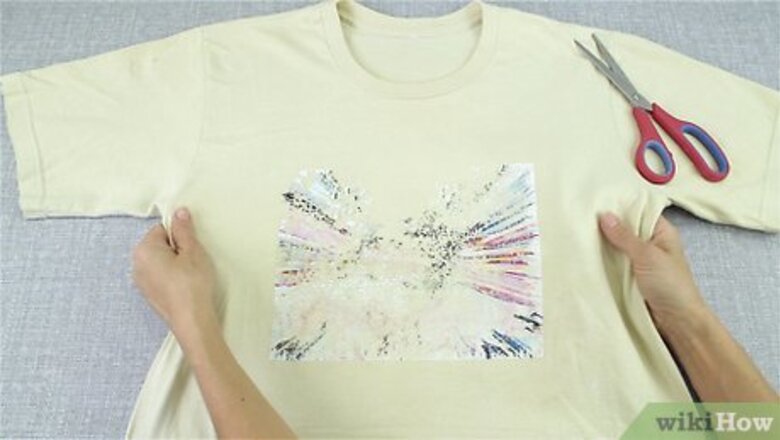
Choose an old shirt to turn into a crop top. You can crop just about any type of shirt or sweatshirt. Choose a top that fits you well or that is a bit loose if you want to add ties in the front, or go with a tight, stretchy top if you want something that will be form-fitting. Try making a crop top out of a t-shirt, an old button-down dress shirt, or a form-fitting tank top. Make sure to choose a shirt you are okay with cutting up! It will look very different after you are finished with it.
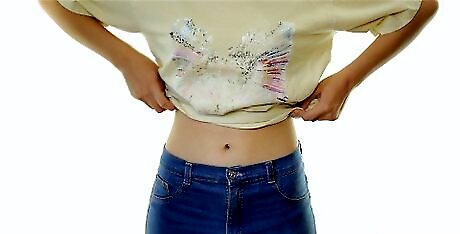
Identify a crop top length. Put on the shirt you will be using and stand in front of a mirror. Fold the bottom of the shirt up and play around with different lengths until you find one you like. A typical length is a few inches above the belly button, but you can make the length shorter or longer if you like. Use a fabric pen or chalk to mark the length that you want the shirt to be. You may want to have a friend help you with this part. Ask them to trace a line going all the way around the top where you want to crop it.Tip: Plan to leave the shirt a little longer than you want it to be to ensure that you like the length. You can always make it shorter, but you can’t make it longer again.
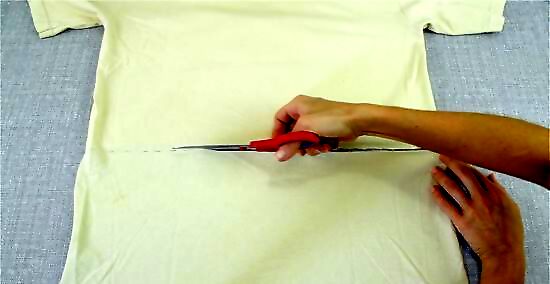
Cut off the bottom of the shirt at the length you have chosen. Remove the top and lay it on a flat, hard surface, such as on a table, a countertop, or the floor. Smooth out the shirt so that there are no bumps in the fabric. Then, use a pair of scissors to cut straight across the line you have traced onto the shirt. Make sure that there are no jagged edges! It is important to cut the shirt cleanly for best results.
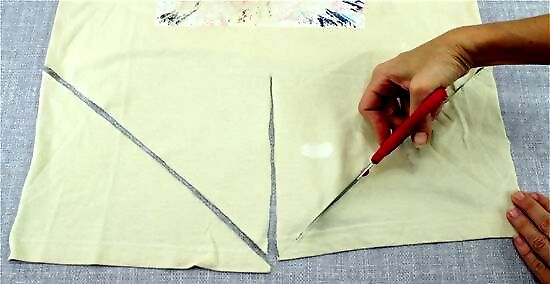
Reserve 2 triangular strips of fabric to secure the shirt, if desired. Do not cut all the way around the top if you want to secure it in the front! Create 2 triangular strips of fabric in the front of the shirt that you can use as ties. Cut down from the new bottom of the top toward the old bottom of the top to create the triangles. If you are making a crop top out of a button down shirt, reserve the fabric on either side of the front edges of the shirt where the buttons and buttonholes are located.
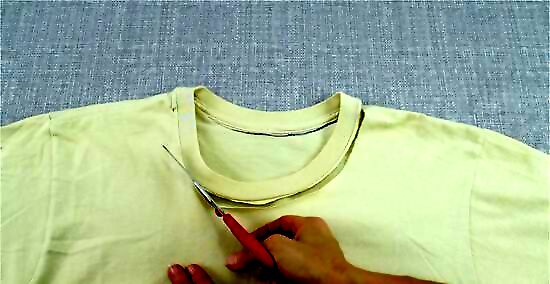
Cut along the inside of the collar with fabric scissors. You can leave the collar in place if you like the way it looks, or remove it for a lower cut neckline. Lay the shirt down on a flat surface before you remove the collar. Be sure that the shirt seam lines are even and there are no wrinkles in the fabric. Next, cut off the collar of the t-shirt. Cut about 0.5 in (1.3 cm) from the hem of the collar to remove it completely. Remember, you can always cut off more fabric for a lower neckline, but you cannot add it back on. Cut only a small amount at first and then try it on before you cut any more.
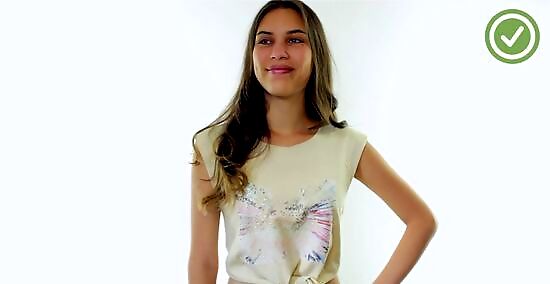
Cut off the sleeves for a sleeveless crop top. If your shirt has sleeves and you want to remove them, then cut along the inside of each of the shoulder seams on your shirt. Cut a straight line using fabric scissors to remove the sleeve fabric. To create openings in the sides of the shirt in the underarm area, cut out a longer sleeve opening.
Turning a Pair of Leggings into a Crop Top (No Sew)
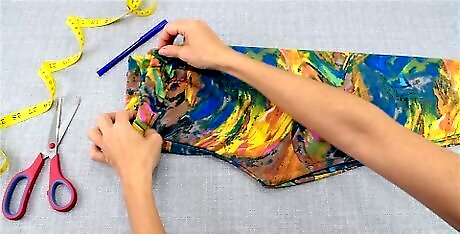
Fold the leggings in half so that the legs are aligned. Place the leggings on a hard surface, such as a table, countertop, or hard floor, and fold the leggings so that the legs are stacked. Smooth out the fabric with your hands to make sure that there are no lumps or bumps anywhere in the leggings.Tip: Leggings will create a very short, fitted crop top. If you don’t want this type of top, then make a crop top out of a shirt instead.
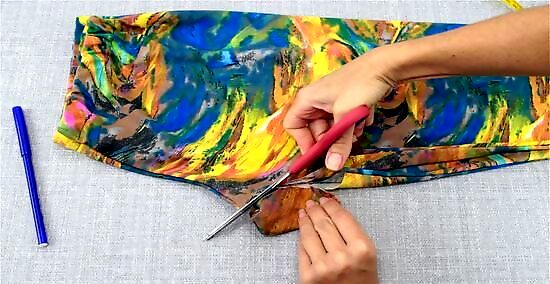
Cut a 4 in (10 cm) diameter circle at the crotch. Use a pair of sharp fabric scissors to cut out a circle right around the crotch of the leggings. You can make the section larger if you want a lower cut top, but try the crop top on before you cut it more. Slip your arms into the leg openings and your head through the hole you cut to see how it fits. If you prefer a v-neck shape, then cut a 4 in (10 cm) strip along the crotch instead.

Cut the legs shorter if desired. Leaving the legs as is will result in a long-sleeved crop top. However, you can cut the legs shorter if you want a short-sleeved top. While wearing the top, mark the sleeves where you want them to end and then remove the top. Lay the leggings out flat and cut straight across where you have marked them. Try the leggings on again before you cut them any more! You can also use capri style leggings or bike shorts to make a short-sleeved crop top.
Sewing a Crop Top
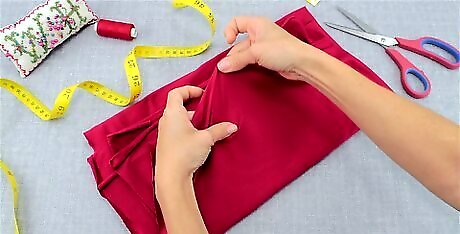
Choose 1 yard (0.9 m) of a fabric that has some stretch to it. Opt for a cotton jersey or another type of stretchy fabric that you like to make your crop top. This will help to ensure that the crop top will be form-fitting and flattering. You can use a print or solid fabric. Avoid fabrics that are bulky or rigid, such as wool, pleather, and velvet.
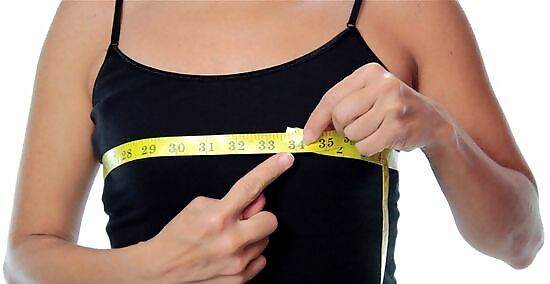
Measure the circumference of your bust, waist, and upper arms. Accurate measurements will help you to create a crop top that fits you well. Use a soft, flexible measuring tape to find the circumference (area around) your waist, bust, and upper arms. Write down the measurements. Measure the area around your waist where you want the bottom of the crop top to fall. For example, if you want the crop top to end at your belly button, then measure around this area. Measure at the widest part of your bust and upper arms.
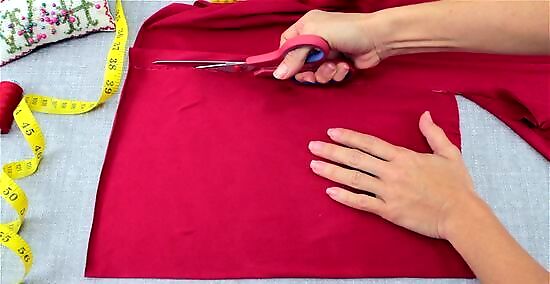
Cut out 2 pieces using the dimensions of your bust, waist, and desired crop top length. Fold your fabric in half and draw a rectangle on it that is half the width of your bust measurement on 1 side and half the width of your waist measurement on the other side. The rectangles should be the length of the distance between your bust and waist. For example, if your bust measurement was 34 in (86 cm), waist was 29 in (74 cm), and the distance between the 2 is 13 in (33 cm), then your rectangles would need to be 17 by 14.5 by 13 in (43 by 37 by 33 cm). Add 1 in (2.5 cm) to each of these measurements only if you plan to hem the fabric. Cut along the lines you have drawn on the fabric to ensure an even cut.
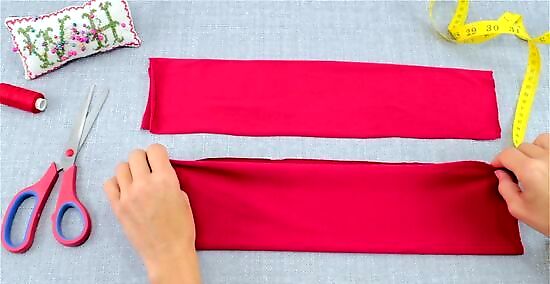
Cut out 2 pieces for the 2 sleeves. Draw 1 rectangle on a piece of folded fabric that is the total width of your arm circumference by the desired length of your sleeves. Then, cut along the lines to get 2 equal-sized pieces. You may make the sleeves as long or as short as you want them to be. For example, if your arm circumference is 16 in (41 cm) and you want 6 in (15 cm) sleeves, then cut 2 rectangles that are 16 by 6 in (41 by 15 cm). Make sure to add 1 in (2.5 cm) to each of both measurements if you plan to hem the fabric. Follow the lines you have drawn on the fabric to ensure that you cut it evenly.
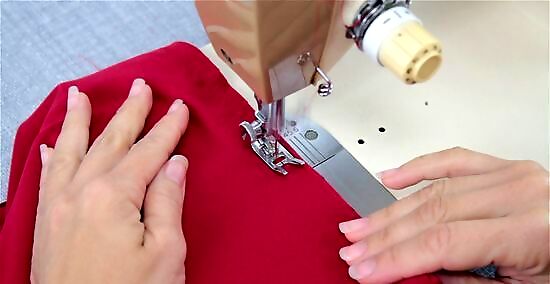
Sew a zigzag stitch to secure the sides of the 2 body pieces. Stack the 2 body pieces so that the edges are even and the wrong (back) side of the fabric is facing out. Then, sew a zigzag stitch 0.5 in (1.3 cm) from the edges of the 2 pieces that will be the sides of the crop top. The zigzag stitch is the best option for sewing stretchy fabric since it will stretch with the fabric.
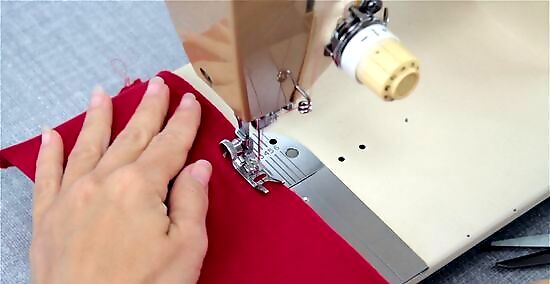
Fold each of the sleeves in half and secure them with a zigzag stitch. Fold the sleeves so that the wrong (back) side of the fabric is facing out. Then, sew a zigzag stitch 0.5 in (1.3 cm) from the raw edges of the fabric. This will secure each of the sleeves in a circle. Cut the excess threads from the edges of the sleeves after you finish sewing the seams.
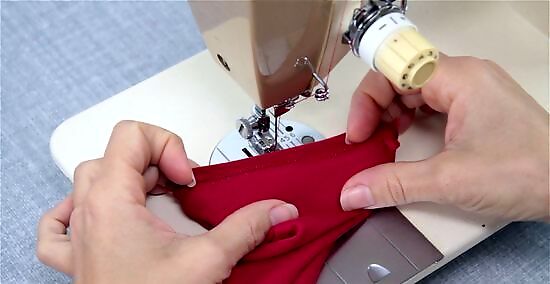
Hem the edges of the sleeves and body if desired. Most stretch cotton fabric does not require a hem, but you may hem the edges of your sleeves and body piece if desired. Fold over the raw edges of the fabric by about 0.5 in (1.3 cm) and sew to secure the folded fabric on the inside of the shirt and sleeves. Make sure that the fabric is folded so that the raw edges will be hidden on the inside of the shirt. Fold the raw edges towards the wrong (back or inside) of the fabric. Cut the excess thread after you finish hemming the shirt.

Attach the sleeves to the sides of the crop top. With the body and sleeves turned inside out, match up the corner of 1 sleeve’s inner seam with the top corner of the crop top. Sew a straight stitch in the shape of a square or diamond around the edges where the sleeve and body piece overlap. Then, repeat on the other side of the body piece to secure the other sleeve. Cut the excess thread when you are finished, and then try on your crop top! It is finished! Crop tops are useful for the petite. A crop top might end to your waist. You can wear it with a high-waisted bottom with high-waisted jeans, high-waisted pants, high waisted skirts so that you do not show your skin. It is better not to wear a longer t-shirt underneath because it is not in keeping with the purpose of a crop top that is supposed to be a short piece.


Comments
0 comment