
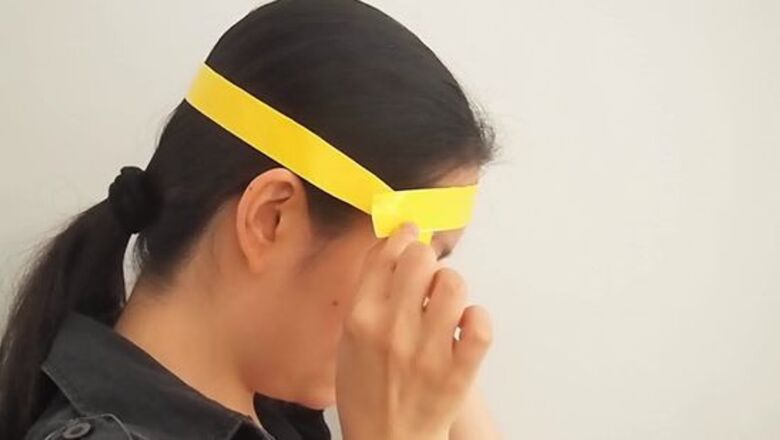

Measure the circumference of your head. Fold a long strip of duct tape in half lengthwise so that there are no sticky areas. Wrap the strip loosely around your head and mark where it overlaps. Alternatively, use a measuring tape and record the inches (cm).
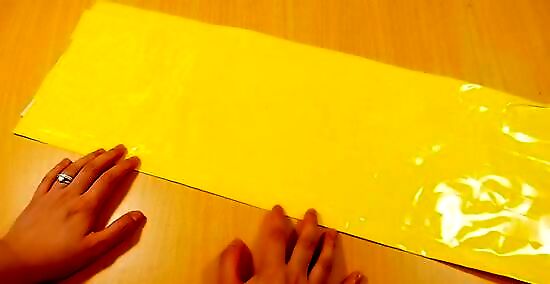
Make a sheet of duct tape fabric. This will form the upper section of the hat. It should measure the same length as the strip you wrapped around your head (or your recorded measurement). The width will determine the height of your top hat, and is variable depending on your preference, such as 10 inches (25 cm). To make the fabric, lay down strips of the tape sticky side up. Overlap the pieces lengthwise by about a 1/4 inch (.6 cm). Cover the sheet with another layer of tape sticky side down to make a full sheet that is smooth on both sides. Smooth the tape firmly as you work to avoid air pockets or wrinkles.
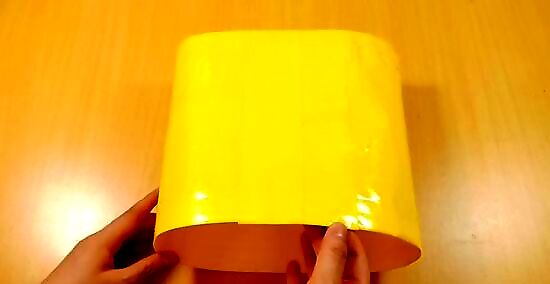
Form the duct tape sheet into a cylinder. Bring together the shorter sides and tape them together.
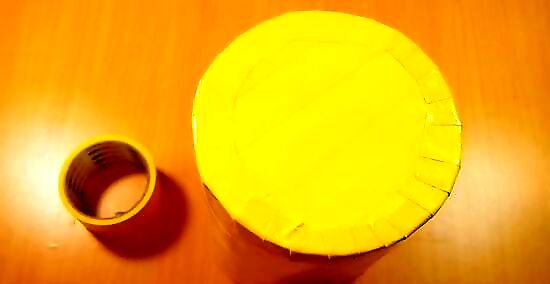
Make the top of the hat. Make another sheet of duct tape fabric large enough to cover the hole in the cylinder with about 2 extra inches (5 cm) on the edges of the circle. Place the cylinder on the duct tape sheet and trace around it. Draw a second circle around the first that is 2 inches (5 cm) larger on all sides. Cut out the larger circle. Make about 8 to 10 equally-spaced cuts from the edge of the sheet to the edges of the smaller circle. Fold the strips toward the center of the circle. Place the circle over the opening of the cylinder with the strips on the inside. From the opposite opening, tape the strips down to the inside of the cylinder.
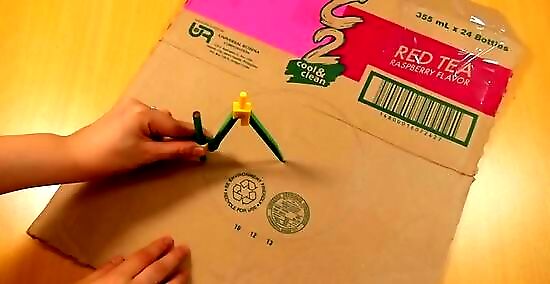
Make the brim of the top hat. Using a piece of cardboard large enough to accommodate the brim, trace the shape of the cylinder onto the center.Watermark wikiHow to Make a Duct Tape Top Hat Draw a second circle around the first at least 3 inches (7.6 cm) wider on all sides, just as you did with the top, but larger. Cut out the larger circle.Watermark wikiHow to Make a Duct Tape Top Hat Cut a small hole in the center of the cardboard. From the center, cut 8 to 10 equally-spaced strips from the center hole to the edges of the smaller circle. This will create the hole for your head.Watermark wikiHow to Make a Duct Tape Top Hat Fold the strips upward and tape them to the inside of the cylinder.Watermark wikiHow to Make a Duct Tape Top Hat Cover the top and bottom of the brim with duct tape.Watermark wikiHow to Make a Duct Tape Top Hat
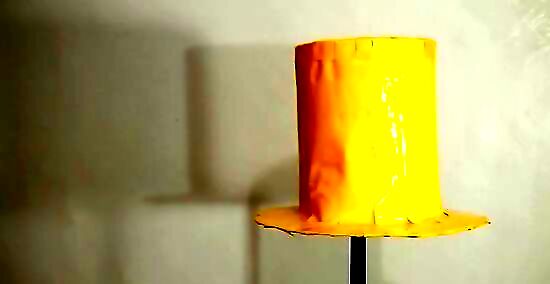
Finished.


Comments
0 comment