
Using the Mobile App
Open Facebook. It's the blue-and-white "f" icon on the home screen or in the app drawer. This opens your News Feed if you're already logged into Facebook. If you aren't already logged into Facebook, enter your email address (or phone number) and password to do so now.
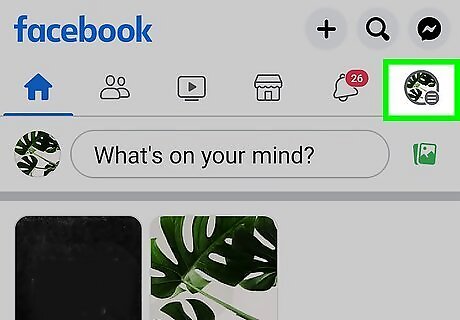
Tap the menu ☰. It's the three horizontal lines at the bottom-right corner (iPhone/iPad) or top-right corner (Android).
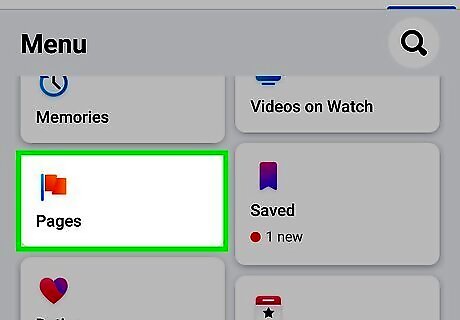
Scroll down and tap Pages. It's toward the bottom of the menu. If you already have at least one Page, tap Your Pages instead.
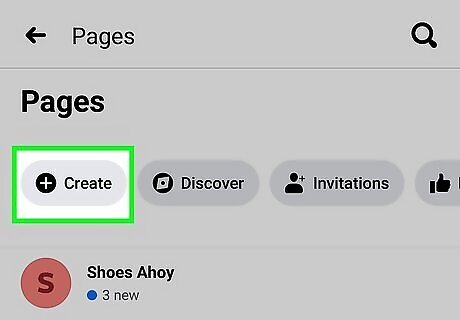
Tap + Create. It's at the top-left corner. Some information about Facebook Pages will appear.
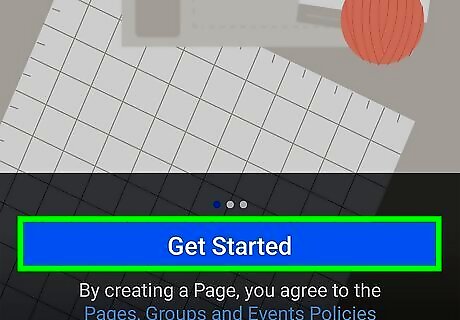
Tap the blue Get Started button. This option is at the bottom of the screen.
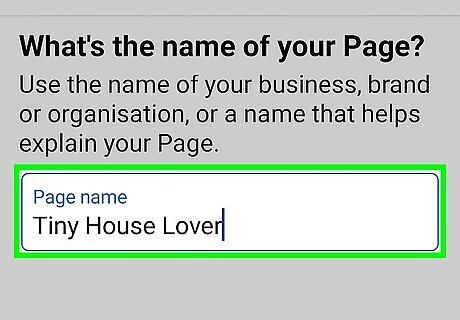
Name your page and tap Next. The name of your Page should be the name of your organization, brand, or business.
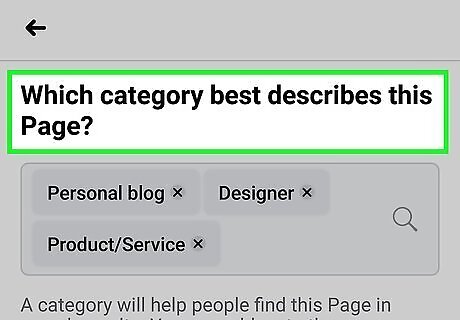
Select up to 3 categories and tap Next. Choose categories that reflect the sort of content your Page will contain. For example, if you're an actor, type actor into the search bar and tap Actor in the search results.
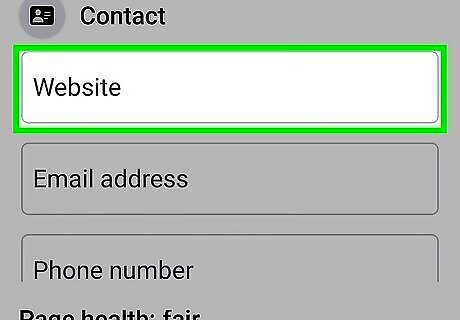
Enter a bio and contact information (optional). If you want to add a description to your page, enter that in the "Bio" section. You can also add your website, email, and phone number under "Contact." Adding your website is optional but can help increase your visibility, especially if you're making a Page for a business, product, service, or something similar. If you don't want to add a bio or contact information, skip this step.
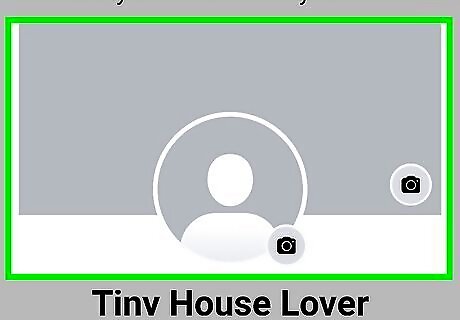
Add a profile and cover photo (optional). Your profile photo should be your photo or logo, and the cover image can be any applicable image you want to display in the large area at the top of your Page. To add photos: Tap Add profile picture, select the image, and edit it if you'd like. When you're finished, tap Use. Tap Add cover photo, select an image, and tap Done. Then, drag the photo to align it properly within the dimensions necessary for cover images. Tap Save to see a preview of your profile image and cover image together. If you don't want to add a profile or cover photo, skip this step.
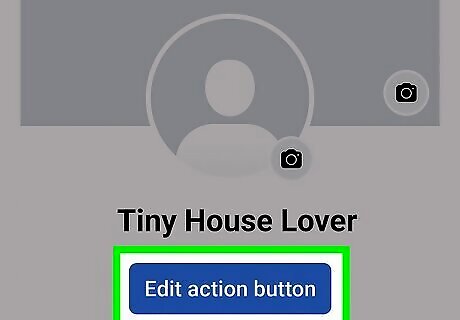
Tap Edit action button to add an Action Button (optional). You can add an Action Button to create appointments, sign up for an email list, start an order, view your shop, buy tickets, or contact you via Messenger, WhatsApp, or a phone call. Follow the on-screen instructions to set up your Action Buttons, if you want to add them. If you don't want to add any Action Buttons, you can skip this step.

Tap Invite friends to invite your friends to your Page (optional). To jumpstart your Page's engagement, you can invite friends to follow your Page. However, if you don't want to do this you can tap Next to skip this step.
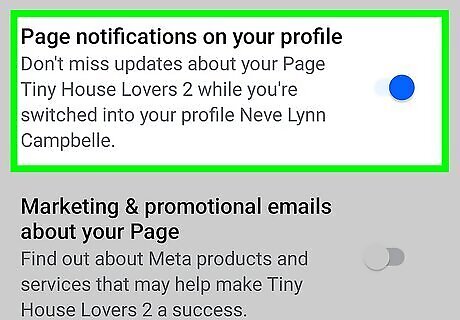
Choose your Page notification settings. These settings are enabled by default, and you can leave them both toggled on to leave them enabled. Otherwise, tap the toggles to disable one or both of these options.

Tap the blue Done button. It's at the bottom of the screen. Once you do, you'll be moved to your new Page. Tap the pencil icon in the top-right corner to access your Page's settings. This is where you can edit your Page info, set messaging preferences, add your location, and much more. Tap Create a post to create your first post.
Using a Computer
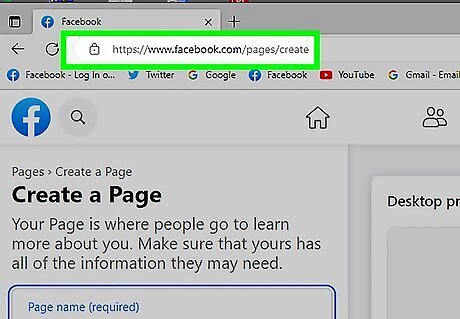
Go to https://www.facebook.com/pages/create in a web browser. If you're signed in to Facebook, this opens the Create a Page screen. If you're not signed in, follow the on-screen instructions to sign in now. Alternatively, you can go to your Facebook homepage and click the Pages button in the left hand sidebar, and then click Create new Page.
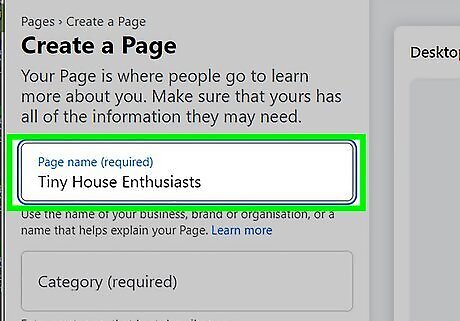
Type your Page's name into the "Page name" field. It's at the top of the left panel. The name of your Page should be the name of your organization, brand, or business.
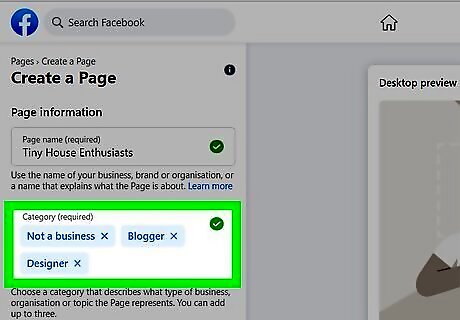
Enter up to three categories. Putting your Page into appropriate categories can help the right people find you. To get started, click the "Category" blank in the left panel—some suggestions will appear. You could also start typing a category like Blog, Public Figure, or Design and then click the corresponding category in the search results.
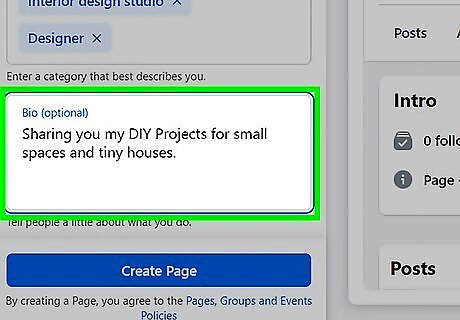
Type a bio for your page (optional). The "Bio" panel in the left panel should contain some information about your products, services, organization, or brand. You can type up to 255 characters in this box.
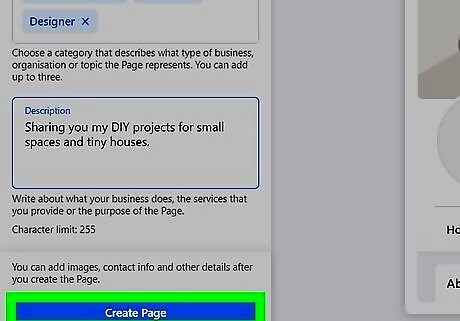
Click the Create Page button. It's at the bottom-left corner.
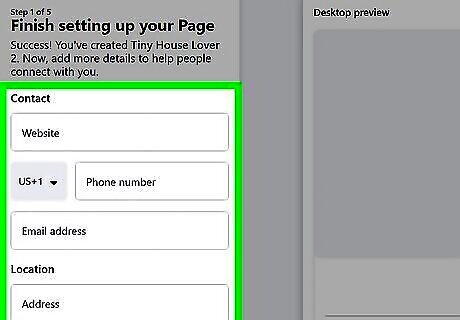
Add additional information (optional). After creating your page, you can add your contact, location, and hours, if applicable. Once you've added the information you want to include (or you want to skip adding this info) click Next.
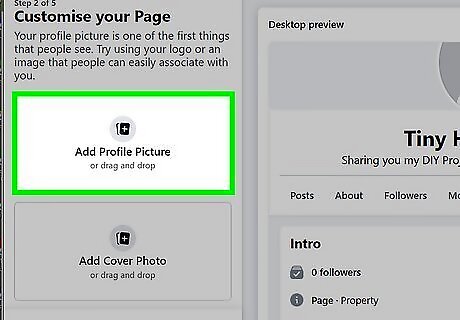
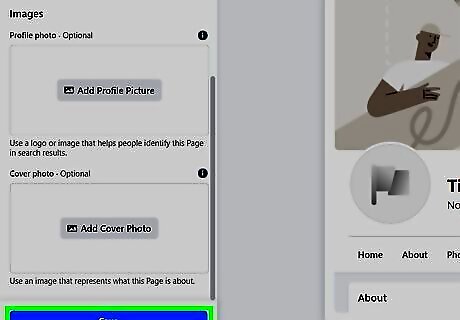
Click Add profile picture to add a profile photo (optional). Select an image that contains your likeness or brand/organization's logo. When people search for your Page, they'll see the profile photo along with the Page name in their search results. If you don't want to add a profile picture, you can skip this step.
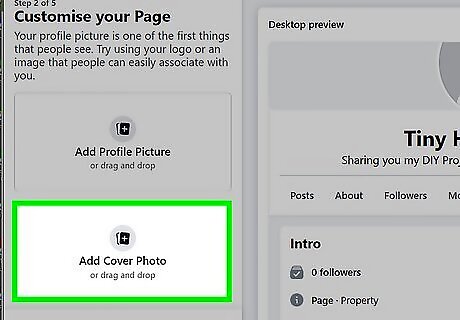
Click Add cover photo to select a cover photo (optional). The cover photo is a wide image that appears at the top of your Page. When you select an image, drag it to the desired position in the preview window. If you don't want to add a cover photo, you can skip this step.
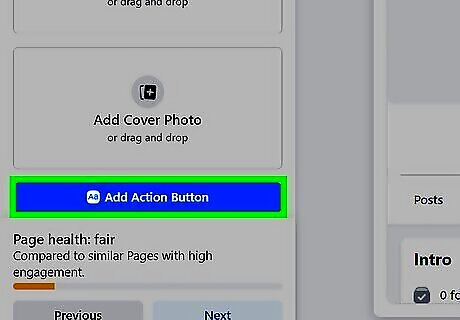
Click Add Action Button to add an Action Button (optional). You can add an Action Button to allow visitors to create appointments, sign up for an email list, start an order, view your shop, buy tickets, or contact you via Messenger, WhatsApp, or a phone call. Follow the on-screen instructions to set up your Action Buttons, if you want to add them. If you don't want to add any Action Buttons, you can skip this step.
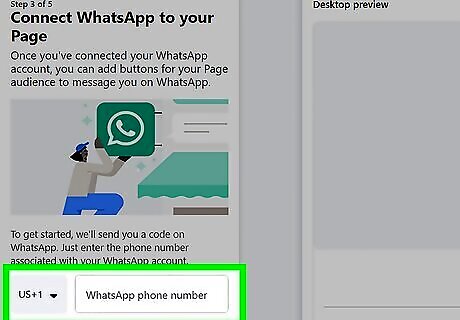
Add your WhatsApp contact information (optional). If you have a WhatsApp number associated with your business, you can connect it to your new Page. Simply enter your WhatsApp phone number and click Get code to verify the number. If you don't want to connect your WhatsApp number to your Page, you can skip this step.
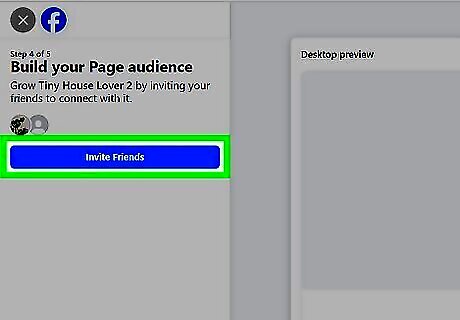
Click Invite friends to invite your friends to your Page (optional). To jumpstart your Page's engagement, you can invite friends to follow your Page. However, if you don't want to do this you can click Next to skip this step.
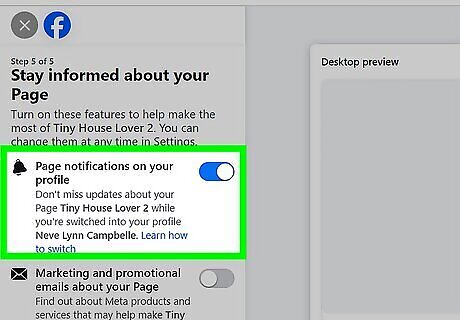
Choose your Page notification settings. These settings are enabled by default, and you can leave them both toggled on to leave them enabled. Otherwise, click the toggle to disable one or both of these options.
Click the Done button. It's at the bottom of the left panel. This saves your progress and brings you to your brand new Page. Click Settings in the left panel to edit your Page's general information, add contact information, your location, your Page's visibility, messaging preferences, and other options.


Comments
0 comment