views
Making Glasses With a Bottle Cutter
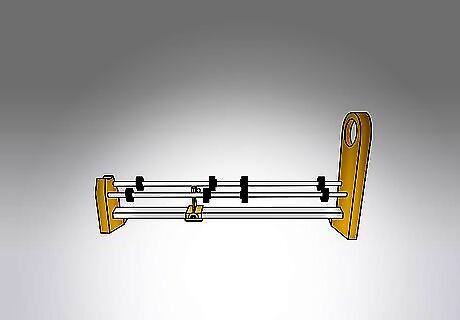
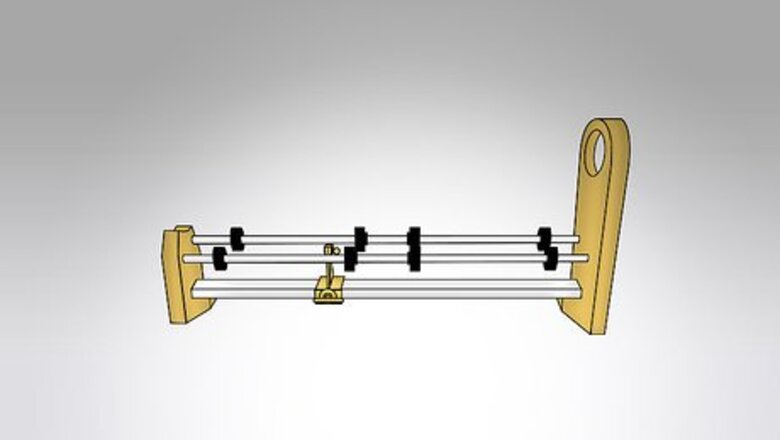
Purchase a bottle cutter or a bottle cutter kit. They are available for $18 to $50 on Amazon and other online retail websites. Choose a model with a base that holds the bottle in place.
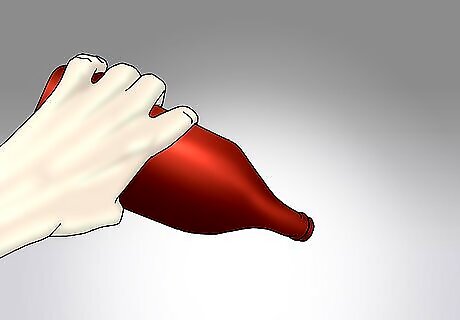
Empty the bottles you want to cut. Clean them out and leave them to dry overnight.
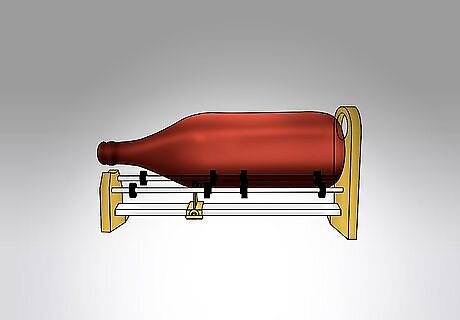
Set your bottle cutter on a flat table. Decide how tall you want your glass to be by adjusting the base of the cutter.
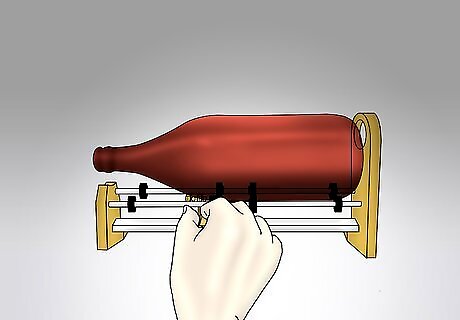
Place your bottle horizontally into the bottle cutter and bring the blade flush with the bottle.
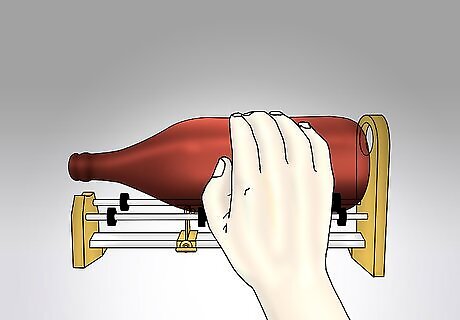
Turn the bottle clockwise in a smooth motion. You should hear the blade scraping against the surface of the bottle. You should feel when the blade reconnects with the original starting point.
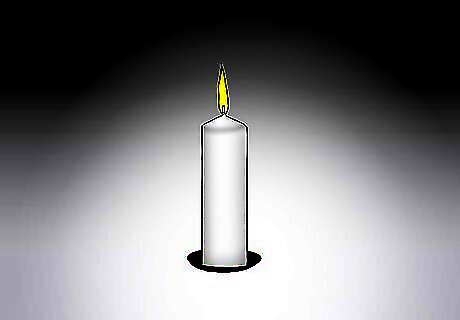
Light a large candle. Heat the scored line above the heating element. Turn the glass constantly and allow the flame to just lick the surface of the glass.
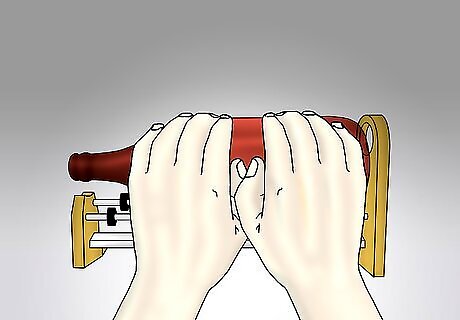
Turn it slowly and listen for stress on the glass. Once you feel it is fairly hot, it is time to change the temperature on the surface of the glass.
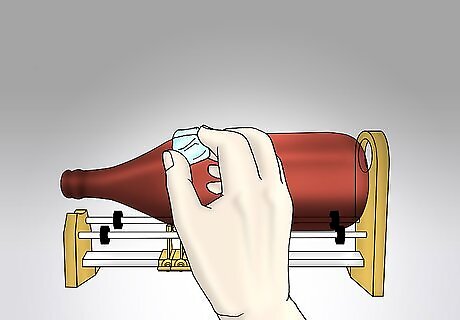
Apply an ice cube against the scored, heated line in the glass. Move it horizontally. If the change in temperature is great enough, you should hear the glass click to indicate it is breaking along the score line. If it does not click, return it to the heating element for a few more minutes.
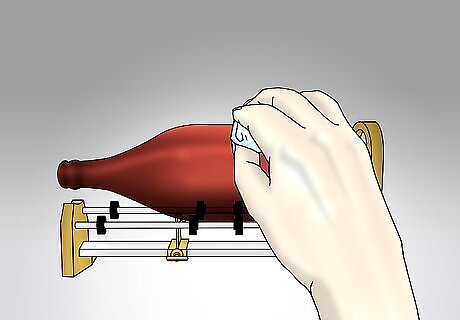
Move the ice cube along the line. If an area of the glass is thicker, you may need to place it over the flame for a little while longer, and then apply ice across the line.
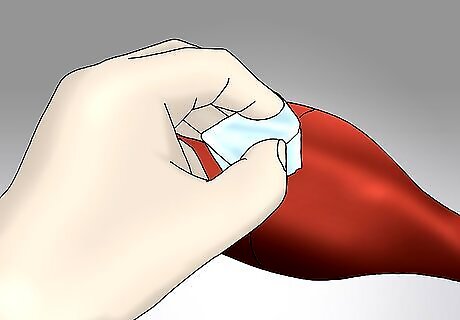
Wait for the entire line to be stressed enough to crack along your horizontal line. Move gently and slowly to reduce the risk of vertical cracks and uneven edges.
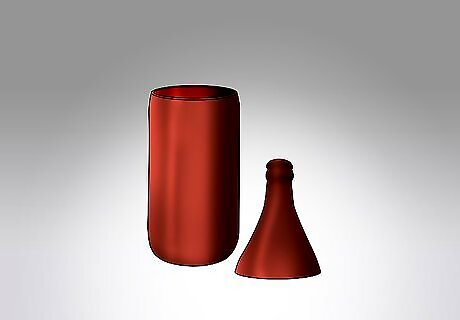
Remove and discard the top of the bottle. If the cut was extremely even, you can reserve it as a funnel for future craft projects.

Find a piece of spare glass, like those that come with picture frames. Pour some silicone carbide dust onto the glass. Wet it with a tsp. of water. Silicon carbide is the dust used to make emery boards.
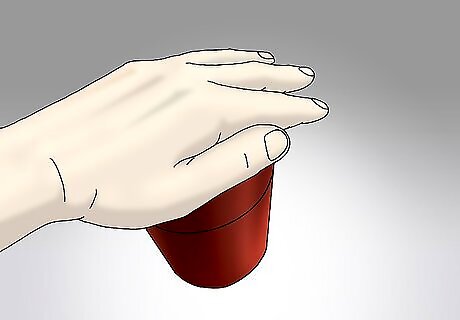
Tip the glass over to soften the raw edges. Move the top of the glass in a circular motion against the silicon carbide. Do this for one to two minutes.
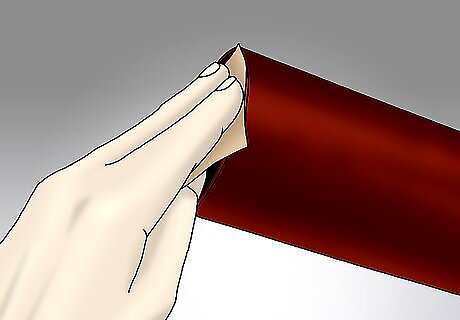
Test the top of the glass for smoothness. File down the edges further with fine-grit sandpaper.
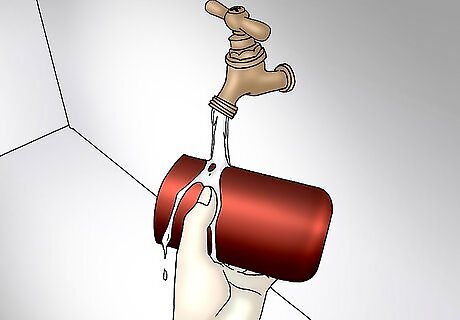
Wash your glass and use it.
Cutting Glasses With String and Flame
Empty the bottle you want to make into a glass. Clean them and let them dry overnight.
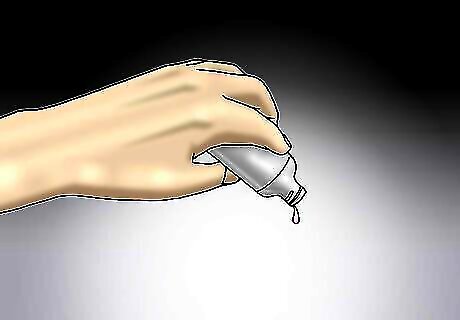
Pour acetone nail polish remover in a bowl that is wider than the glass. Keep your bowl in a ventilated area near a sink. Cover the areas where you are making glasses with a drop cloth to avoid damage from acetone, fire and glass damage.
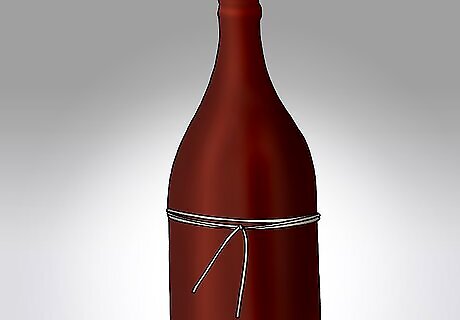
Wrap a piece of string or yarn three to four times around a bottle below the point where it starts to curve. Tie it securely and cut the ends.
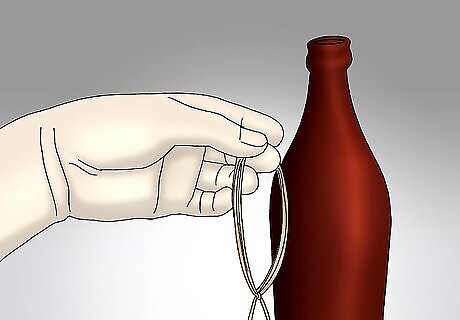
Slip the wrapped string off the top of the bottle. Soak it in the acetone for at least one minute while keeping the shape of the string.
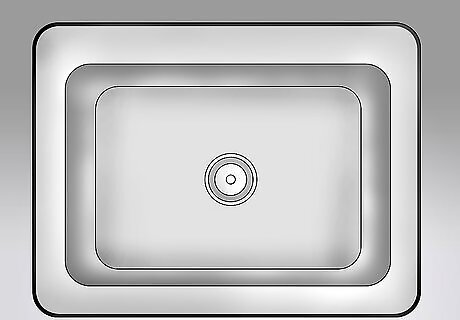
Fill your sink with cold water. Drop in ice cubes to make an ice bath.
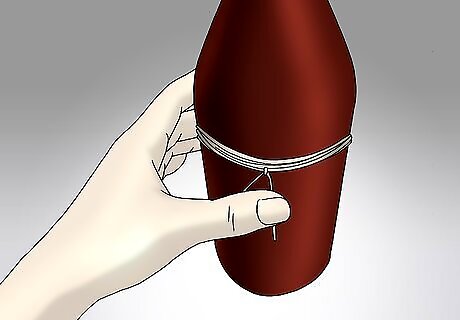
Slip the soaked string back on the bottle. It should still fit securely. Make sure your yarn line is very level, as it will yield the top portion of your glass.
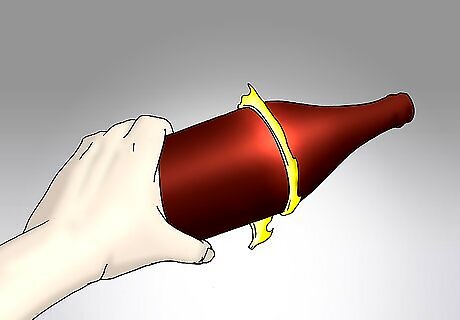
Turn the bottle on its side and hold it from the base over the ice bath. Light the string on fire with a lighter. Let it burn for about 30 seconds until the flame burns out.
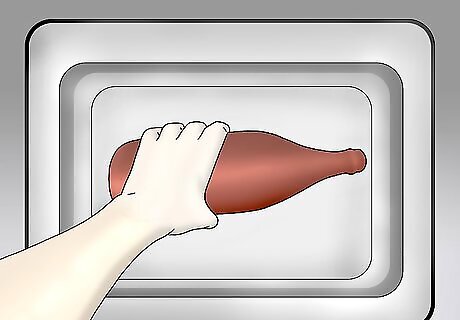
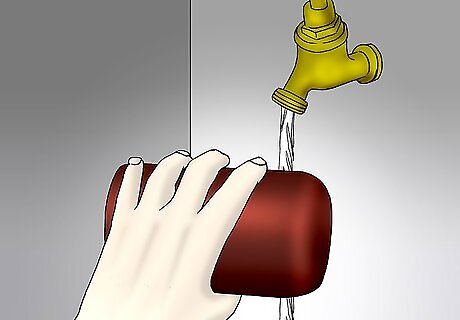
Submerge the bottle deep into the ice bath. The stress should crack the bottle across the burn line and break it fairly cleanly. Repeat the process. With practice you should reduce the vertical cracks and unevenness of breakage.Make a Glass from a Bottle Step 23Bullet1.jpg
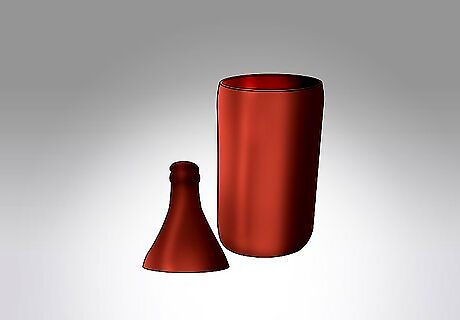
Wait half an hour for the glass to come to room temperature. Sand the top of the glass with a piece of fine-grit sandpaper. Test the edges to ensure it is safe for drinking.
Wash the glasses thoroughly before using.


Comments
0 comment