views
Paper journals are far less expensive than buying pre-made journals, and you can customize the cover and the pages.
Making a Small Book
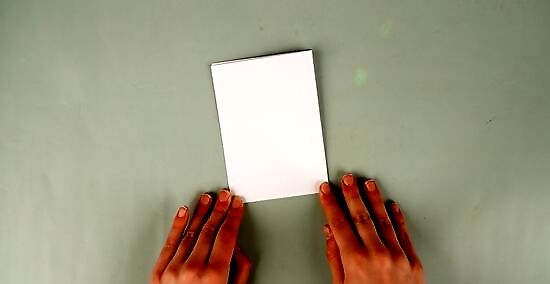
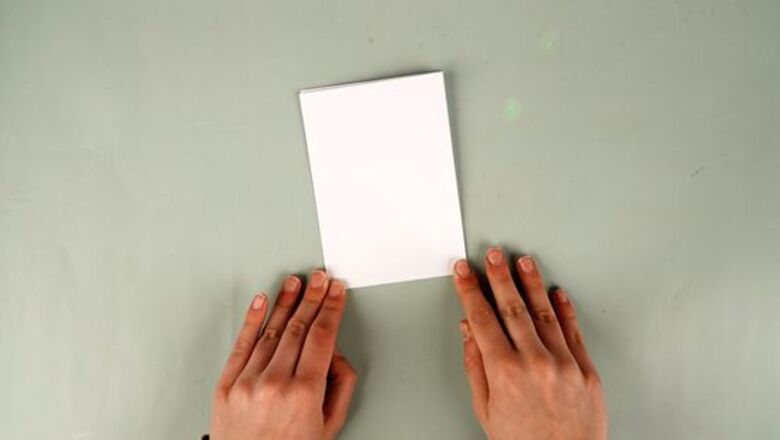
Fold a piece of paper into eighths. Spend some time folding, as the quality of your folds will determine the quality of your book. Be sure your folds are even and you crease each one well. Consider sliding your fingernail or something hard such as the edge of a pencil over the crease. Start by folding the paper so that it is long and skinny (long edge folded to long edge). Then fold the paper in half short edge to short edge. Fold the paper in half again, short edge to short edge.
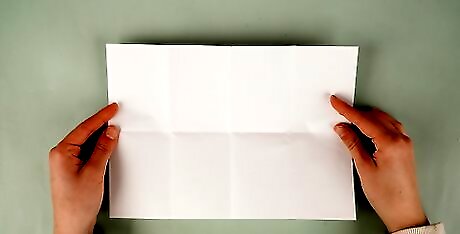
Unfold the paper. You will see eight separate panels. These will become the pages of your book.
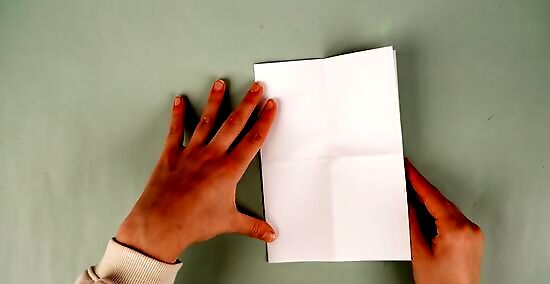
Fold the paper short edge to short edge. You should fold the paper in half the opposite way from your first fold.
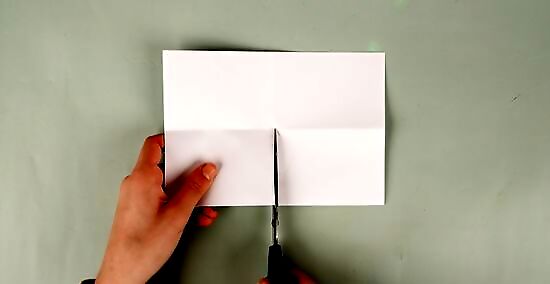
Cut the paper. Place the paper so that the folded edge is facing you. Then cut along the vertical fold seam in the middle of the paper until it intersects the horizontal fold seam. Be sure you stop cutting at the horizontal seam. You are just cutting a slit in the paper, you are not cutting it all the way across.
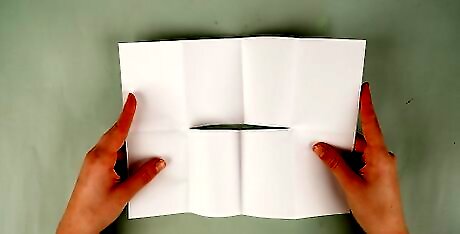
Unfold the paper. It should now have the original eight fold panels, but there should be a slit down the center of the paper, between the middle four panels.
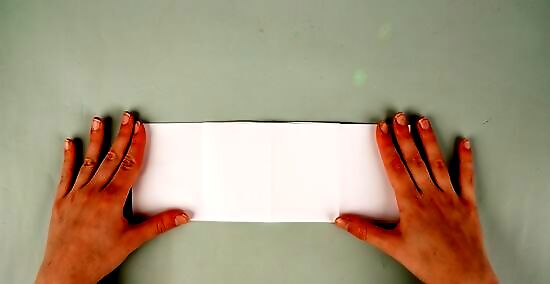
Fold the paper in half, long edge to long edge. Repeat your very first fold. The cut part of the paper should fall along the middle of the folded edge.
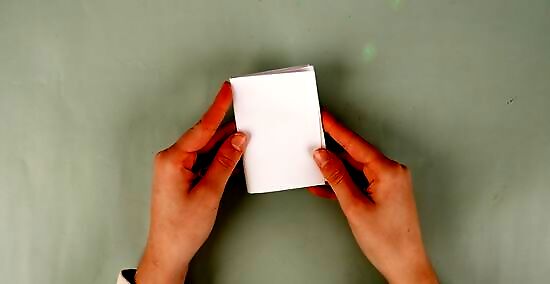
Fold the paper into a book shape. Turn your paper so that the cut edge is up in the air. Then push the two ends toward each other. Separate the two middle seams from each other. You will need to reverse the direction of the fold on one of the seams. Push the two ends towards each other until you have 4 “wings” moving outward from the center, like a cross or an X.
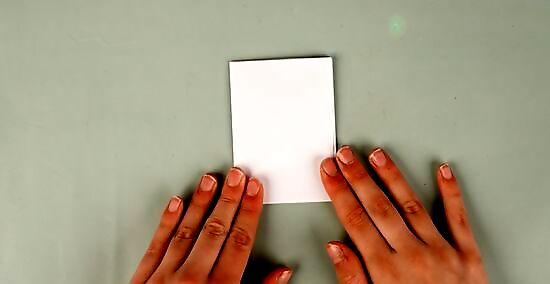
Flatten your book. Choose two adjacent “wings” of the paper and push them towards each other, enclosing the other pages of the book inside them.
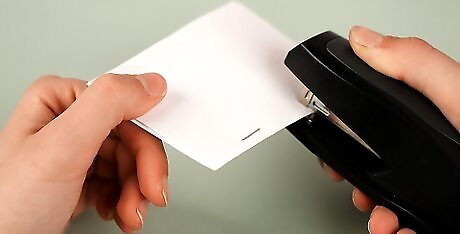
Secure the pages. If you would like for the book to hold its shape, you may want to bind your book using staples or string (see “Binding Your Book” below).
Making a Medium-Sized Book
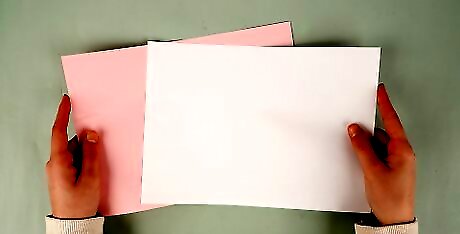
Decide how many pages you would like your book to be. The number of pages you want will determine how much paper you need. Six to twelve sheets of paper make a twelve to twenty-four-page book (including title pages). Knowing the purpose of your book will help you decide the appropriate number of pages. Consider also having one sheet of special or colored paper that you can use as the book cover. You can use more than 12 pages, but binding may become more difficult with more pages.

Choose the paper for your book. Plain white printer paper works well, but depending on the purpose of the book, you may want to select another kind of paper. This guide assumes that you will be using standard letter-sized paper (8.5”x11”), but other sizes may work as well. Paper with a heavier weight (thickness) may be more durable than printer paper. Resume paper or paper with a colored finish provides a nice visual effect if you plan to give the book as a gift. Avoid using lined notebook paper if possible. The lines will be vertical and the paper book will not look as nice as it would with other paper.
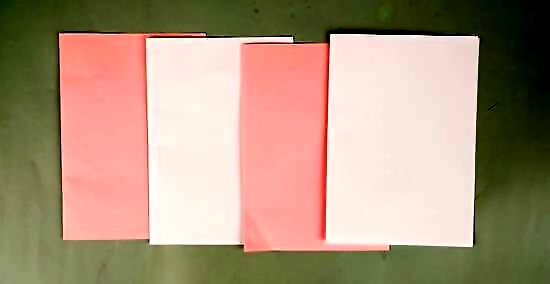
Fold your paper in half. Fold each page of the paper you have chosen short end to short end. Folding each page individually will give you a cleaner crease and more even lines than trying to fold all of the pages together at once. Be sure the edges of the page are lined up nicely before making your crease. Sharpen your crease by running your fingernail along it, or by sliding a hard object such as a pen or pencil along the edge.
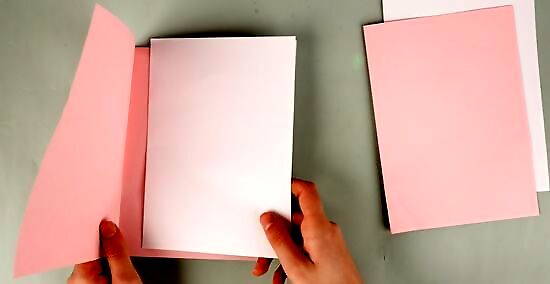
Nest the pages of your book. Put the halves inside of each other. If you have more than six sheets of paper, create sets of pages with no more than six sheets each. If you nest more than six pages together, the inner pages will start to protrude beyond the outer pages and your book will not look neat. If you have an even number of pages, try to make even sets of book sections (for example, 2 sets of 6, 3 sets of 4, or 4 sets of 3 pages).
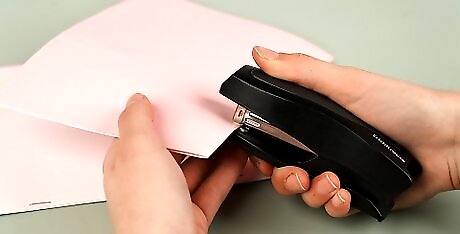
Staple your book sections. For a sturdier final project, you may want to staple each book section at this point. Place at least two staples as close to the edge of each section as you can get. Try to stagger the staple placement on the sections so that there is not a bulge from a stack of staples all together when you bind the sections together. Depending on your binding technique, this step may not be necessary. If you will be taping, it is necessary.
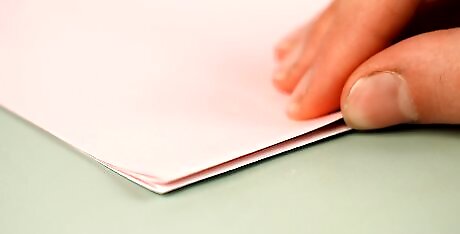
Line up your book sections. Be sure that you carefully line up the sections of your book. Place the folded edges of the book sections together. Check all edges for neatness and uniformity. If one of the pages is sticking out, it may not have been folded neatly. You may want to replace it with a more carefully folded page.
Binding Your Book
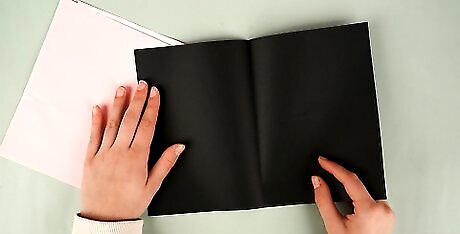
Cover your book. Select a piece of paper that you will use for your book cover. Consider using colored paper or paper with a heavier weight or decorating the cover with stamps, stickers, or other personal touches. Prepare your book cover by folding it in half short end to short end and sharply creasing the edge. When you put the cover on your pages depends on the type of binding you choose.
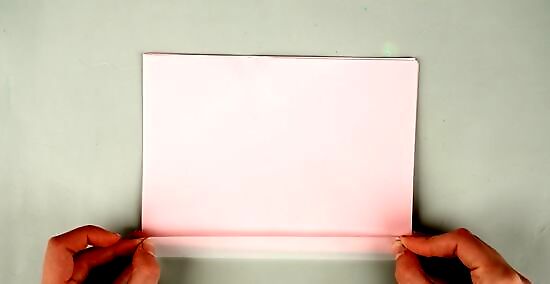
Tape the pages of your book together. This method is particularly useful if your book has multiple page sections that have been stapled together. Cut a piece of sturdy tape, such as duct tape, slightly longer than your book. Carefully place the tape on the front of the book spine and wrap it around the back so that half of the tape is on each side of the front and back book page. Cut excess tape from above and below the book.
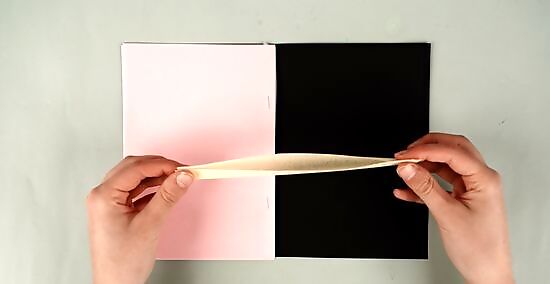
Tape the cover onto your book. If you want to affix a cover to the book sections you have taped together, begin by placing the folded cover of the book over the taped book section pages. Cut two pieces of tape the same length of the book. Fold the tape in half long ways, sticky side out. Open the back of your book and place the folded tape along the crease on the inside back cover. One side of the tape will be on the inside of the back cover and one side will be on the outside of the last inner page. Open the front cover of your book. Place the second piece of tape, also folded lengthwise sticky sides out, along the crease between the inside front cover and the outside of the first inner page. Close the book and firmly run your hand along the folded edge to secure the taped pieces.
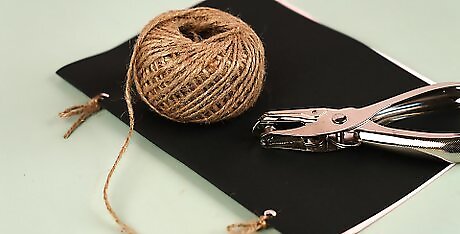
Use string or ribbon to bind your book. With this method, you do not need to staple or tape your individual book sections. If you are using a cover, place the folded cover over the stacked book sections. Use a hole puncher to punch holes in the entire book where you would like the binding to be. The holes should be close to the folded edge of the book, but be sure you do not punch the folded spine. Make at least two holes. You can have more if you would like, but be sure the holes are spaced apart evenly so that the binding is aesthetically pleasing. If you have more than six pieces of paper, you may want to punch holes in each book section separately, but be sure to measure where the holes go so that they will align neatly when you combine the sections. For shorter journals, try using decorative brads through the punched holes. Thread string or ribbon through the holes in your book and tie neatly. String can be woven in and out of multiple holes, then run down the back cover of the book along the spine and tied together, or separate small bows can be tied for each hole, with the string going through a hole, around the spine of the book, and being tied to itself. For much longer journals, consider sewing the book sections together with strong thread by punching holes in each section and passing needle and thread in and out of the holes until all sections are bound together.







Comments
0 comment