views
Building a Simple Parallel Circuit with Aluminum Foil
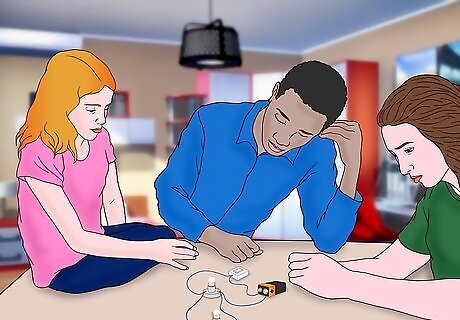
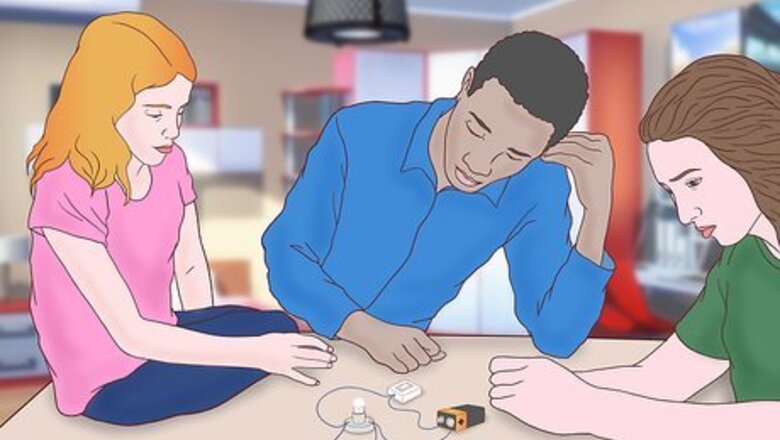
Consider the age and skill of those involved. Creating a parallel circuit is an excellent and easy experiment for students learning about electricity. This method of building a parallel circuit is excellent for younger students: they may have limited dexterity, and you may not want them to use sharp tools. If you are making a parallel circuit as part of a lesson plan, it may help to have your students or child make a list of questions, predictions, and hypotheses about what they'll be observing.
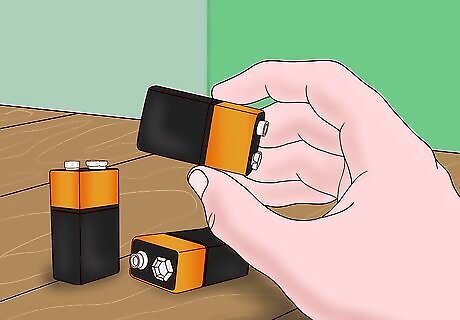
Choose your power source. The cheapest and most convenient power source for your parallel circuit project is a battery. A 9-volt battery is an excellent choice.
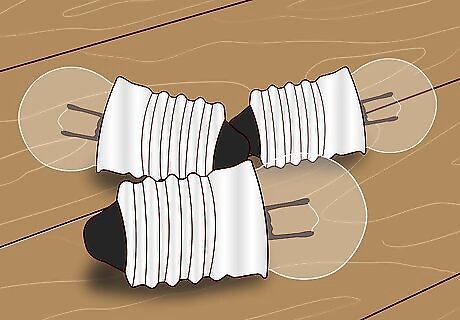
Choose your load. This is the item that you'll be hooking up to the power source. You can make a parallel circuit with light bulbs (you'll need 2); flashlight bulbs are also a good choice.
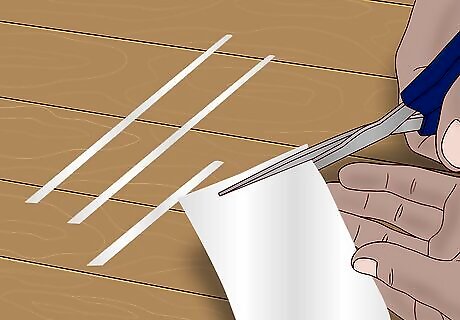
Prepare your conductors. Use aluminum foil as your conductor to build this type of parallel circuit. The foil will be used to connect the power source to the loads. Cut the foil into 4 narrow strips: 2 8 in (20 cm) pieces, and 2 4 in (10 cm) pieces. They should be narrow, about the width of a drinking straw.
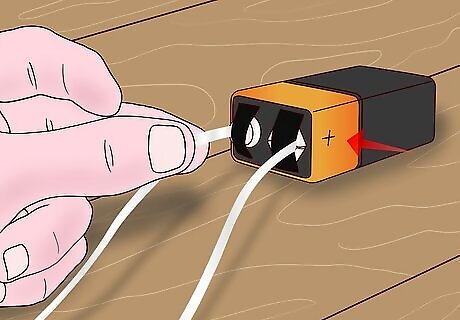
Connect the first of the conducting strips to the battery. You're now ready to start hooking up your parallel circuit. Take one of the 8 in (20 cm) strips of foil and connect it to the positive terminal of the battery. Take the other 8 in (20 cm) strip and connect it to the negative terminal of the battery.
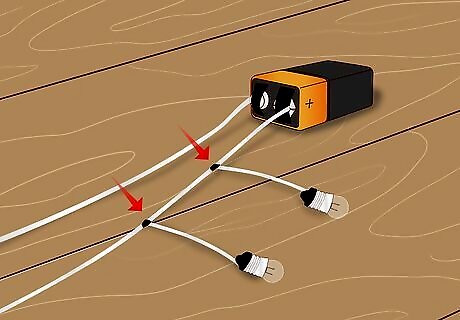
Hook up your lightbulbs. You're now ready to connect your loads to the conducting material. Take the 2 shorter 4 in (10 cm) strips and wrap one end of each around the long strip coming off the positive terminal. Place one 4 in (10 cm) strip near the top of the strip, and the other about 3 inches (7.6 cm) down toward the battery. Wrap the loose ends of the shorter strips around your 2 light bulbs. You may find it helpful to secure the strips with electrical tape.
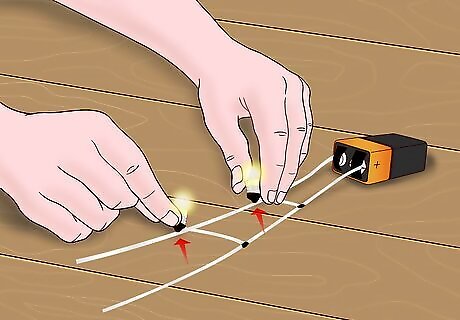
Complete the parallel circuit. Once you finish connecting all of the elements of the parallel circuit, your lightbulbs should glow. Place the ends of the 2 light bulbs against the 8 in (20 cm) strip of foil that is attached to the negative terminal of the battery. The lightbulbs should now shine brightly!
Building a Parallel Circuit with Wires and a Switch
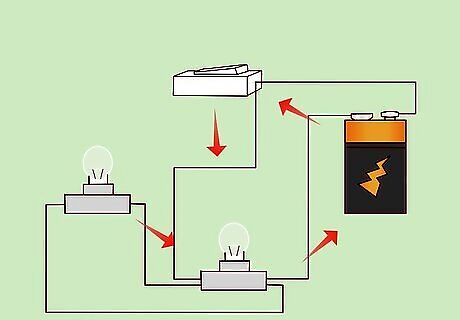
Choose this method for a slightly advanced project. While creating a parallel circuit is not complicated, this method requires you to use wire and a switch; it may be suited for slightly older students. For example, this method will require you to strip wires, but if you lack the necessary tools for this or don't want young ones performing this task, you may prefer to read the method explained above.
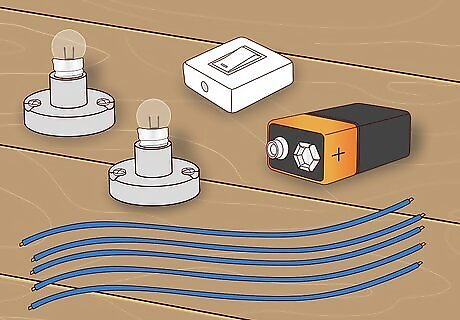
Gather the main components of a parallel circuit. You don't need much to complete this project: You need a power source, a conducting material, at least 2 loads (the items which use electricity), and a switch. Use a 9-volt battery as the power source. You'll be using insulated wire as your conducting material. Any kind will work, but copper-wire should be easy to find. You'll be cutting the wire into several pieces, so make sure you have plenty (30–40 inches (76–102 cm) should do it). For the load, use light bulbs or flashlight bulbs. You should be able to find a switch (as well as all of the other materials) at any hardware or home improvement store.
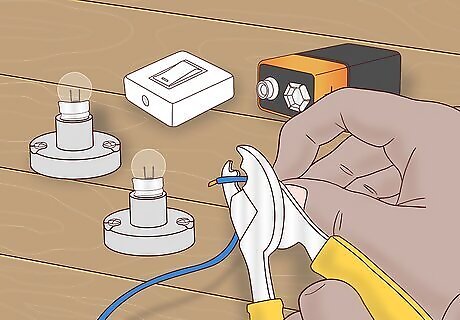
Prepare your wires. The wire is your conducting material, which will create the circuits between the power source and your leads. Cut the wire into five pieces (between 6–8 inches (15–20 cm) will be fine). Carefully remove approximately ⁄2 inch (1.3 cm) of the insulation from both ends of all your wire pieces. Wire strippers are the best tool for removing insulation, but if you don't have these, scissors or wire-cutters will work; just be very careful not to damage the wires.
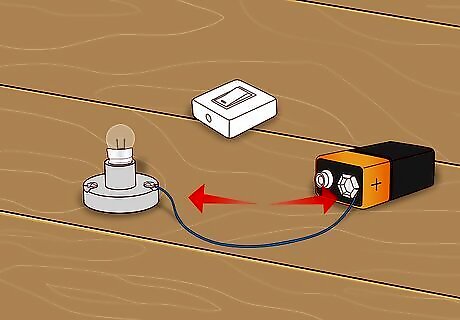
Connect the first lightbulb to the battery. Attach 1 of the wires to the positive terminal of the battery and wind the other end around the left side of 1 of the lightbulbs.
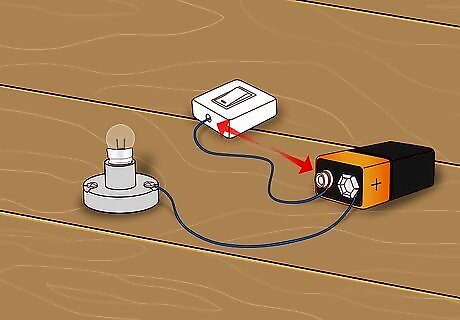
Begin to connect the switch to the battery. Take a separate piece of wire and connect it to the negative terminal of the battery. Take the other end of the wire and connect it to the switch.
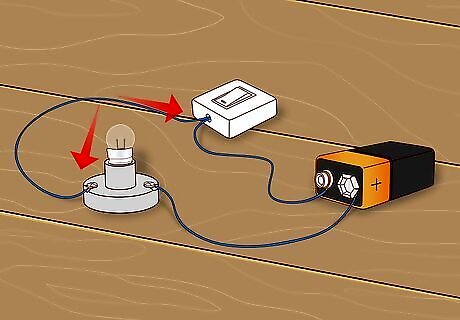
Connect the switch to the first lightbulb. Using yet another piece of wire, connect it first to the switch, and then wind it around the right side of the first lightbulb.
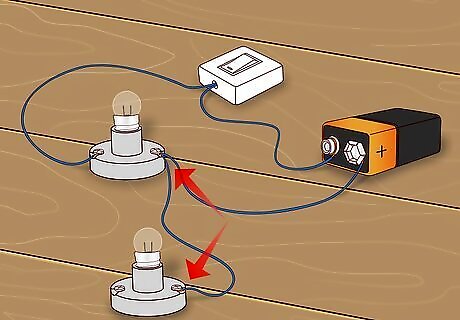
Connect the second lightbulb. Take your fourth piece of wire and wind it around the left side of the first lightbulb, and then wind the other end around the left side of the second lightbulb.
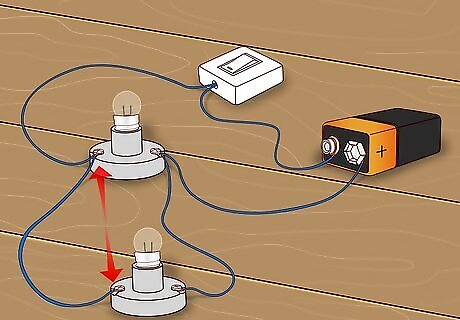
Complete the parallel circuit. Using your remaining piece of wire, wrap 1 end around the right side of the first lightbulb, and the other end around the right side of the second lightbulb.
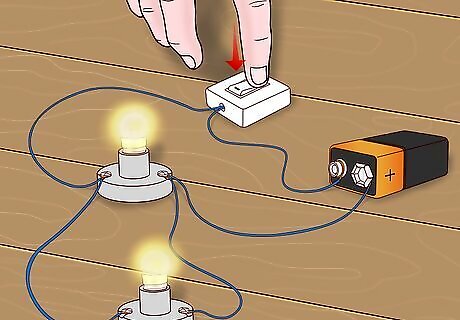
Turn on the switch. Flip the switch, and you should see both bulbs light up. Congratulations—you successfully built a parallel circuit!





Comments
0 comment