views
X
Research source
Building the Body
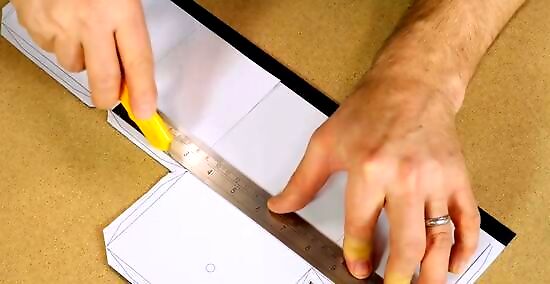
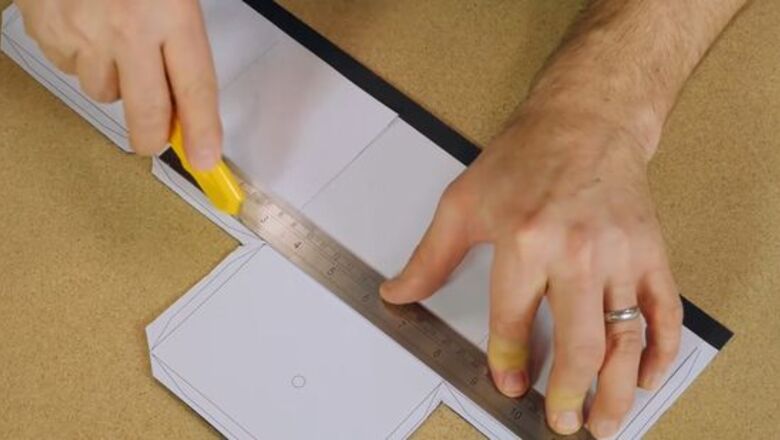
Choose a cylindrical or rectangular can or box. Pick a container that is about the size of a normal camera and is clean. For instance, you could use an old paint can, an oatmeal container, a shoebox, or a coffee can. Be sure that your container has a tight-fitting top.
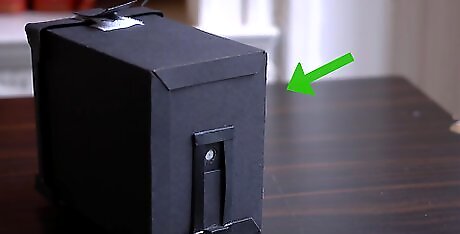
Paint your container black inside and out. You can also cover your container completely with aluminum, but be sure to avoid any tearing. Covering your camera prevents any light reflection from occurring on the inside of the can. Make sure you paint the entire lid of your container. Allow the paint to dry completely before moving on to the next step. If any paint chips off before your use your camera, make sure to repaint it before taking any photos.
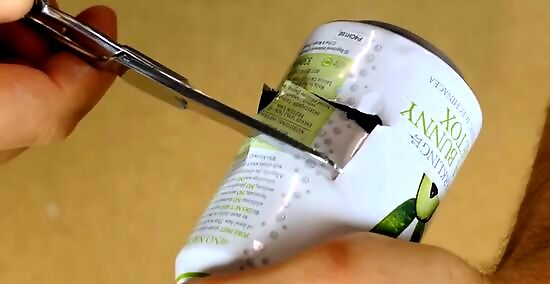
Determine the size of your pinhole. The distance between the film and the pinhole will affect the outcome of your photos. The film will be on the opposite side of the container from the pinhole, so most likely on the lid if you are using a can. The size of the pinhole is important because it determines how sharp or blurry your final photo will be. For a container with a 3 to 6-inch distance between each end, use a No. 10 sewing needle pushed about halfway up the needle shaft to make your pinhole. Try to make the pinhole as clean of a circle as possible. Twisting the needle as you poke it through helps to make a cleaner hole.
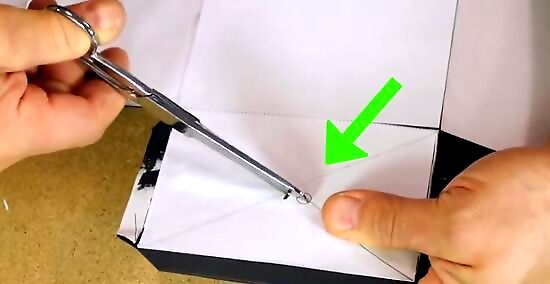
Make the pinhole in the bottom end of the container. You can either poke a hole directly through the bottom of your container using a pin, or you can cut a larger hole about 1/2-inch by 1/2-inch out of the bottom of your container and poke a pin through a separate piece of paper or thin metal. The second method is usually preferred as it allows you to make a more perfect circle and start over if you mess up the first time. If you choose the second method, take heavy black paper or thin metal and poke the pin through the center of the 1/2-inch square. Then secure the piece over the larger hole using strong tape such as electrical tape. Sturdy aluminum foil, malleable metal from a food product container, or cardstock all work well for the second method. Check that your pinhole is circular by looking through the back of the camera where the film will be and peering through the hole. Make sure that you can see whatever is on the other side of the pinhole clearly. A page of printed words works well for determining clarity.
Making the Shutter and Viewfinder
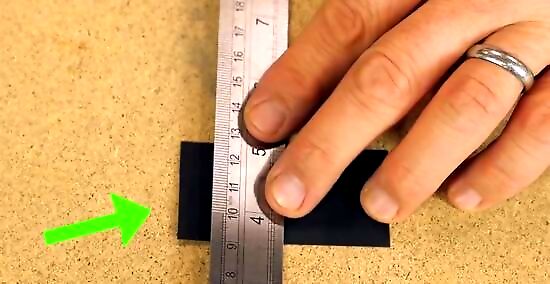
Cut a shutter out of dark paper. Opaque cardstock that does not allow any light through works best for this step. Make sure that the paper is thick enough not to fold as it is used. Cut a square about two inches by two inches out of the dark cardstock. Make sure that the square is large enough to entirely cover the hole you cut in the bottom of your container. Tape the square to the body of the camera along one edge above the pinhole. This piece of tape will act as a hinge that allows you to open and close the shutter when you want to filter light. Use any type of sturdy tape such as electrical or duct tape.
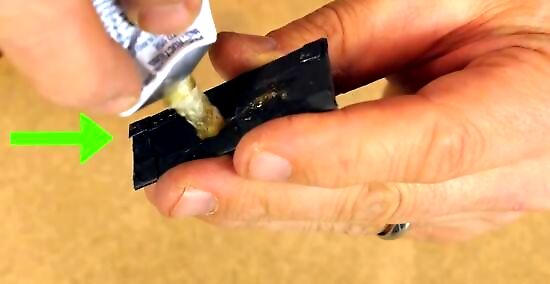
Put a piece of tape on the bottom of the shutter flap. Use a less-sticky tape for this side, (electrical tape works great, duct is too strong) and tape down the opposite end of the shutter underneath the pinhole when you are not taking a photo to prevent light from entering the inside of the camera.
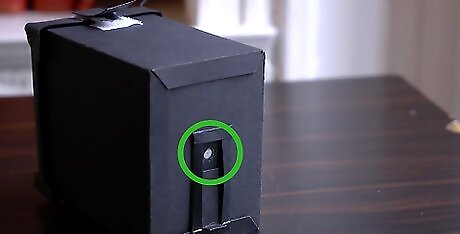
Create a viewfinder out of cardboard. The viewfinder allows you to replicate the geometric relationship of the pinhole to the film and helps you visualize what your final photo will look like. The front viewfinder should imitate the shape of the film and be constructed directly above the pinhole. Secure it with strong tape or hot glue. The rear viewfinder should sit on top of the camera and act as a peephole that allows you to visualize your photo. You can make a peephole out of a metal washer or cut a perfect circle out of cardboard and attach it to the rear viewfinder. Again, secure it with strong tape or hot glue. For taking photos of subjects closer than five feet away, position your subject low in the viewfinder to account for the difference between your perception and the angle of the pinhole.
Loading the Camera
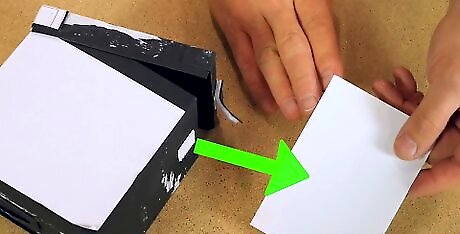
Choose photographic paper or film. If you choose to use photographic paper, you can load it into your camera under specific lighting conditions. For photographic paper, you have to load it either under a safelight, or a flashlight filtered through at least three layers of red cellophane attached to the lighted end. The flashlight must be six to eight feet away, so hanging it from a ceiling and working underneath it is a good way to accomplish this distance. Unlike photographic paper, film must be loaded under completely dark conditions. Practice loading your camera with a simple piece of paper in lighted conditions, and then with your eyes closed to get the feel of loading the film before you attempt to do so in complete darkness.
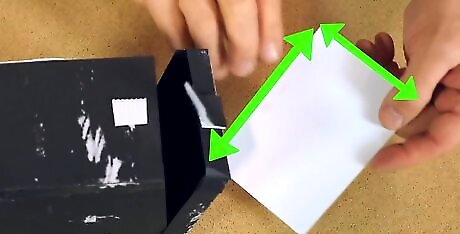
Determine the size of your light-sensitive material. You will have to cut the film down into smaller frames. The size of the frame will depend on the overall size of your camera's body. For most moderately-sized cans, you can use a strip of film cut into 2 3/8 to 3 1/2-inch pieces. For a camera made from a one-gallon paint can, cut a 4 by 5-inch piece of film. A camera made from a 2-pound coffee can will take a 2 1/4 by 3 1/4-inch piece of film. These measurements apply to the use of photographic paper as well. Use sheet film if possible, which is easier to manipulate as it is completely flat. Make sure to cut down your paper or film in complete darkness. A closet should work fine as long as no cracks allow light to seep through. If you are unsure about the ratio between the size of your film and the size of the camera body, err on the side of cutting too large of a strip of light-sensitive material. You can always trim down the edges of your photo after you develop it.
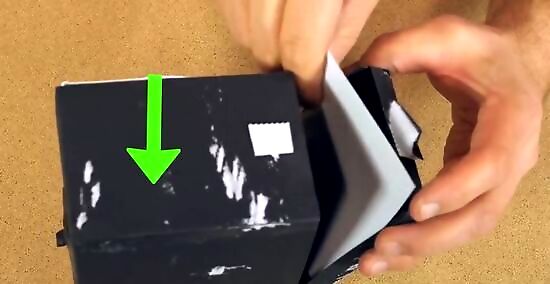
Load your camera. Place the photographic paper or film on the inside of the camera, opposite the pinhole. In total darkness, secure the film or paper from the back using a piece of tape rolled into a loop. You may need to place tape in each corner of the film in order to prevent it from rolling up. Do not place any tape on the front side of the film or paper, as this may cause damage and obstruct the image formation. Make sure that the emulsion side of the paper is facing the pinhole. You can tell which side is the emulsion side of photographic paper from its shiny appearance. The emulsion side of film is the side rolled up on the inside of the spiral as you unfurl it. If you are having trouble determining the emulsion side, wet your finger and touch either side of your paper or film in the corners. The side which feels sticky to the touch is the emulsion side.
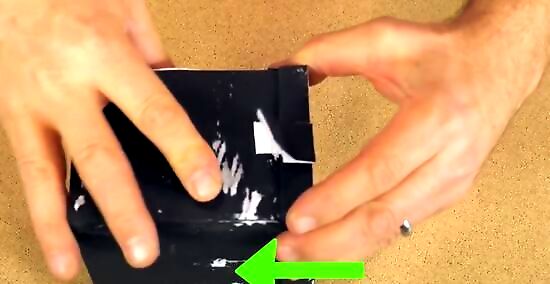
Close up your camera. Make your camera completely light-proof by ensuring that any cracks or openings are completely covered by black paint, aluminum foil, or black tape. Any unwanted light that gets through could ruin your picture.
Taking a Photo
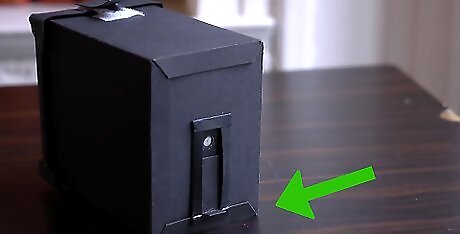
Place the camera on a flat surface. You can either simply set it on a table, counter, any other completely flat surface, or attach it to a tripod using rubber bands or tape. Because of the sensitivity of the shutter, you need the camera to be extremely still as you take photos.
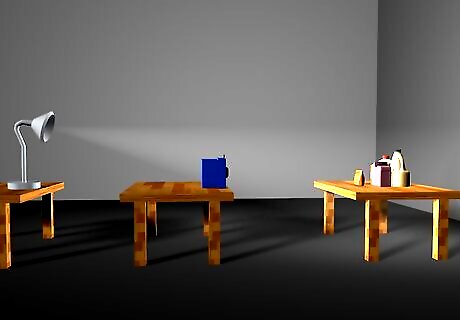
Determine the exposure time. For film, you only need to expose the camera to light for a few seconds, but photographic film can take up to a few minutes. If using film, the duration of exposure depends on the ISO of the film. The higher the ISO, the shorter the exposure time. For 400 ISO film, you will expose it to light for between 2 and 12 seconds depending on the brightness of the external light. For 100 ISO film, the exposure time can range between 8 and 48 seconds, and for 50 ISO film, the exposure time may range between 16 seconds and 1 minute and 36 seconds. If using photographic paper, the exposure time will most likely range from one minute to several minutes, though there are photo paper products made specifically for longer exposures, even up to several months! You will have to practice to determine the exposure time that works for you, but remember the general rule of thumb for exposure time: the brighter the external light, the shorter the exposure time.
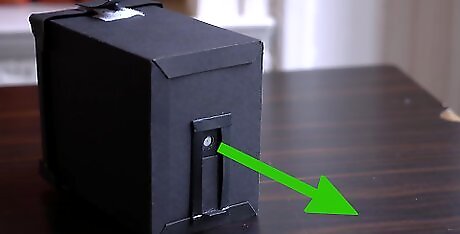
Point the camera at your subject. Remember to account for the distance between the pinhole and the viewfinder by aiming a bit lower than you might perceive.
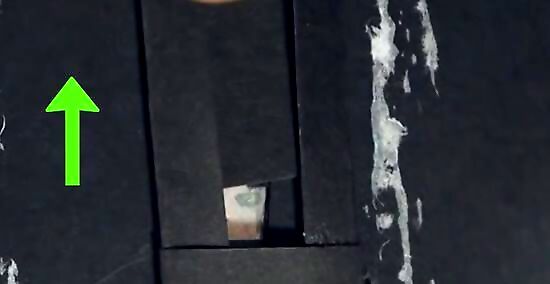
Open the shutter flap. Pull the bottom tape up to allow light to stream through the pinhole. Do so very carefully so as not to shake the rest of the camera. If your exposure time is several minutes or hours, you can carefully tape the shutter open so that you don't have to hold it open manually. You can also place some sort of weight such as a rock or a shoe on top of the camera if it is windy where you are photographing.
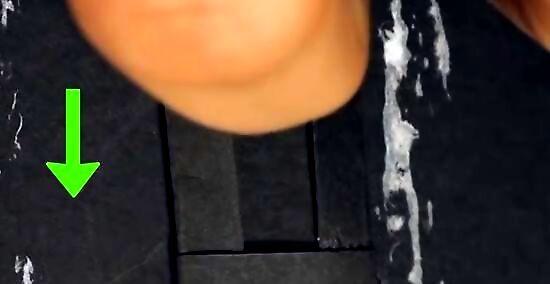
Close the shutter. Once you've held the shutter open for the desired exposure time, retape the flap down to prevent any more light from entering through the pinhole. During the time that the shutter was open, an image was created on the film or photographic paper. All that's left to do is develop your photo.
Developing a Photo
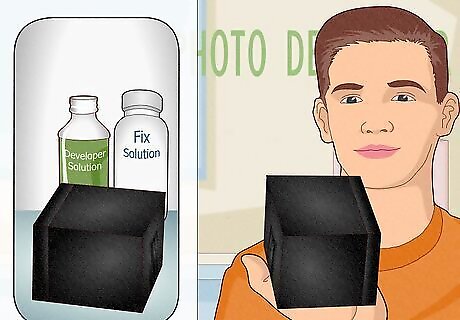
Choose whether to develop your photos yourself or take them to a developer. Developing your own photos takes a considerable amount of resources, including several chemicals and solutions, a darkroom, and (if using film) an enlarger. Film and photo paper from a pinhole camera can be taken in to a photography store and developed just like any other type of film. If you choose to develop your film yourself, however, read on to find out what you'll need.
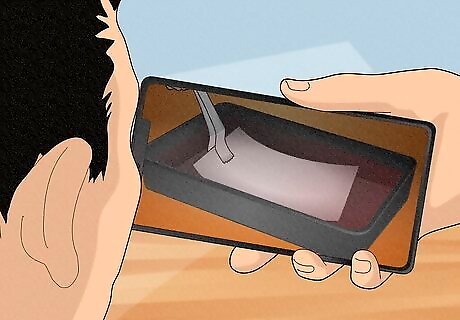
Learn how to develop black and white film. The basics of film developing include three solutions: developer, stop bath, and fixer.
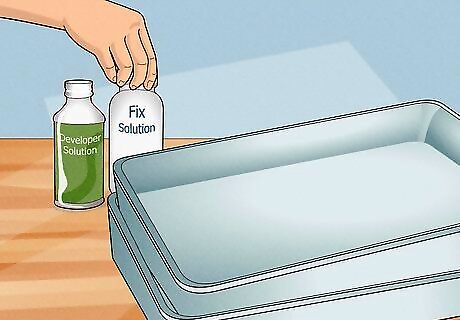
Gather your developing materials. In addition to a darkroom, you will need developer solution, fixer solution, water, tongs, towels, a sheet of glass, and a safe light in you dark room. Your darkroom must be completely black other than having the safe light on. You can also use orange LED halloween bulbs as safe lights. You will also need three plastic dish washing tubs. Fill one with about two inches of developer, the second with about two inches of water (called a stop bath) to stop the developing process, and the third with fixer solution.
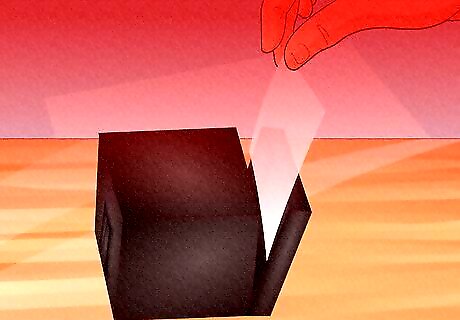
Take the film or photo paper out of the camera. Only do so once you are in a darkroom lit only by a safelight. White light will destroy your photo.
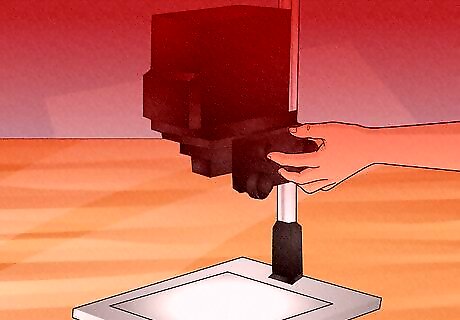
Use a photo enlarger to transfer the negative to photo paper. If you used photo paper in your camera instead of film, skip this step. Otherwise, place your negative on the negative slide, turn the enlarger on, and choose the appropriate f/stop for your photo. You may want to create a contact sheet to test out different f/stops before settling on an f/stop. Do so by covering the paper with a piece of black cardstock and gradually uncovering it while changing the f/stop in order to create strips of different brightness.
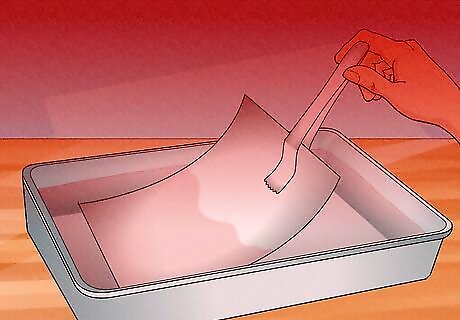
Place your photo paper into the developer. Once you have transferred the negative image to photo paper, place it in the developer using a pair of tongs. Watch as the image appears on the paper and take the image out of the solution using tongs as soon as it is as dark as you want it to be.[[Image:Make a Pinhole Camera Step 22.jpg|center]] Gently rock the tray back and forth to spread the solution over the photo paper. Keep in mind that the image will appear a bit darker in white light once you are outside of the darkroom.
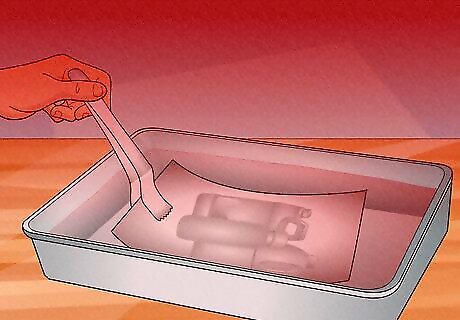
Transfer the photo paper to the stop bath for about ten seconds. The stop bath should consist of room temperature water.
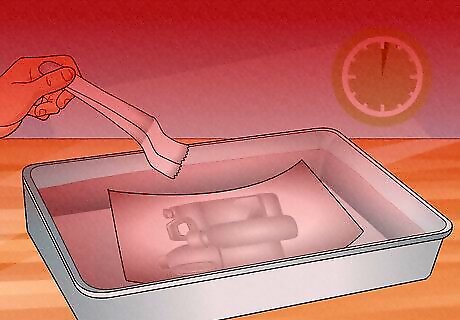
Using tongs, place the photo paper in the fixer for two minutes.
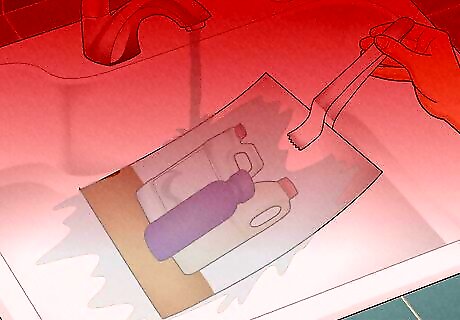
Remove the photo and rinse over running water for two minutes. Allow the photo to hang dry completely or dry with a hair dryer.






Comments
0 comment