
Preparing the Eggs
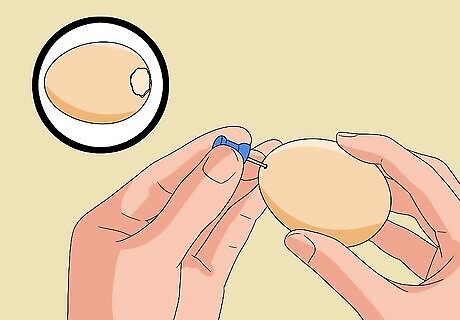
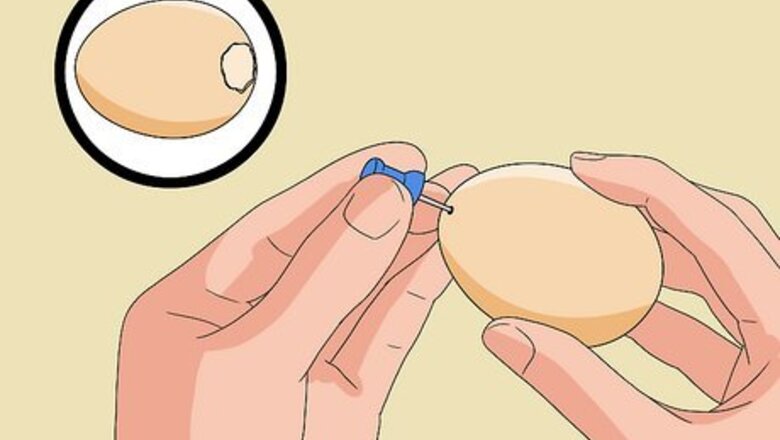
Poke a small hole in the pointed end of one egg. Poke a larger hole on the rounder end of the egg.
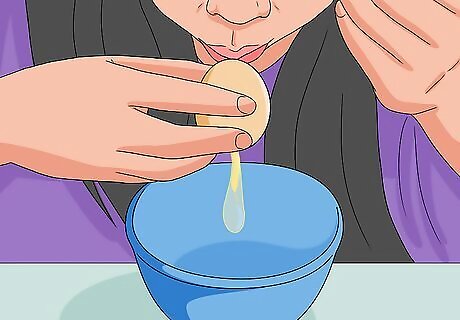
Hold the egg over a bowl. Blow the contents out carefully through the larger end.
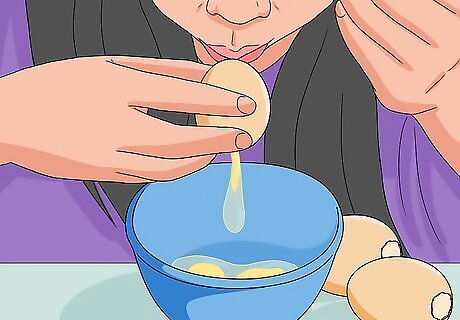
Repeat with as many eggs as you're making.
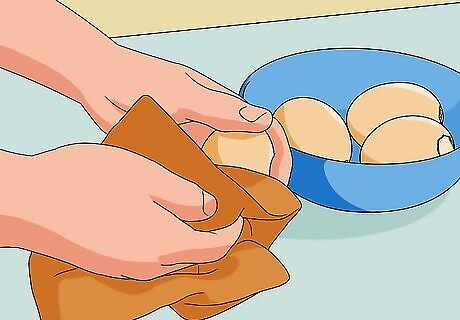
Wash the eggs with care. Allow to air dry on a drying rack. They can also be gently dabbed with a cloth or paper towel.
Cutting the Paper and Sealing the Eggs
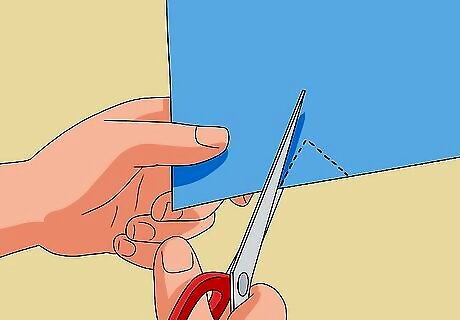
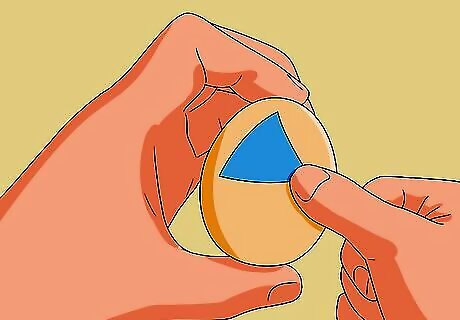
Cut the origami paper sheets into small triangles of the same size. You can draw a triangle on but after a few cuts, you'll get used to doing this without having to follow a template.
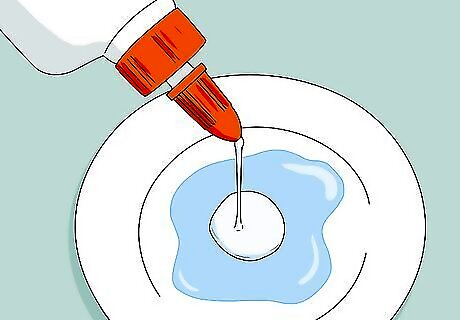
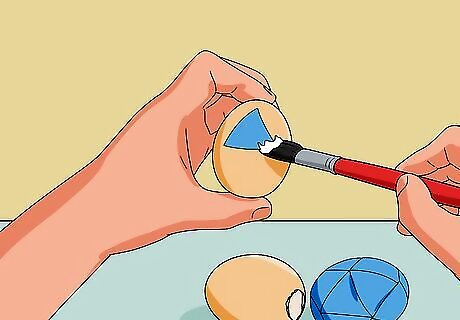
Put a little glue into a dish. Add a bit of water to thin it; mix together. Paint this over the egg and any other eggs. This seals the surface of the eggs. Place the glued egg inside a shot glass to dry.
Decoupaging the Eggs
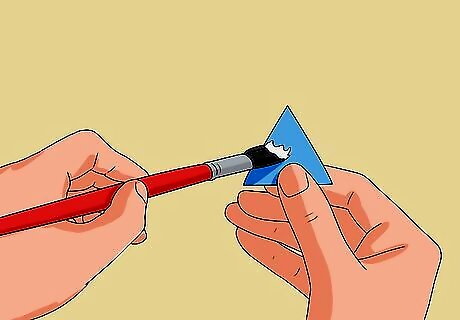
Brush the back of each piece of paper with glue.
Press the first piece gently onto the first egg. Smooth it from the center out to the edges, to remove any air bubbles and to ensure that it is sticking properly.
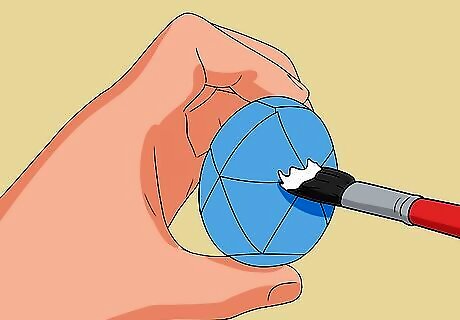
Glue the remaining triangles onto the egg. Overlap the edges to ensure that the egg surface is completely covered up.
Repeat with the remaining eggs you're making.
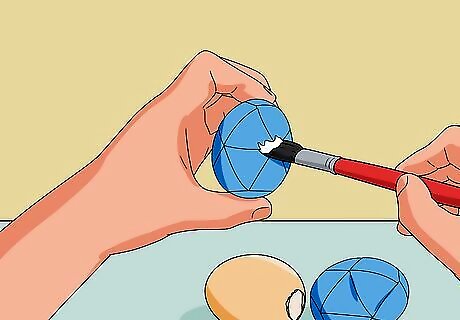
Allow to dry. When dry, brush each egg entirely with a coat of the thinned glue. Let dry completely. This seals the paper and prevents it from curling up or getting damaged if it's accidentally sprayed or gets a little wet.
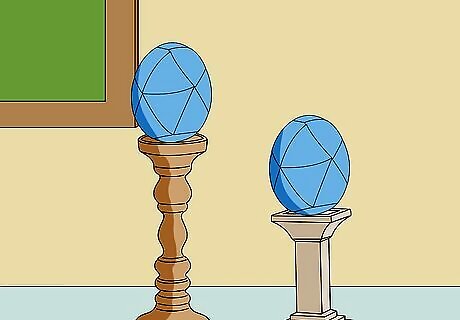
Place on display. These eggs would look great inside a glass bowl, on a cake stand, inside a tall wide vase or in other decorative uses as you'd like. Done.


Comments
0 comment