
views
Making Gel-Based Glow Candles
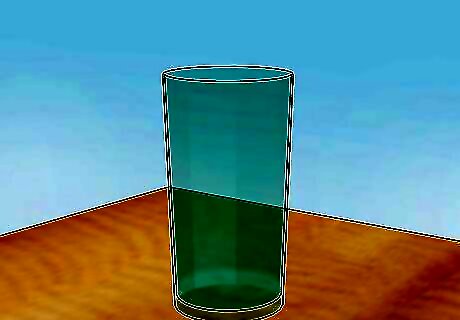
Find a bowl or glass to make your candles with. Gel-based candles are best if you want them to glow. This is because the paraffin wax used in wax candles is difficult to combine with "glow in the dark" powder. Because gel candles don't have the same stability as wax ones, it's a good idea to make them in the bowl you'll be burning them in. Get a small, clear glass bowl. Make sure the glass material is clear. That way, you'll be able to see the glowing properties across the body of the candle. A small goldfish bowl is a recommended choice. It's small, made of clear glass, and has an opening at the top for the wick and flame to go. If you want to make a bunch of small tea candles, the shells of used-up regular candles work perfectly. With these, you'll have a suitable mould of a candle already in place.
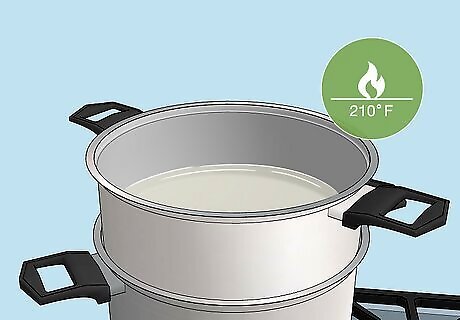
Heat gel at 210 degrees Fahrenheit. In order to soften up the gel material, you'll need to heat it up on a stove top. Place it in a double boiler pot and heat to 210 degrees. Use a thermometer to get the precise readout. To make a double-boiler, you should put a smaller pot in a larger pot, then proceed to fill the larger pot with water to boil. When you're ready, you can remove the smaller pot and pour the gel into the candle moulds. The Celsius equivalent is 99 degrees. If you do not have a thermometer, use a stick or spatula and stir to gauge how soft the gel has become. The gel should be a thick, syrupy consistency when it's ready to pour.
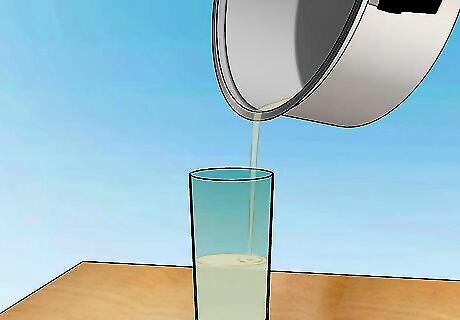
Pour your gel into the candle bowl. With your gel heated, it's time to pour it into the mould. Unlike paraffin wax moulds, the mould for a gel-based candle should be the bowl it will ultimately be used in. A clear, glass bowl is recommended for this instance.
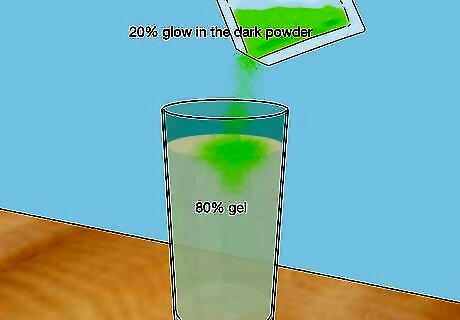
Add "glow in the dark" powder to the mix. Because gel is so easy to work with, it's a simple process to work the active powder in the mix. In order to get a really vibrant looking colour for your candles, you should keep your candle at a mix of about 20% powder and 80% gel. Although the specific proportions will depend based on the bowl you're making your candle in, you can roughly estimate proportions based on how much of the bowl the first-added material occupies before filling up the rest with the second. With about an ounce (approximately 30 grams) of glow powder, you should be able to make at least half a dozen six-inch (15cm) tall candles. "Glow in the dark" powder does not dissolve into the gel. Rather, it is suspended in the middle of the gel. This is why it is better for gels and has a worse-off time when used with wax candles. "Glow in the dark" powder can be purchased at most arts and crafts stores. Otherwise, it can be ordered specially online.
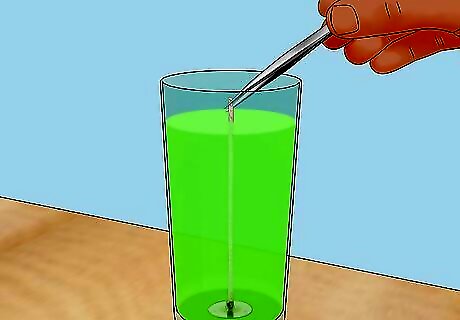
Add a wick. Adding a wick should be done while everything else has been completed but the candle is still in a melted form. Grab the tip with a pair of tweezers and lower it slowly into the candle. Take care to ensure that the wick is in the relative centre of your candle, and take care to keep it straight. This will ensure that the wick manages to last throughout the entirety of the candle. As always, tabbed wicks are the best, as they're specifically designed with the issue of adding them in mind.
Making Wax-Based Glow Candles
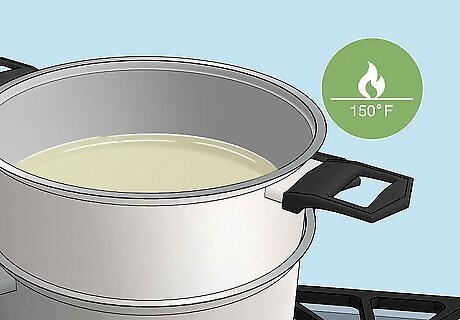
Melt paraffin wax. Add your wax flakes into a double-boiler pot and heat the wax up to 150 degrees Fahrenheit. This will liquify your flakes and prepare them for proper pouring. To make a double-boiler at home, place your wax in a small pot, and place that pot in a bigger pot. Fill the larger pot with water and let it boil. Use a thermometer to gauge the heat of the wax and pour it into your chosen moulds when you're ready. The Celsius equivalent heat is 65 degrees. If you don't have a thermometer, you can tell the wax is ready for pouring by a fine film that develops around the edges of the pot.
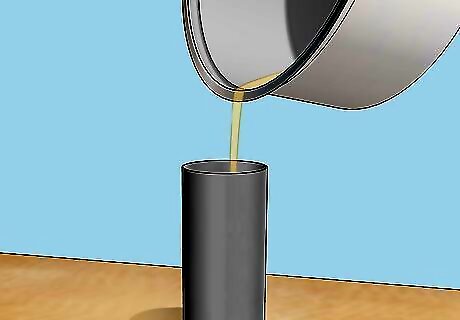
Pour wax into moulds. A mould will be the thing that dictates the shape of your candle. A muffin tray or cookie cutter shape can work to this effect, although you can make a candle mould of your own design by wrapping aluminum foil in a cylindrical shape. Once you have your mould prepared, pour the wax slowly into the hole. Take care to be cautious with it, as hot wax can be painful if it gets in contact with skin. Be sure to coat your moulds with a petroleum jelly or cooking spray. This will make it easier to pick the candles out of the moulds once you're done with them.
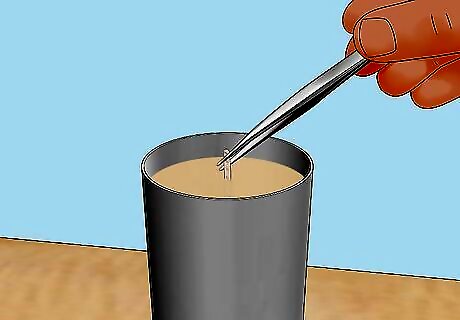
Insert the wick. Because some of your "glow in the dark" candles may be fairly big, adding an effective wick to the candle may take some effort. Generally speaking, you'll want the wick to trace down to the base of the candle. Keep the wick straight, and try to gently nudge it into the liquid wax. DO your best to make sure it stays in the relative centre of your candle. Tabbed wicks are the recommended option for wax candles, as they help to hold the wicks in place once they're settled.
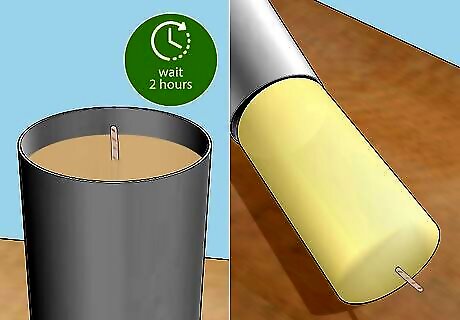
Allow the candle time to harden before removing. Most candles need up to 2 hours to harden sufficiently. While your candle is hardening, give it time to rest and go do something else. After it's ready to be taken out, remove the candle carefully by its wick.
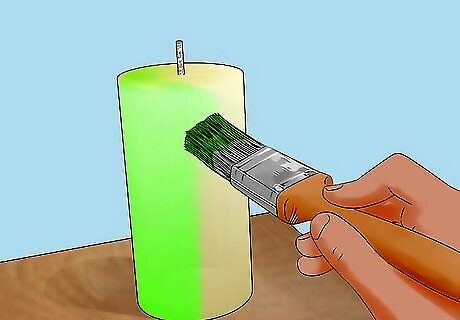
Use "glow in the dark" paint to cover your candles. Glow in the dark powder may be used in wax-based candles. However, due to the melting properties of wax, it may be difficult to mix the powder in thoroughly. With that in mind, a "glow in the dark" paint coating the outside of your candle is an easier substitute. These paints come in a variety of different colours, and should be applied generously to the candles you're preparing. Wait until the candles have finished hardening before you cover them with paint. If you want, you can use a combination of the "glow in the dark" paint and some of the powder as well. This will ensure that you get at least some of the powder's thoroughness, with the even spread that paint can offer.
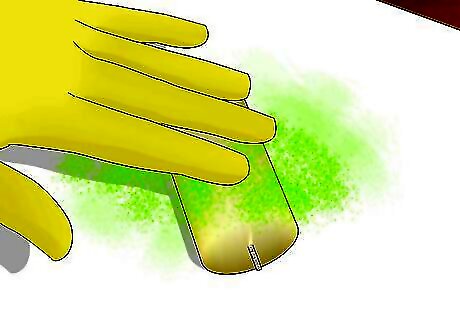
Roll glow powder over your wax candles. Alternatively, you can add glow powder to the exterior of your candles. To do so, you should finish your basic paraffin candle. Next, unwrap a length of parchment paper and sprinkle a generous dose of glow powder onto it. From there, lay the candle down and roll it around. The candle will pick up the pieces of glow powder.
Exploring Additional Options
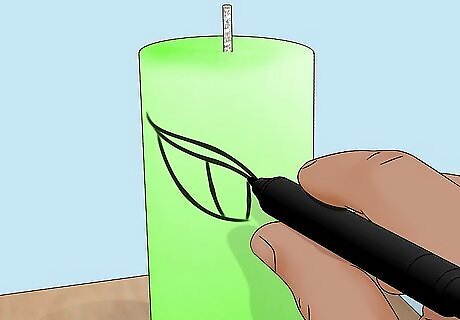
Draw on the candles. Because the body of your candle will glow in the dark, you can create vivid patterns by covering up parts of the candle with a black marker. Draw shapes or patterns around, making sure to cover the coloured area thoroughly. If you want to create a glow in the dark shape on your candle, you can "reverse draw" something, by colouring in the area around it and leaving a stencilled shape. This is perfect if you're making your glow candles for Halloween and want to make glowing shapes of spiders, ghosts and other assorted spooky denizens.
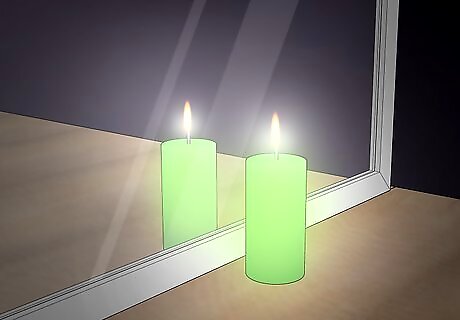
Place your candles near a mirror. A mirror offers a great opportunity to double the effective light of a "glow in the dark" candle. Place a table mirror near your candle for an extra glow. Mirrors by themselves can be used to spooky effect, so there shouldn't be anything stopping you from incorporating one into your presentation.
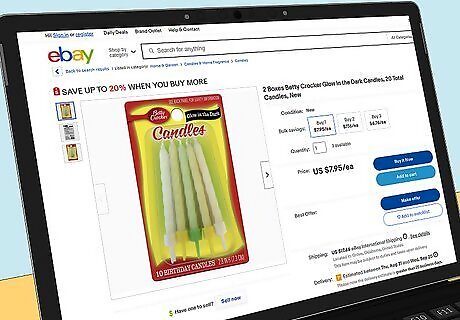
Consider buying a professional "glow in the dark" candle. Although there is a certain joy in making things from home, there are at-home and professional outlets that sell beautiful custom-made candles online. Looking at some of these candles may be good if you're not a DIY type.
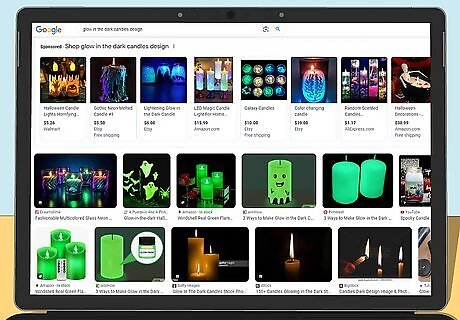
Look up ideas for creative inspiration. Sites like Instagram and Pinterest showcase countless arts and crafts ideas. If you're looking for fresh ways of spicing up your "glow in the dark" candles, it may be a good idea to check on what other people have done first. You may choose to follow the idea someone else has designed. Better still, seeing the creativity of others may trigger an original idea of your own.


Comments
0 comment