views
Making it Harder to Find You
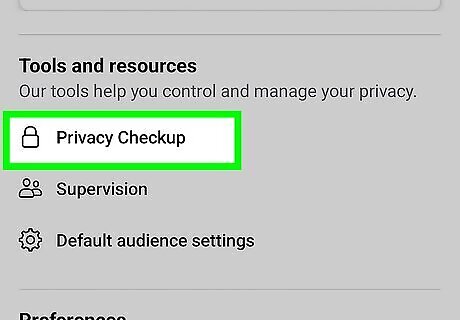
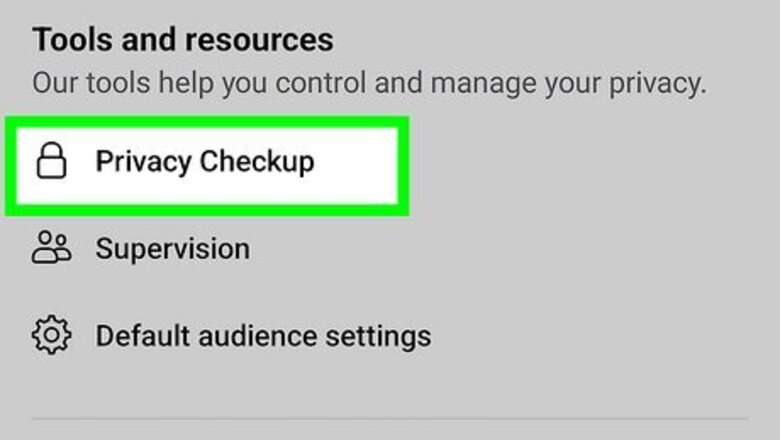
Open the privacy checkup. Privacy checkup is a feature found in the Facebook settings menu. It makes it easy to check your privacy settings, including how to limit who can find you on Facebook. Use the following steps to open the privacy checkup: Click or tap your profile icon in the upper-right corner. Click or tap Settings & privacy. Click or tap Settings. Click or tap Privacy checkup.
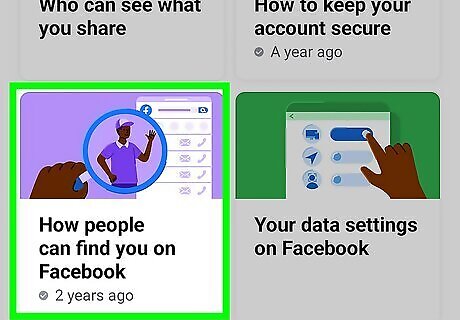
Select How people can find you on Facebook and then Continue.
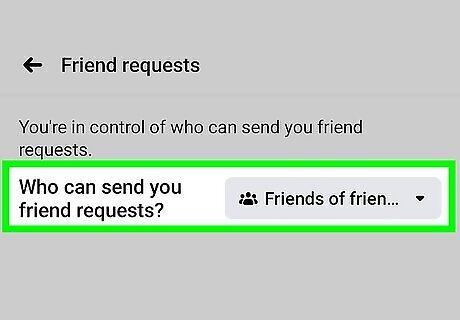
Restrict who can contact or add you. Use the drop-down menu at the top to select Friends of friends instead of "Everyone." This prevents people who are not connected to you in some way from adding you as a friend. Click or tap Next when you are ready to continue.
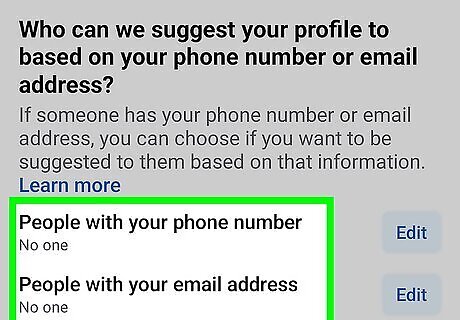
Control who Facebook can recommend your profile to. Select No one next to "People with your phone number" and "People with your email address" to ensure your Facebook profile is not recommended to people who have your contact information saved. When you're finished, click or tap Next to continue. Alternatively, if you are okay with Facebook recommending your profile to your friends, you can select Friends or Friends of Friends.
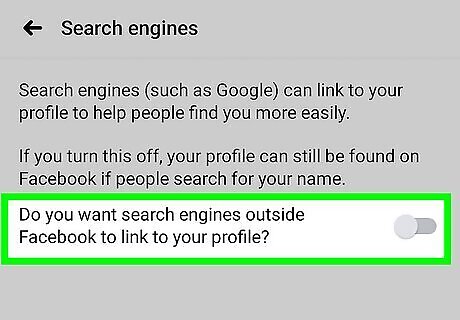
Hide your profile from search engines. Click or tap the toggle switch next to "Do you want search engines outside of Facebook to link to your profile?" This will prevent your Facebook profile from being searchable in search engines like Google or Bing. When you're finished, tap Next. Keep in mind this still won't keep people from looking you up using the search function on Facebook. The only way you can eliminate that is to either deactivate your account or make all of your posts and information visible only to you.

Click Review another topic to return to Privacy Checkup.
Limiting Your Public Information
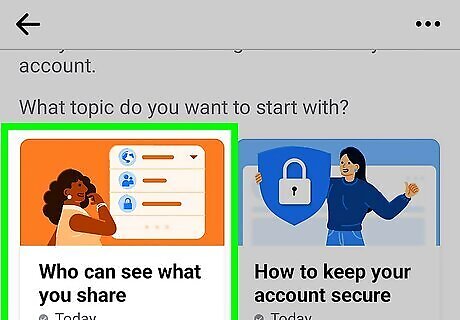
Select Who can see what you share and click Continue. It's the orange button in the Privacy Checkup menu].
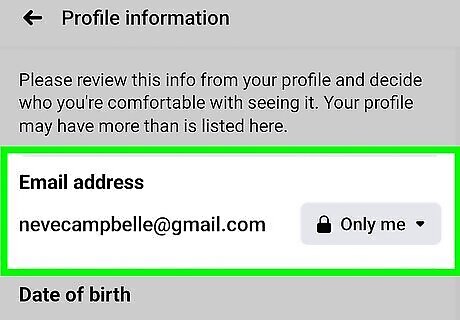
Change who can see your profile information. Use the drop-down menu next to each item and select Only me or Friends to make this information more private. When you're finished, select Save and then Next. Some profile items allow you to select "Friends except...," "Specific friends," "Custom," or "Close friends". This will limit who can see your profile items to the friends you want to allow to see that information.
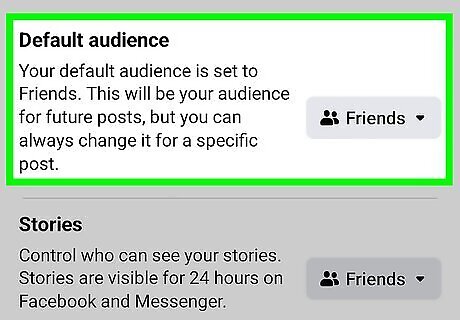
Select your default audience for your posts and stories. Use the drop-down menu next to "Default audience" and select Friends or one of the more restrictive options. Then, for "Stories," select Friends or Custom.
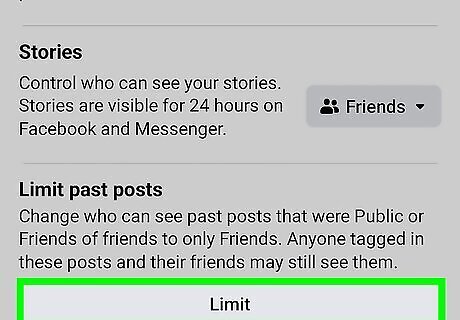
Make your past posts friends only. This will limit your past posts that used to be set to public to only viewable by your friends, people who were tagged in the post, and their friends. To limit your past posts, click or tap Limit and select Limit all. Click Next when you are ready to continue.
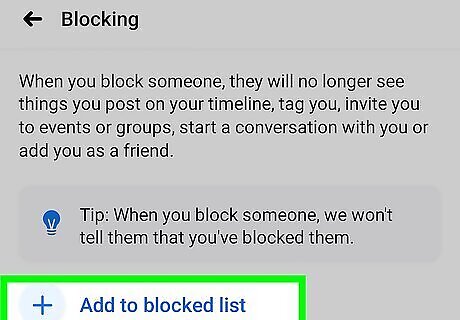
Block unwanted users. The most effective way to prevent someone from finding you on Facebook is to block them. To add a user to your blocked list, click or tap Add to blocked list and type the name of the person you want to block. When you're finished, click or tap Next, and then click Review another topic to return to the Privacy Checkup. You can then look through the other options or close the tab.
Maximizing your Privacy Settings
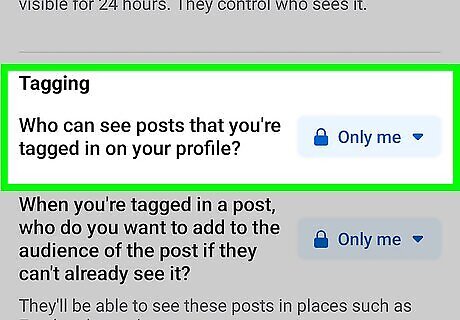
Restrict who can tag you. When someone tags you in a post, photo, or check-in, that tag is now visible to your friends, their friends, and anyone else with whom they've shared that photo or post. Click Restrict who can see posts you are tagged in to "Friends," "Friends except…," "Specific friends." "Close friends," or "Only me". Click or tap your profile icon in the upper-right corner. Click or tap Settings & privacy. Click or tap Settings. Click or tap Profile & Tagging under "Audience and visibility." Scroll down to the "Tagging" header. Use the drop-down menus to select who can see posts you are tagged in and who can add to the audience.
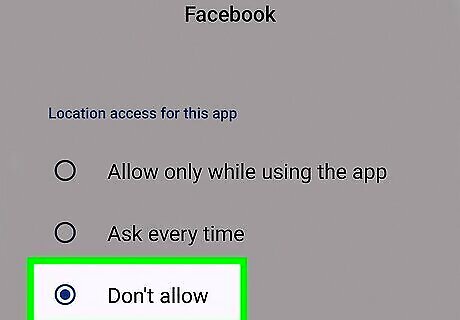
Disable location tracking on your device. To prevent Facebook from tracking your location and disable check-ins, you can deny the Facebook mobile app access to your locations. This will not stop other people you are with from checking in; however, restricting who can see posts you are tagged in will also limit who can see posts from other people tagging you in a check-in. Use the following steps to disable location services on Facebook. Tap your profile icon at the top. Tap Settings & privacy. Tap Settings. Tap Device permissions under "Your Activity." Tap See Info next to "Locations". Tap Update Settings. Tap Open device settings. Tap Permissions (this may be different depending on your device). Tap Locations. Select the option to not allow Facebook to access your locations.
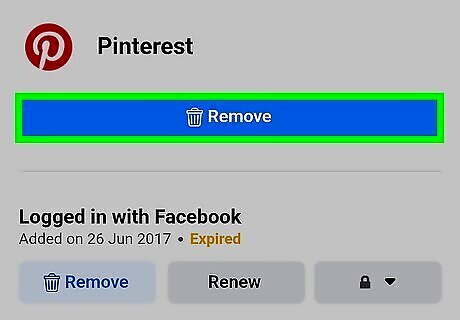
Check your connected apps and websites. If you use your Facebook account to log in to apps or websites, check to see what information those apps and websites can access. You can remove pieces of information the app has access to or remove the app or website entirely. Use the following steps to check apps and websites that are connected to your Facebook. Click or tap your profile icon. Click or tap Settings & privacy. Click or tap Settings. Click or tap Apps and websites below "Your activity." Tap an app or click View and edit next to an app on PC. Click Remove to remove information you don't want the app website to have access to. Click Remove at the top to remove the app entirely.
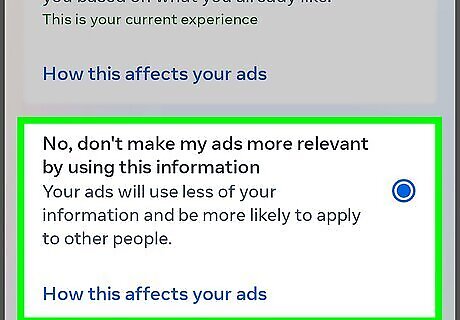
Deny targeted advertising. Targeted advertising looks at your Facebook and general browser activity to figure out what you're interested in so relevant ads will be placed on your feed. If you don't want advertisers to have access to all this information about you, you can deny targeted advertising. Use the following steps to do so: Click or tap your profile icon. Click or tap Settings & privacy. Click or tap Settings. Click or tap Account center. Click or tap Ad preferences. Click or tap the Manage info tab at the top. Click or tap Activity information from ad partners. Click or tap Review settings. Click or tap "No, don't make ads more relevant by using this information."
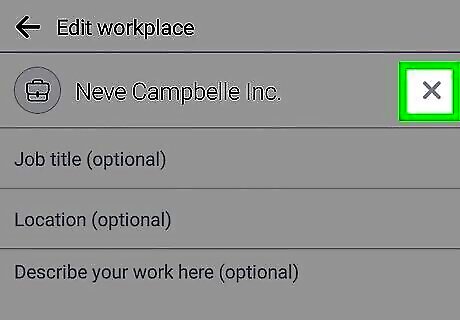
Remove connections to workplaces, schools, and towns. Listing where you've worked, went to school, or lived enables people to look you up using those entities. Deleting these entries from your profile means people won't be able to find you that way. For example, suppose you got married and took your partner's name. If you list your high school, it connects you to everyone else who went to your high school. From that page, someone from your high school class could find your profile by browsing the class members — even if they didn't know your new last name.
Maintaining Security
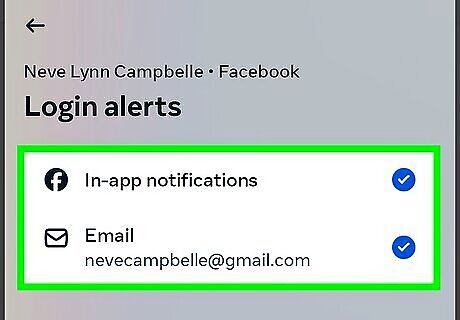
Get login notifications. You can receive notifications that will alert you of the exact date and time, location, and device whenever someone tries to log in to your Facebook account. This will help you detect and prevent unauthorized log-ins. Use the following steps to enable login notifications: Click or tap your profile icon. Click or tap Settings & privacy. Click or tap Settings. Click or tap Account center. Click or tap Security & password. Click or tap Login alerts. Click or tap In-app notifications (push notifications) and/or Email.
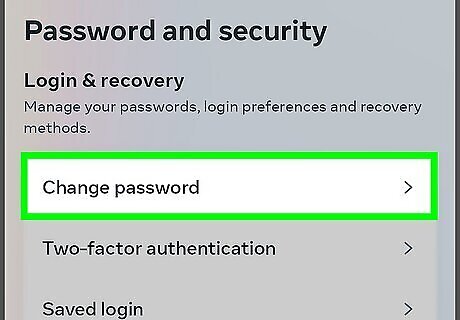
Create a complicated password. Your password should be a lengthy series of upper- and lower-case letters, numbers, and special characters. This makes it harder to guess your password. The easiest way to create a strong password is to use a password manager. Use the following steps to change your Facebook password: Click or tap your profile icon. Click or tap Settings & privacy. Click or tap Settings. Click or tap Account center. Click or tap Security & password. Click or tap Change password. Select your account. Change your password.
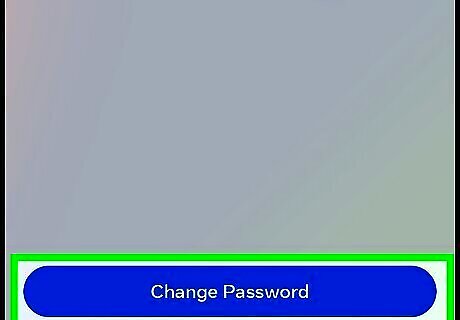
Change your password regularly. Keeping hackers from accessing your profile also means changing your password every few months or so, just to be on the safe side. You should do this even if you have no reason to suspect anyone has accessed your account. You can easily change your password using a password manager.
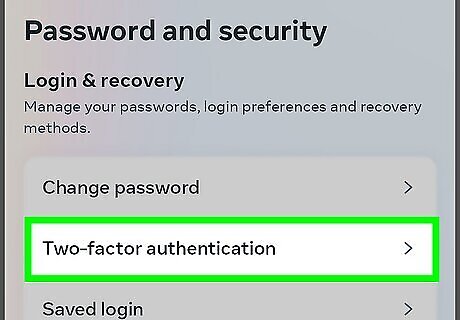
Enable two-factor authentication. When two-factor authentication (2FA) is enabled, you will receive a one-time passcode via text message or using an authenticator app whenever someone tries to log in to your Facebook account. You will need to enter this code to complete the login. This adds an extra layer of security and helps keep your account secure. Use the following steps to enable two-factor authentication: Click or tap your profile icon. Click or tap Settings & privacy. Click or tap Settings. Click or tap Account center. Click or tap Security & password. Click or tap Two-factor authentication. Select your Facebook account. Enter your password and turn on Two-factor authentication.




Comments
0 comment