
Cleaning Plastic or Vinyl Shutters
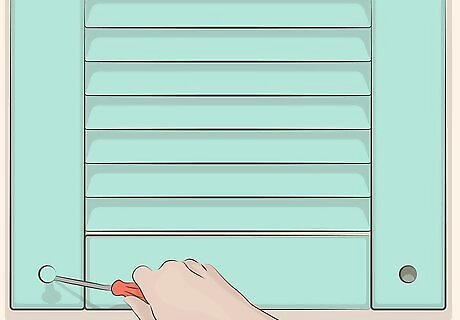
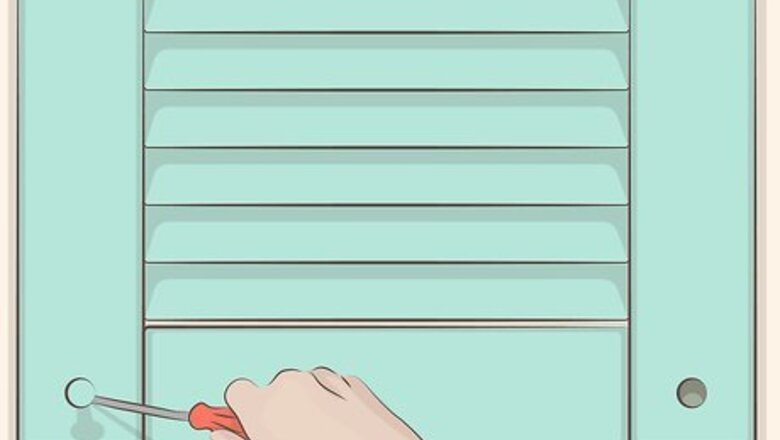
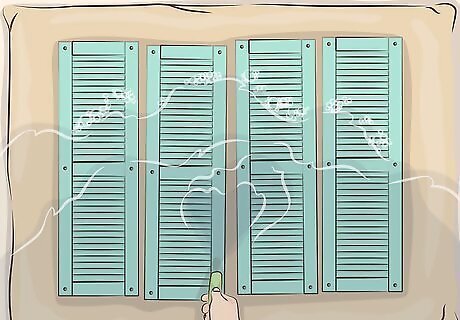
Take down the shutters from your home. Use a flathead screwdriver to pry out the 4-6 plastic or vinyl plugs around the perimeter of the frame that hold the shutters in place. Unscrew any screws that hold the shutters in place as well. Carefully take the shutters down one by one and set them on the ground.Tip: If your shutters are held in place by plugs, try not to damage them when you pry them out so you can reuse them when you reinstall the shutters. If your plastic or vinyl shutters are brand new, you naturally won’t need to uninstall them, but you should still give them a cleaning to get rid of any dust or debris that might be clinging to them before you paint them. Use a ladder if you need to reach any shutters on upper story windows. Have someone hold the ladder at the bottom to keep it stable while you uninstall the shutters.
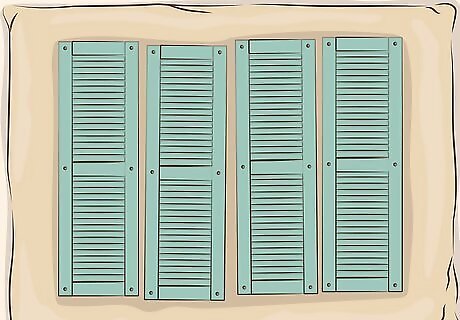
Put the shutters on a drop cloth on a flat surface. Place a drop cloth on a large flat area, such as a driveway, garage floor, or yard. Lay the shutters flat on top of the drop cloth. If you’re doing this project in a hot climate, try to work in an area that does not receive a lot of direct, intense sunlight. Direct hot sun can cause the paint to dry too quickly when you start painting the shutters, which can result in an uneven coat.
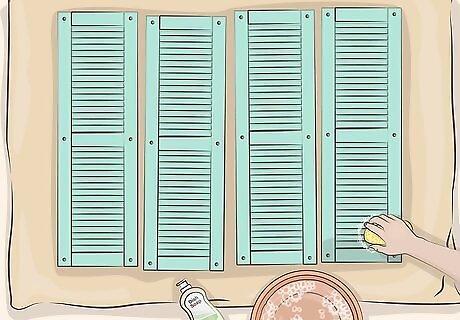
Scrub the shutters with a mixture of water and liquid dish detergent. Combine about 1–2 US tbsp (15–30 mL) of liquid dish detergent with 1 gallon (3.78 L) of water in a bucket. Use a sponge to scrub both sides of the shutters clean and remove any dust, dirt, and chalking. If there is any mold or mildew on the shutters, you can kill it by spraying a solution of 1 part bleach to 4 parts water on it using a spray bottle.
Rinse the shutters thoroughly with water from a hose. Turn on a hose and use it to spray down both sides of the shutters after you clean them. Rinse them until all the soap solution is gone. It’s important to get rid of all the soap residue so it doesn’t dry onto the shutters.

Let the shutters air dry completely before you paint them. Leave the shutters on the drop cloth to dry out in the open air. Check on them every 30 minutes or so and proceed to paint them once they are totally dry to the touch.
Scraping and Sanding Wooden Shutters
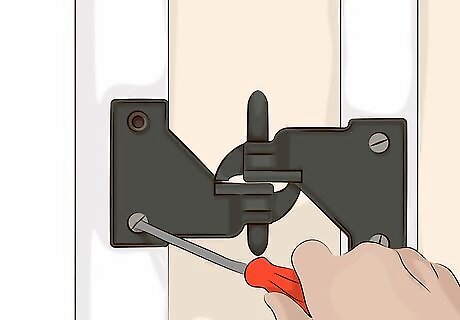
Uninstall the wooden shutters from the home. Remove the screws from the topmost hinges using a drill or screwdriver. Work your way down the shutters, removing the screws from each set of hinges, then lift the shutters away from the home when you remove the last set of screws. Take the hinges off the shutters themselves so you are left with only the wood pieces for painting. Have a friend hold the shutters while you remove the screws so you can use both hands to operate the drill or screwdriver and take out the screws. Use a ladder to reach any upper story shutters and have a helper hold it at the bottom while you take down the shutters.
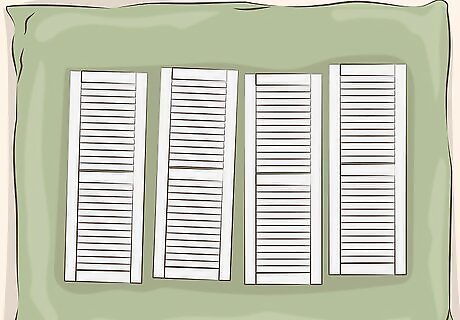
Lay the shutters on a drop cloth on the ground. Place a drop cloth down on the ground in your yard, driveway, or another flat area. Lay out the shutters on the drop cloth to protect the ground while you scrape, sand, and paint. If you are painting brand new wooden shutters, you don’t have to scrape and sand them.
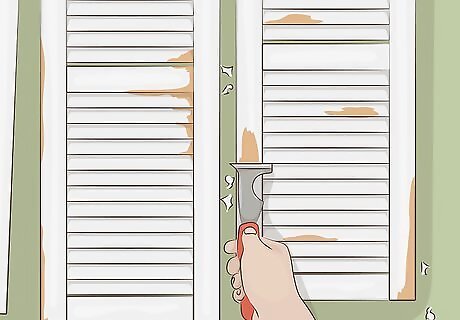
Use a paint scraper to remove loose and peeling paint. Scrape along each slat of the louvered shutters and around the frame, on both sides of the shutters. Always move the scraper along the wood going with the direction of the wood grain.Tip: If you don’t already have a paint scraper, invest in one that has a carbide blade. It will last much longer and remove paint more efficiently than a standard steel blade. You can also use a putty knife as an alternative if that’s all you have handy. Watch out for any nails or screws sticking out of the shutters as you scrape. They can damage the blade of your paint scraper.
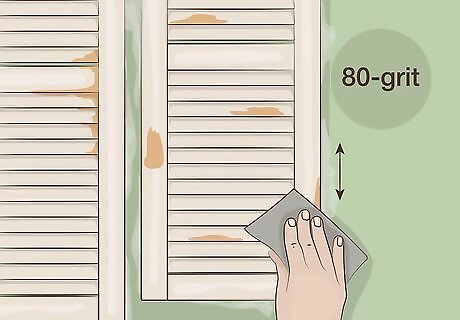
Sand both sides of the shutters with 80-grit sandpaper. Sand by hand in order to get in between all the slats and around the frame. Fold up a piece of 80-grit sandpaper and rub it back and forth along each slat and each side of the frame, always going with the grain of the wood. You don’t need to remove all the old paint, just make sure you get rid of any remaining loose paint and scuff up the whole surface so the new primer and paint will adhere better. Don’t forget to sand the top and bottom of the frame. These areas tend to accumulate more moisture, which leads to more peeling paint.
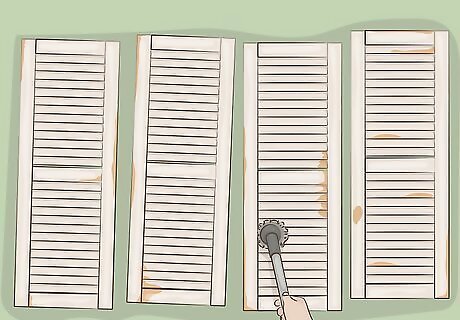
Brush off or vacuum the shutters to get rid of dust from sanding. Use an old paint brush to dust off both sides of the shutters or vacuum them using a hose attachment. This will clean up all the remaining wood dust and loose debris before you prime and paint the shutters.
Priming and Painting
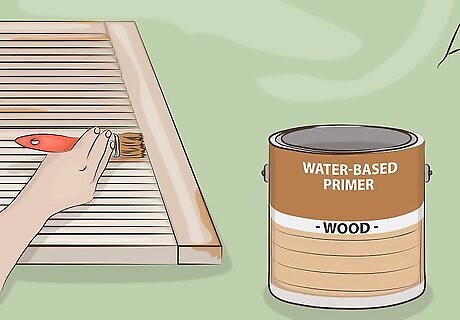
Apply water-based primer to wooden shutters with a 2 in (5.1 cm) paint brush. Dip the paint brush into the can of primer and scrape off the excess primer on the inside edge of the can so that the brush is not dripping. Paint with the grain along each slat of the shutters and around the frame using smooth, even back-and-forth strokes.Tip: If the color you want to paint the shutters is light, such as a light blue, use a white primer. If the color you want to paint the shutters is darker, like black, use a gray tinted primer. It’s not necessary to prime vinyl or plastic shutters because you will paint them with a paint made for plastic that is meant to be used without primer.

Allow the primer to dry for 3 hours. Most water-based primer dries to the touch in 30 minutes to 1 hour, but wait a full 3 hours before you apply paint on top of it. This will ensure it is fully cured so the paint goes on smooth and evenly. Climate conditions like humidity can affect the drying times, but 3 hours is typically a safe amount of time to wait for the primer to dry.
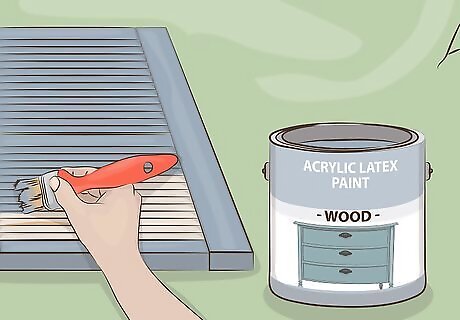
Paint wooden shutters with acrylic latex paint using a 2 in (5.1 cm) paint brush. Paint carefully along the top, side, and bottom edges of the frame first, then paint the other surfaces of the frame. Brush the paint onto each slat next, starting at the top of the shutters, with long, slow strokes. Always paint with the grain and smooth out any drips or runs as you go. Make sure the acrylic latex paint you use is exterior-grade to ensure it lasts while exposed to the elements. When you reach the end of each slat, press your brush up against the inner edge of the frame to work paint into the nooks and crannies. Choose a sheen of paint according to your personal preferences. However, keep in mind that low-sheen paints reflect less glare, so the true color of the paint is more obvious. Glossier sheens repel rain and dust more than flat or satin sheens.

Apply plastic paint to plastic or vinyl shutters with a 2 in (5.1 cm) paint brush. Cover the top, side, and bottom edges of the frame first using long, smooth strokes. Paint around the rest of the frame using long, even strokes next. Finish by painting the slats, starting at the top and working your way down. Krylon Fusion for Plastic or Rust-Oleum Paint for Plastic are examples of good paints made specifically for plastic that you can use on plastic or vinyl shutters.
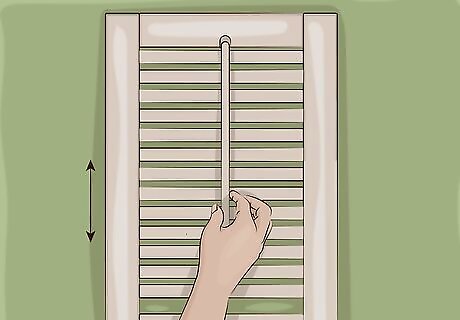
Open and close the louvers after you paint them if they are moveable. Use the handle on the front of the shutters to open and close the louvers 2-3 times before the paint dries. This will ensure that there is no paint that will dry and cause the slats to stick together. Smooth out the paint in the area you touched on the handle with your paint brush after you open and close the louvers.
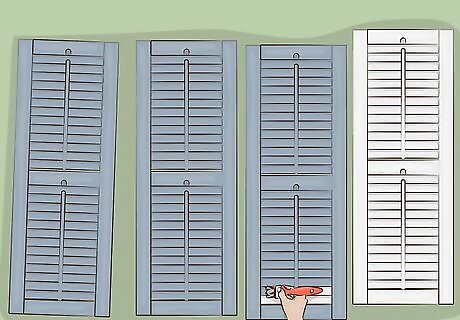
Paint the other side of the shutters after 30 minutes. The paint will be dry to the touch after 30 minutes, so flip the shutters over on the drop cloth after half an hour. Paint the other side of the shutters starting with the frame, then move on to the slats and working from the top down. Remember to always paint with the grain, smooth out any drips or runs as you work, and press your brush up against the inside edges of the frame when you reach the end of each slat to get paint up into the crevices.
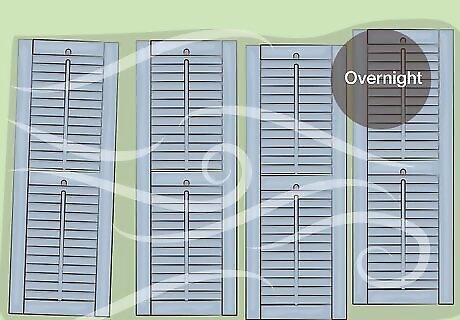
Let the shutters dry overnight before you install them. Wait until the next day to install the shutters to give the paint time to cure fully. This will ensure you don’t accidentally mess up any parts of the top coat during installation and have to go back over your work.


Comments
0 comment