views
- Turn off your Wii or Wii U console before pairing your Wii remote. Make sure the remote’s batteries are good, or replace them if needed.
- Remove your controller’s battery cover. Press the red SYNC button until the 4 LED lights flash, then press the SYNC button on Wii or Wii U and wait.
- When your controller connects, the LED lights will stop flashing, leaving 1 solid light. To use the controller, place your sensor bar just above or below your TV screen.
- For PC, pair your controller via Bluetooth. Install Dolphin emulator and select your controller. Buy a USB sensor bar or use the one connected to your Wii console.
Syncing With a Wii
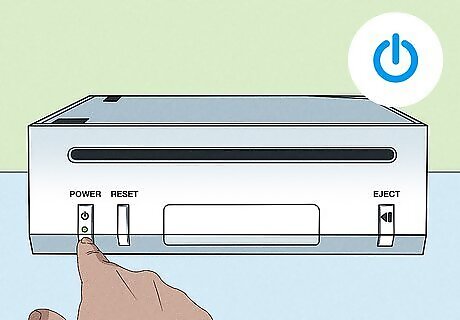
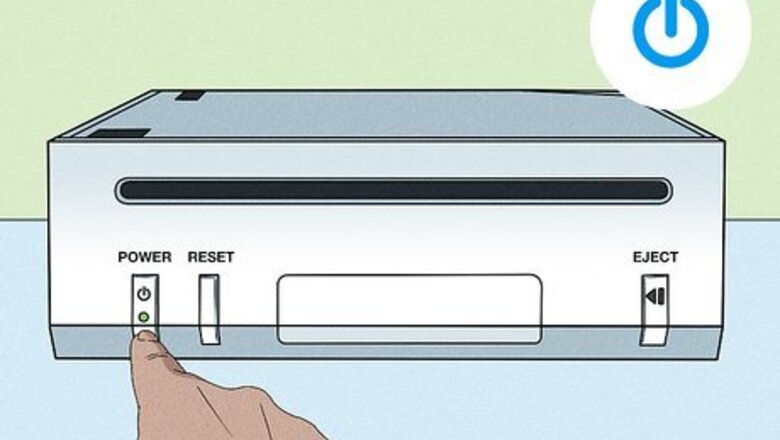
Turn on your Wii console by pressing the power button. Let it boot up normally. After the “Warning-Health and Safety” message, you should see the standard Wii menu with no applications running. If your Wii was already on (or in standby mode), press and hold the power button for 3 seconds to turn if off. Then power it on again. This ensures that no programs will be running when you pair your remote.
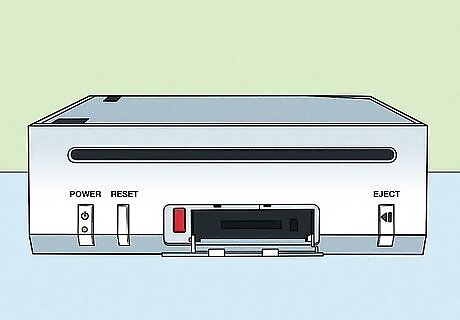
Open the SD card cover on the front of the Wii. You’ll see a slot for an SD card, plus a red “SYNC” button. Leave the cover open for now. The SD card cover is located between the Reset button and the Eject button. If you're using a Wii Mini, the Sync button will be located on the left side of the console near the battery slot.
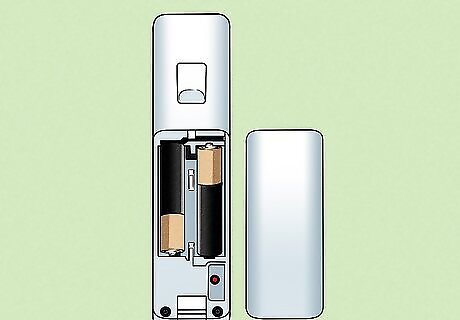
Remove the back cover from your Wii Remote. You’ll see the two batteries, plus a small red button labeled “SYNC.” Set the back cover aside. Make sure your Wii remote has fresh batteries. It will not connect if the batteries don’t work.
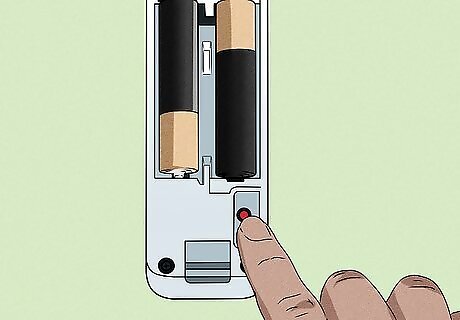
Press and release the SYNC button on the back of the Wii Remote. The four blue LED lights on front of the Wii Remote will begin blinking. If the lights don’t start blinking, firmly press the SYNC button one more time. If the lights still don’t blink, replace the batteries and try again. Your remote will not connect unless the lights are blinking.
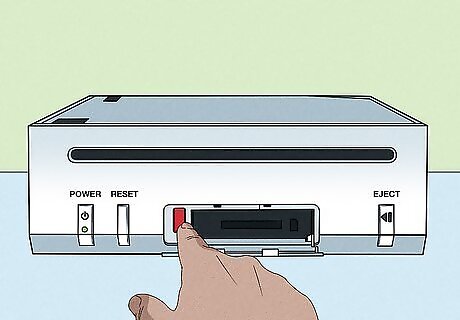
Press and release the SYNC button on your Wii console. Do this while lights on the remote are still blinking. If you wait too long, the blinking lights on the remotes will turn off before the remote has a chance to connect to your console. If this happens, press the remote’s SYNC button again until the lights blink, then quickly press the SYNC button on the console.
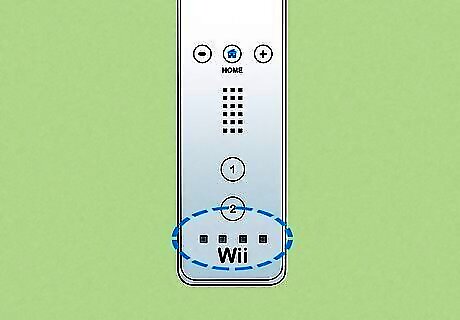
After a few seconds, the lights on the remote will stop blinking. The leftmost light will turn on and stay solid. This means that the remote has connected successfully. You should now be able to control your console using the remote. Try accessing menus and settings on your screen to confirm that the remote is working properly.
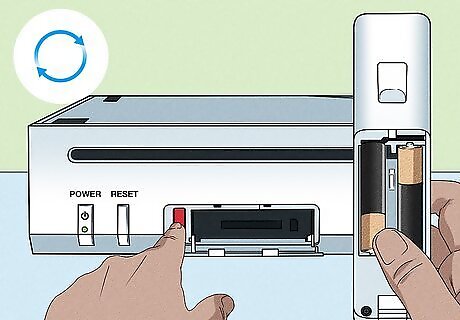
Follow these steps again for every Wii remote. You can connect up to 4 remotes in total. As you pair each remote, the next blue LED light in the row will remain lit after all four lights stop blinking. For example, if you pair a second remote, the second LED light will remain lit. If you pair a third remote, the third LED light will remain lit, and so on.
Syncing With a Wii U
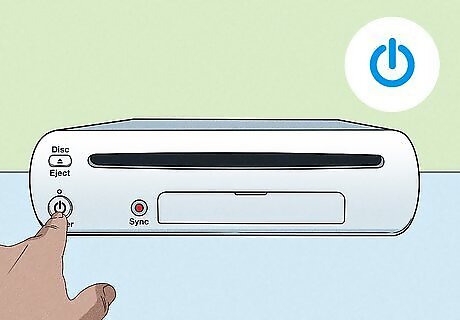
Press the power button on your Wii U console. The main menu should appear on the screen. Don’t select the Wii Menu (aka Wii mode) yet. You can’t access Wii Mode until you pair a Wii remote. If you try to launch Wii Mode without pairing a Wii Remote, you’ll be asked to pair one.
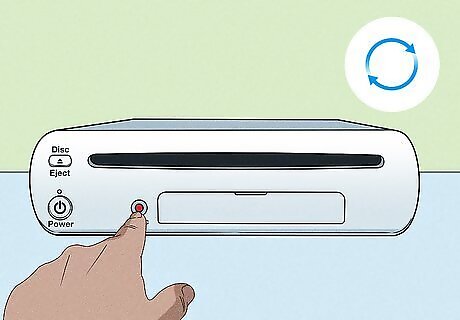
Press and hold the Sync button on the front of the Wii U console. The Sync screen will appear. You’ll see a diagram with instructions for pairing different controllers, including the Wii remote.
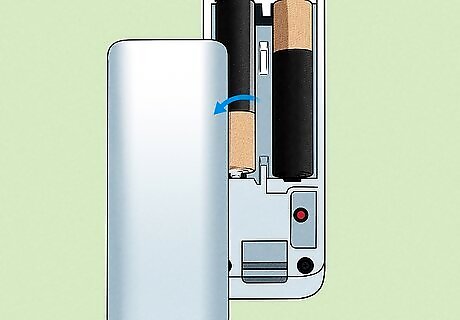
Remove the back cover from the Wii Remote. You’ll see the two batteries, plus a small red button labeled “SYNC.” Set the back cover aside.
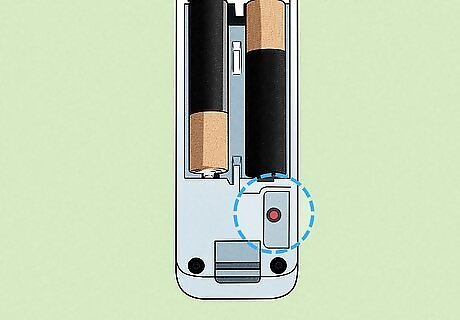
Press and release the SYNC button on the back of the Wii Remote. The four blue LED lights on the front of the Wii Remote will begin blinking. Wait for a few moments until the lights stop blinking. One of the lights should turn solid, indicating that the pairing was successful. If the lights don’t start blinking, firmly press the SYNC button one more time. If the lights still don’t blink, replace the batteries and try again. Your remote will not connect unless the lights are blinking.
Syncing With a Windows PC
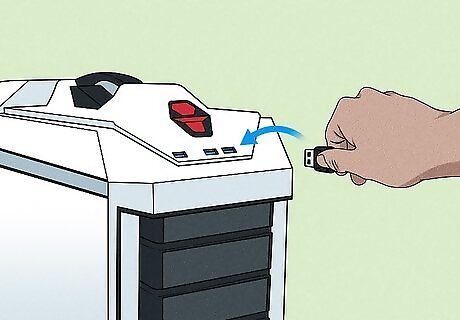
Make sure your PC can connect to Bluetooth devices. Your Wii remote will need a Bluetooth connection to pair with your PC. To check if your PC has Bluetooth, type “Bluetooth” in the search box in your start menu. An option should appear for “Bluetooth & other devices.” Click this option to see to view a list of devices. If your system already has an internal Bluetooth adapter, it will appear on the list as “Bluetooth.” If you don’t see anything listed under “Bluetooth,” you’ll need to use a USB Bluetooth adapter. You can buy them online or at any tech store. To install the USB Bluetooth adapter, connect to WiFi and plug the adapter into your USB port. Your computer should automatically install it.
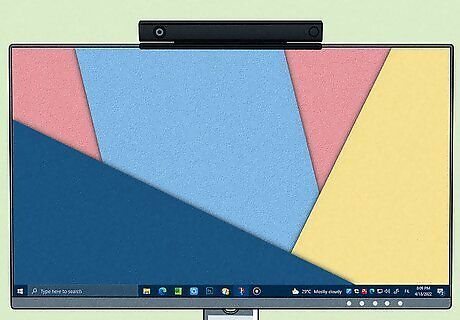
Place a sensor bar above or below your PC’s monitor. You can buy a USB sensor bar and plug it into your PC. You can also use the original Wii or Wii U console’s sensor bar, as long as it is connected to the console (and the console is turned on). The Wii or Wii U sensor bar doesn’t need to be connected to your PC to work with your computer. It doesn’t actually send any signals to your Wii controller, but instead works by emitting infrared light that is visible to the controller, but not your eyes. As long as the Wii or Wii U sensor bar is plugged into a console (with the console powered on) and placed above or below your PC monitor, you will be able to use it normally. You can also use a battery-powered sensor bar, or even make your own.
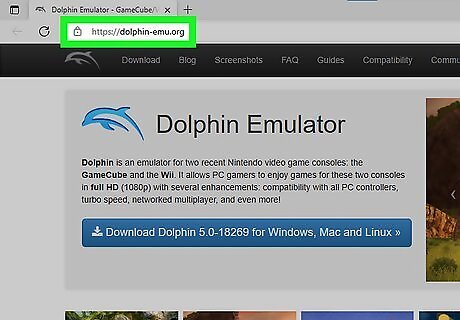
Download and install Dolphin Emulator onto your PC. Download the emulator from the company’s website, then open the file and follow the prompts to install it. This software allows you to play Wii games on your PC using Wii controllers. Close Dolphin before pairing your Wii remote with your computer’s Bluetooth adapter. If you attempt to pair the remote with Dolphin open, the remote may not appear in the controller selection menu.
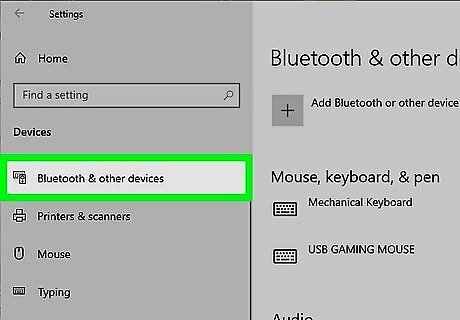
Access your PC’s Bluetooth settings. Go to your Start menu and type “Bluetooth” into the search box. An option will appear labeled “Bluetooth & devices” (for Windows 11 users) or “Bluetooth & other devices” (for Windows 10). Click whichever option you see. In the window that pop ups, select “Add Bluetooth or other device.” Another window will pop up showing “Bluetooth” as the first option. Click “Bluetooth.” A menu will pop up where you can connect your Wii controller. Note: If you don’t have a Bluetooth adapter installed on your PC, you’ll receive the error message “Couldn’t Connect.” Purchase and install a USB Bluetooth adapter before continuing.
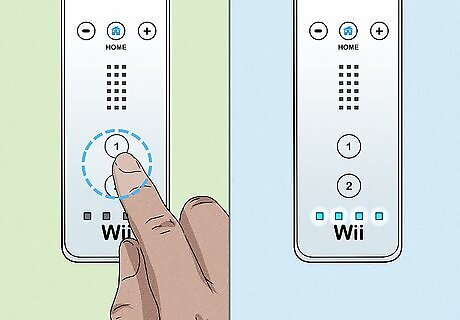
Press and hold the "1" and "2" buttons on the Wii Remote. Hold both buttons simultaneously until the four blue LED lights on your controller start blinking. On your PC, you should see "Nintendo RVL-CNT-01" under the list of Bluetooth devices.
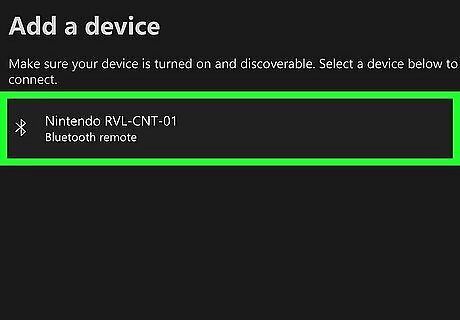
Select "Nintendo RVL-CNT-01" from the list of Bluetooth devices. Then click .Next.
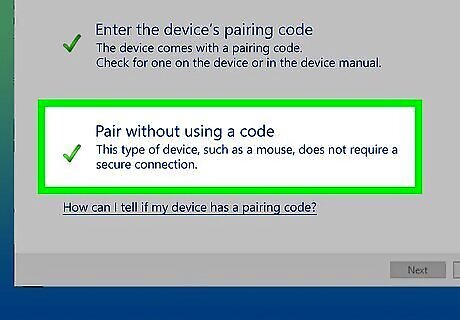
Select "Pair without using a code" and click .Next. Wait a few moments for the Wii Remote to pair with the computer.
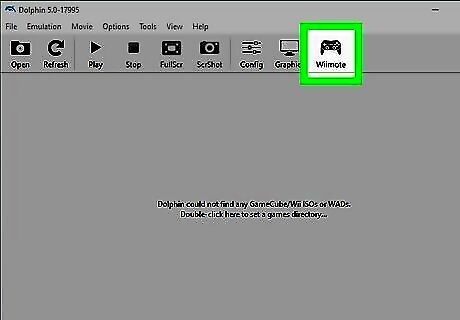
Open the Dolphin emulator once your remote has paired. Then click the “Wiimote” button on the top right.
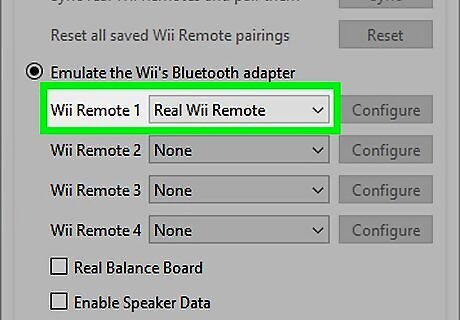
Select "Real Wiimote" from the "Input Source" menu. This will let you use the Wii remote when playing games with the emulator.
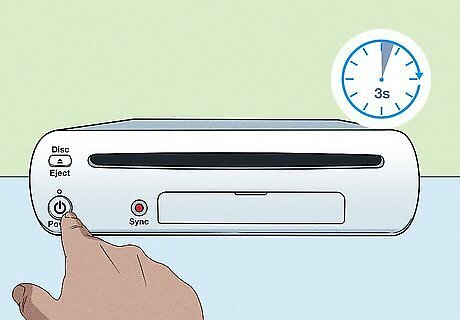
Problem: Your remote won’t sync because programs are running. Your Wii console can’t pair new remotes while games or other programs are running. This includes programs running in the background, such as when you pause a game and go to the menu screen. Fix: Make sure you're on the Wii's main menu when trying to sync. Remove any game discs from the system completely if you're still unable to sync. If these suggestions don’t work, turn off your Wii console completely, then try syncing the remote again. Hold the power button for 3 seconds to turn the console off.
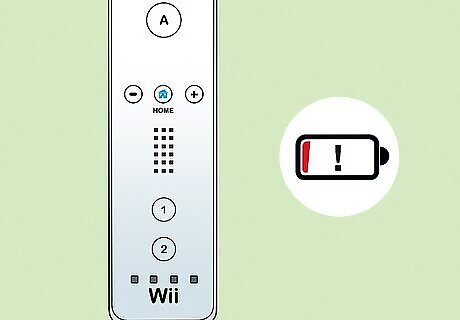
Problem: Your remote’s LED lights won’t blink when you press SYNC. If nothing happens when you press and release the small red SYNC button, it’s possible that the batteries are dead or degraded. Fix: Put new batteries in your remote and try again. Make sure both batteries are in the correct orientation, based on the diagram in the battery tray. If you’re using rechargeable batteries, make sure they’re fully charged before trying again.
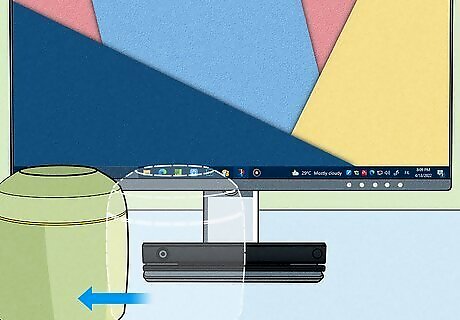
Problem: Your remote syncs but you still can’t control the console. If your remote successfully pairs with your Wii console, but nothing happens when you try to use the remote, your Wii’s sensor bar may be in the wrong place. The sensor bar allows your console to “see’ the remote. If it’s in the wrong spot or not connected properly, the remote won’t work. Fix: Make sure the wire from your sensor bar is plugged into the small red port on the back of the Wii console. Once it’s properly connected, place the sensor bar above or below your TV. Make sure nothing is blocking it. You should be able to clearly see your sensor bar as you use the console. If your Wii remote still doesn’t work, turn the console off, then on again. Try pairing your remote.
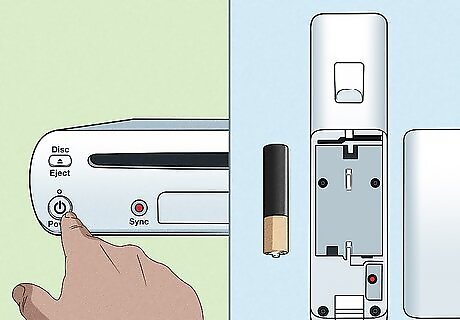
Problem: Your console and remote need to be reset. Resetting your devices is a lot like rebooting your computer. It can fix software issues or close programs that are stuck. Fix: Remove the batteries from your Wii remote, then unplug the power cable from the back of your Wii console. Wait one minute, then reconnect the plug to the console and put the batteries back in the remote. Turn on your Wii, then try again to connect your remote.
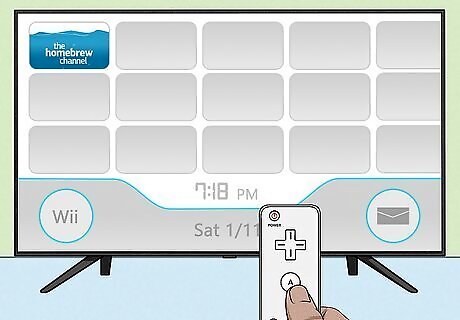
Problem: Your remote won’t sync because programs are running. Your Wii U may not allow you to add controllers while games or other software is open. Fix: Make sure you're on the Wii U's main menu when trying to sync.
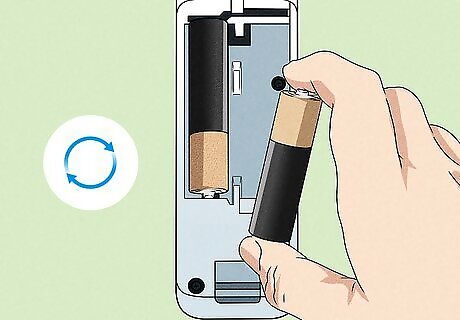
Problem: Your remote’s LED lights won’t turn on. If this happens, it could mean that the batteries are dead or degraded. Fix: Put new batteries in your remote and try again. Make sure both batteries are in the correct orientation, based on the diagram in the battery tray. If you’re using rechargeable batteries, make sure they’re fully charged before trying again.
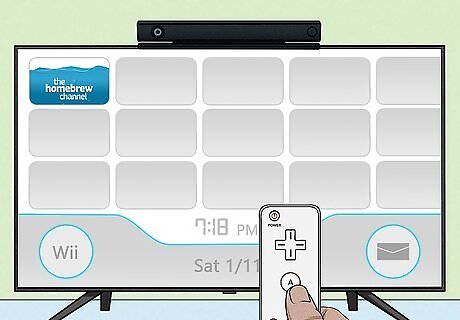
Problem: Your remote syncs but you still can’t control the console. If your remote successfully pairs with your Wii U console, but nothing happens when you try to use the remote, your Wii U’s sensor bar may be in the wrong place. The sensor bar allows your console to “see’ the remote. If it’s in the wrong spot or not connected properly, the remote won’t work. Fix: Make sure the wire from your sensor bar is plugged into the small red port on the back of the Wii U console. Once it’s properly connected, place the sensor bar above or below your TV. Make sure nothing is blocking it. You should be able to clearly see your sensor bar as you use the console. If your Wii remote still doesn’t work, turn the console off, then on again. Try pairing your remote.
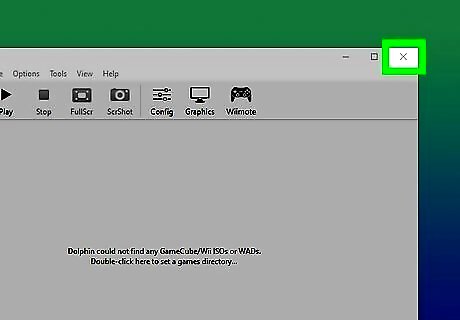
Problem: Your Wii controller isn’t listed in Dolphin’s controller selection menu. This can happen if you try to pair your controller with your PC while Dolphin is open. Fix: Close Dolphin before trying to pair your Wii remote with your PC. Once the remote is paired, open Dolphin and try again.




Comments
0 comment