
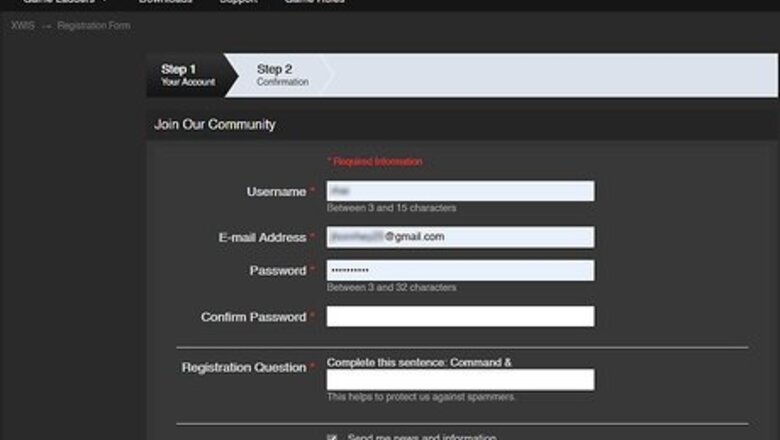
Steps
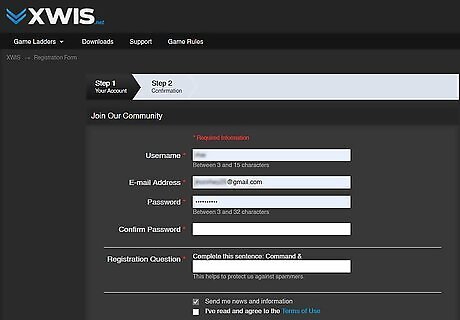
Log into the XWIS Game Account,
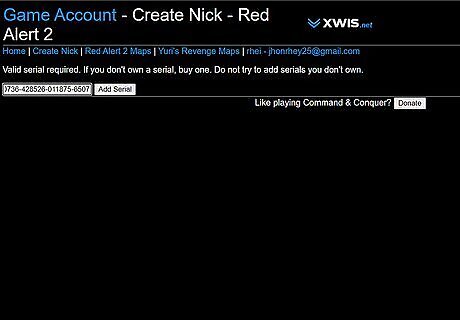
Add a Red Alert 2 serial and create a nick. A nick is a nickname - it's what you'll be known as.
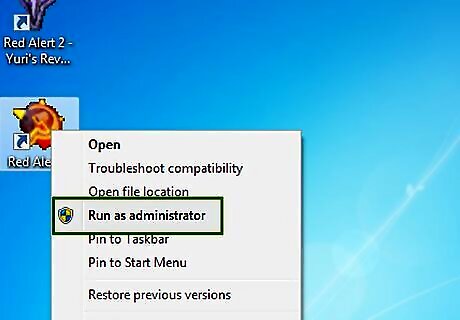
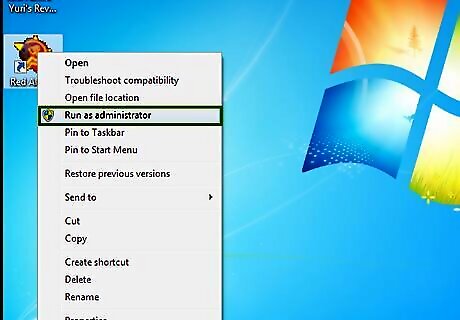
Start the game as an administrator.

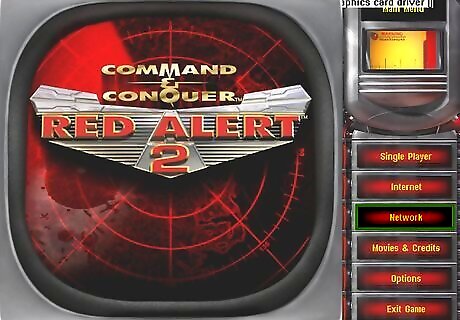
Click Internet, then Custom Match.

Enter the XWIS nickname you created in the Game Account, along with the Game password also supplied. Remember your password!
Emulating Lan
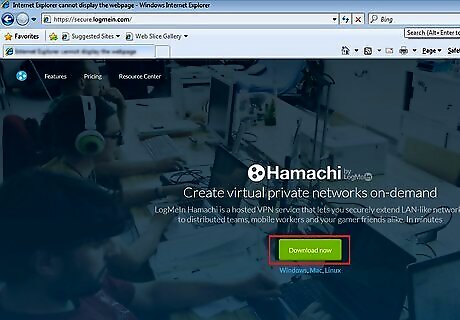
Download and Install Hamachi basic. You can get it free from their website https://www.logmein.com/ Hamachi for WinXP ,Vista, Win7 Choose a Hamachi nickname like this example player [RU] or player [EN], [RU] its Russia country tag.

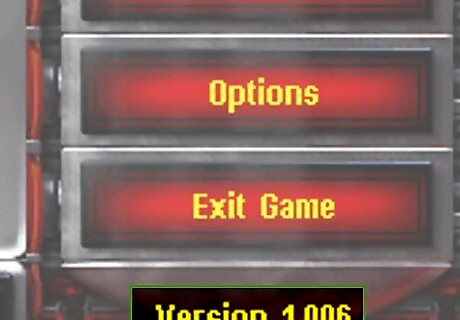
Update your Red Alert 2 or Yuri's Revenge to the latest version. And that would be 1.006 for Ra2 and 1.001 patches. This is not a required step, but assuming almost everybody has done so, it would be prudent if you do so too, to prevent future connection difficulties. As you can only play with someone with a similar version.
UDP
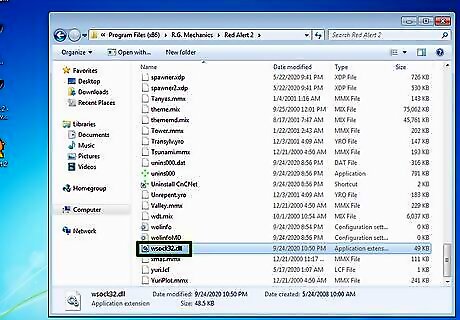
Download the UnderStorm Red Alert 2 Patch from wsock32dll and copy "wsock32.dll" from the downloaded archive to the root folder of your Red Alert 2 installation.

Click Start, click Run, type ncpa. Cpl , and then click OK.
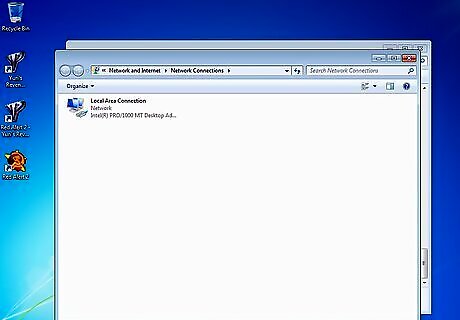
You can see the available connections in the LAN and High-Speed Internet section of the Network Connections window.
Click Advanced Settings on the Advanced menu, and then click the Adapters and Bindings tab. For vista, click organize, folder option and enable 'Always show menu'
In the Connections area, select the Hamachi connection that you want to move higher in the list. Use the arrow buttons to move the connection to the top.
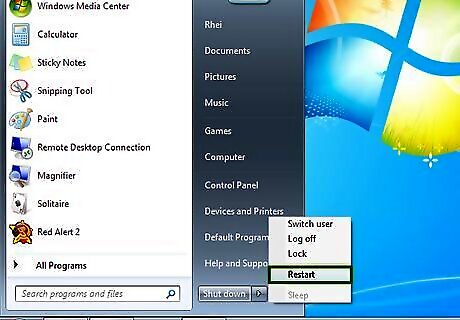
Restart your computer.
Make sure that all Players have joined the same Hamachi network "ra2.ru" no pass
Start Red Alert 2
Choose Options->Network from the main menu, Select Network Card, the one starting with 00 00 00 00:00 00 00 00, leave the other stuff empty, click OK This is important to ensure that you select the UDP adapter, otherwise the network won't work. Ensure that you reselect the adapter, even if it is already selected.
Go back to main menu->Network. When you do this you will be seeing your friends if they did the same.

Make sure that they are green in hamachi if you still can't see them, or only see half of them, or know that there is a game. Right click them and pressing ping. The main reason this is happening is because of the firewall and the IP assigned. First make sure that everyone has there firewalls turned off. Then when your inside lobby, disconnect your router's power for 10 seconds; this will reset your IP. Plug it back in and ALT-tab out until you see homage and it has reconnected to the server. If someone your playing with is red, log out of hamachi and log back in. Open yuri and press back to go back to the menu. Click network again and you should see the game.
Setting up hamachi for Win 7 & Vista.

Setting up Hamachi for Win 7 & Vista. Start- Control Panel- Network and Sharing Center- change adapter settings Set the highest priority to adapter Hamachi as shown in the picture below. Follow these easy steps to set the interface metric in the Hamachi adapter to "4". After this restart PC
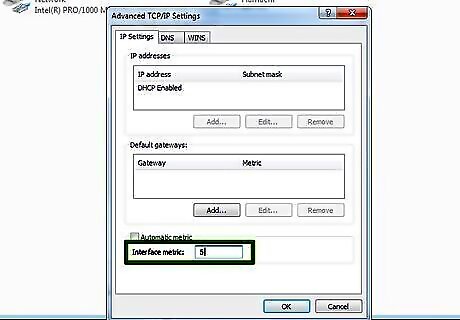
If your internet fails to set the interface metric in the internet adapter to "5".
IPX
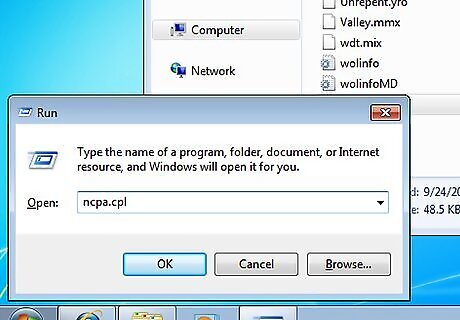
Click Start, click Run, type ncpa. Cpl , and then click OK. You can see the available connections in the LAN and High-Speed Internet section of the Network Connections window.
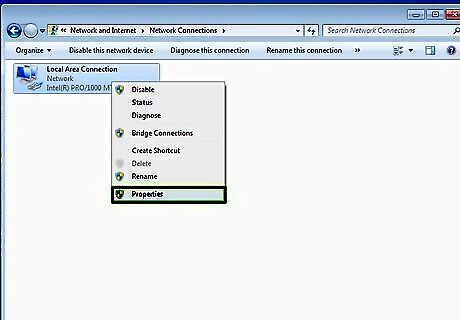
Right-Click on Local Area Network, select properties.
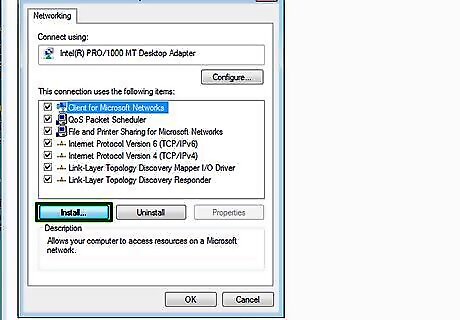
Click Install or Press ALT N
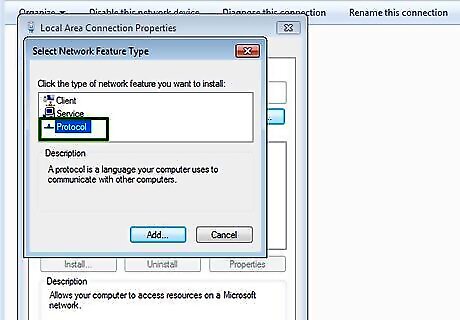
Select Protocols
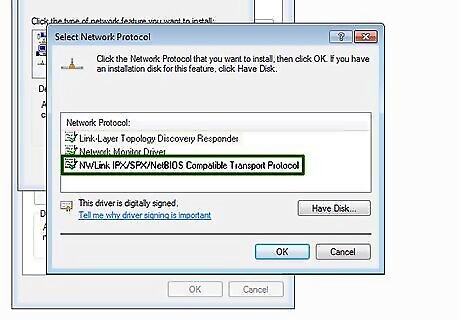
Select NWLINK IPX/SPX/NETBIOS
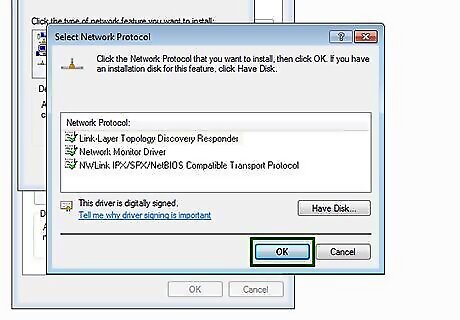
Install it.
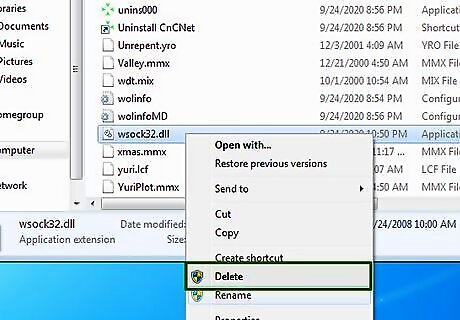
Remove the wsock32.dll patch file from the root folder, if you have tried out the UDP protocol and have placed the "wsock32.dll" patch file into your root folder
PvPgn Server
Click Start, click Run, type \WINDOWS\system32\drivers\etc\hosts. A screen will pop out asking how you want the file to be opened, select notepad, or any other text editor.
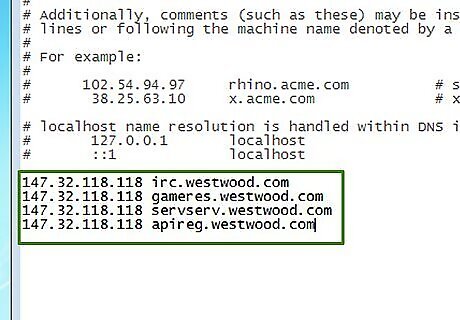
Copy the following lines into the hosts file: 147.32.118.118 irc.westwood.com 147.32.118.118 gameres.westwood.com 147.32.118.118 servserv.westwood.com 147.32.118.118 apireg.westwood.com
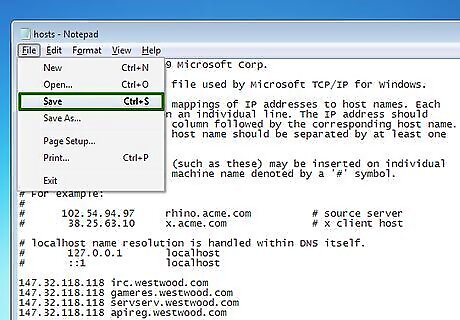
Save it.

Start Red Alert 2 or Yuri's Revenge

Click Internet
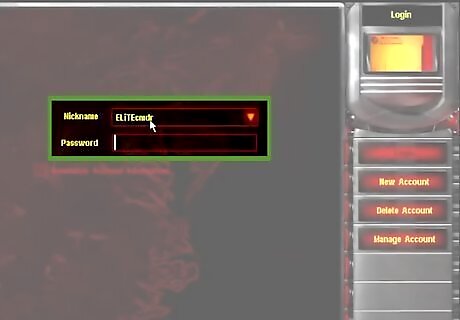
Log in with a unique nickname of your choosing. Type in a desired password. (The password must be 8 characters, no exceptions.) The first time you log in, it will be an auto-register.
Select custom games. You will now enter the Koran HQ game lobby, in here you will be able to create or join games. If there are players, a game should appear in the column to your left. Should that not happen, you must wait. It is highly recommended that you exit Red Alert 2 and log on with the Westwood Chat Program. Note: You will need Internet Components installed. It is important that you have similar versions of Red Alert as with the person you want to play with.
Troubleshooting

Download and run WOL Server connection tool enter the server IP in the first and the second box and click Set (XWIS). As an example take the server with the IP: 195.189.238.82
Update Red Alert 2 to the latest 1.006 patches or 1.001 patches for Yuri's Revenge. As you can only play Red Alert 2 with another player with similar versions.
Install Red Alert 2 with Internet Components.
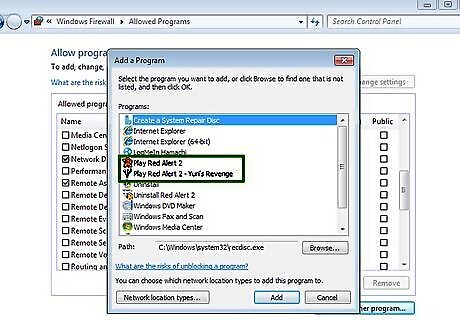
Try setting Red Alert 2 as an allowable object in your Windows firewall. In certain cases, try disabling Windows Firewall entirely.
Widescreen support

Go to your gamedir, and open/edit ra2.Ini with wordpad.
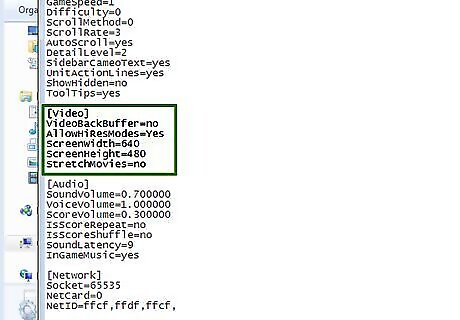
Find these lines(ctrl+f): [video] Screenwidth=640 Screenheight=480 Stretchmovies=no

Edit the values of screenwidth and screenheight to set your resolution. Note that ra2 uses 16 bit color, and if your system can handle a specific resolution at 32 bit color but not 16 bit color, ra2 will not run at that resolution. Setting stretchmovies to yes does absolutely nothing.
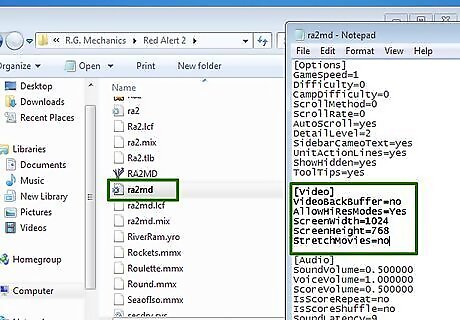
Perform the same operation on ra2md.ini, if you have Yuri's revenge installed


Comments
0 comment