
Purchase check printing software. While it is possible to design your own checks without any special software, it requires design skills, and it has to be done exactly the right way. To save time and energy, you may just want to use software that formats the checks for you. Most popular money management programs, such as Quickbooks, and Xero, allow you to print checks. You can also use services such as Checkeeper, or Relyco Check Writting.
Purchase check stock paper. Check stock paper is paper specially made for printing checks. It prevents others from altering your checks. It will also give you an idea of how big you need to design your checks, if you are designing your own. You can purchase check stock paper online, or at most office supply stores.

Download and install an MICR font. MICR stands for Magnetic Ink Character Recognition. It's a character recognition technology that banks use for processing and clearing checks. You can purchase a compatible font from here. Read 4 Ways to Install Fonts to learn how to install fonts for both PC and Mac.
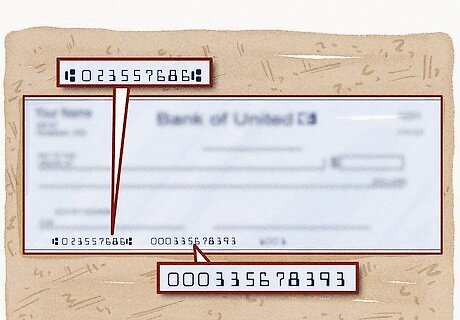
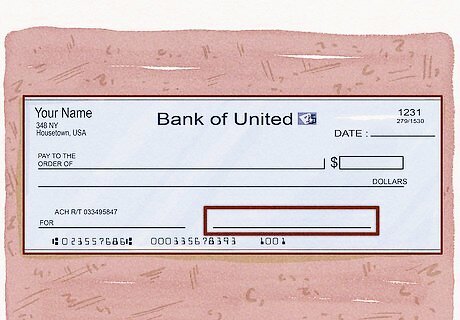
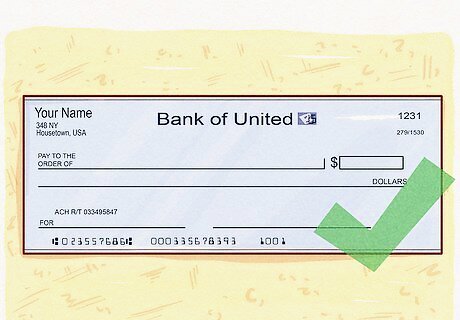
Type the account and routing numbers. The routing number goes on the bottom left side of the check. The account number goes to the right of the routing number. All numbers at the bottom of a check must be printed in an MICR font and with magnetic ink. You can purchase magnetic ink online from Amazon.
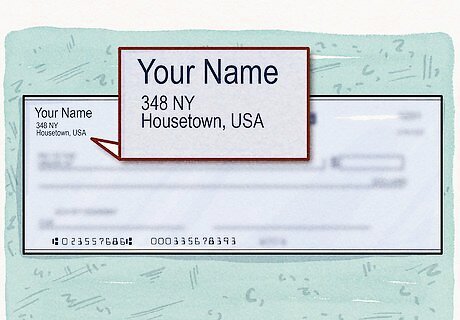
Place your personal information in the upper-left corner. Your personal information includes your name and address. If you have a bank logo, you can put it first in the upper-right corner.
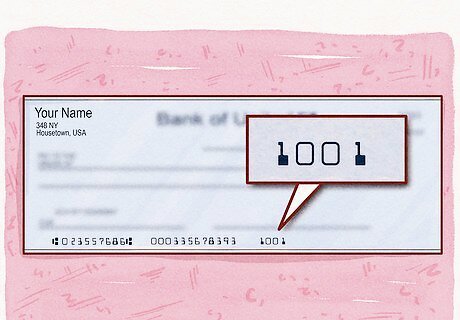
Place the check number in the upper-right corner. Decide on a starting number for the checks. Once you know the starting number of the checks, place it in the upper-right corner. You should also place the check number at the bottom of the check after the account number. All numbers at the bottom of the check should be written in an MICR font and printed with magnetic ink.

Place the banks fractional number below the check number. The fractional number indicates what region your bank is in. The fractional number usually has a number followed by a dash and then a larger number. Make the text small but readable. Contact your bank for the correct fractional number..
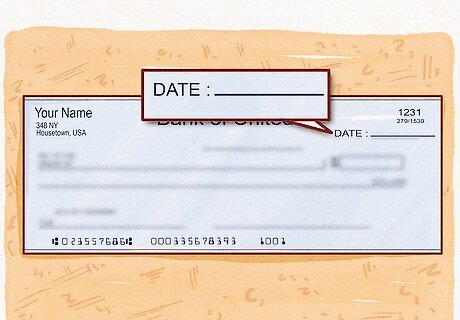
Place the date line to the right of check number. The line that says "Date" goes to the left of the check number in the upper-right corner.
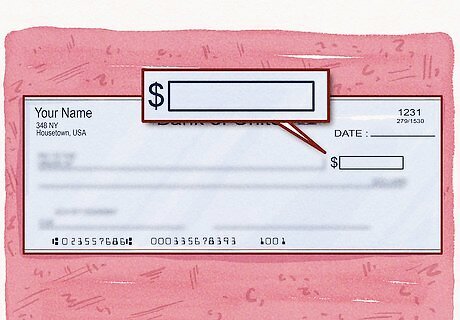
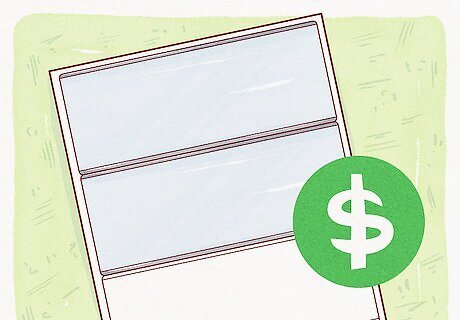
Place the dollar box below the fractional number. The dollar amount box is where you write the dollar amount. Place a dollar symbol "$" next to the left of the box.
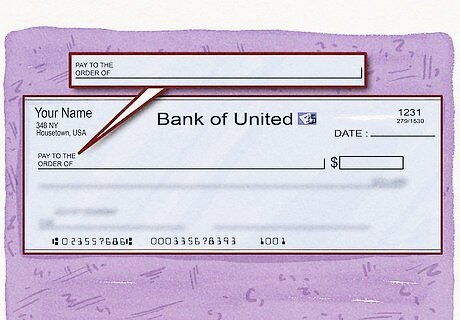
Place the payee line to the right of the dollar box. The payee line is where you write who the check is for. Type "Pay to the order of" on the right side of the check. Use two lines if you have to. Extend the payee line from the text to the start of the dollar box .
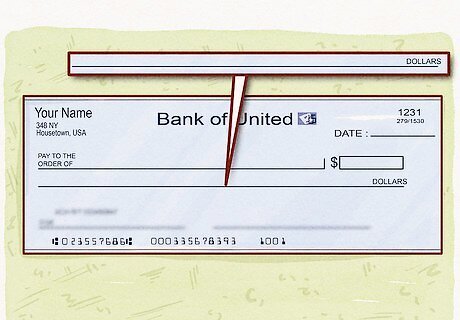
Place dollar amount line below the payee line. This is the line where you spell out the dollar amount using words. It should extend across most of the check. Type "dollars" at the end of the line on the right side.
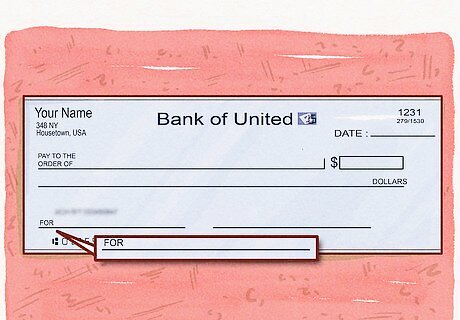
Place the memo line above the routing number. This is the line where you usually write a memo. Sometimes the memo line says "For" on the left side.
Place the signature line on the right side. The line where you sign the check goes on the right side across from the memo line.
Carefully review the information. After you finish designing your checks, carefully review everything to make sure all the information is correct.
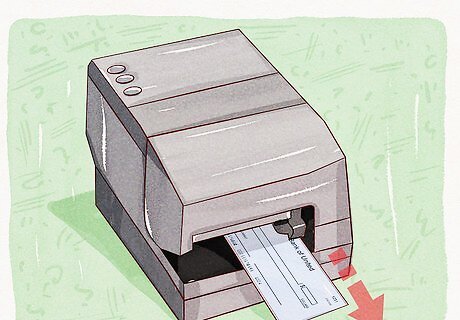
Print your checks. You can print blank checks and write the payee information on them, or you can type the payee information into your check printing software or graphic design suite.


Comments
0 comment