views
Pull the refrigerator away from the wall.
Move the fridge so it's easier to get to to valve. Pull the refrigerator forward so that you can get behind it with ease to change the part. Before messing with the back, be sure to unplug the refrigerator and turn off the water supply.
Remove the cardboard cover on the back of the fridge.
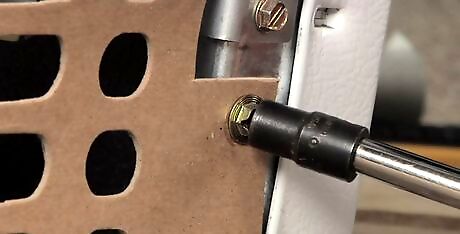
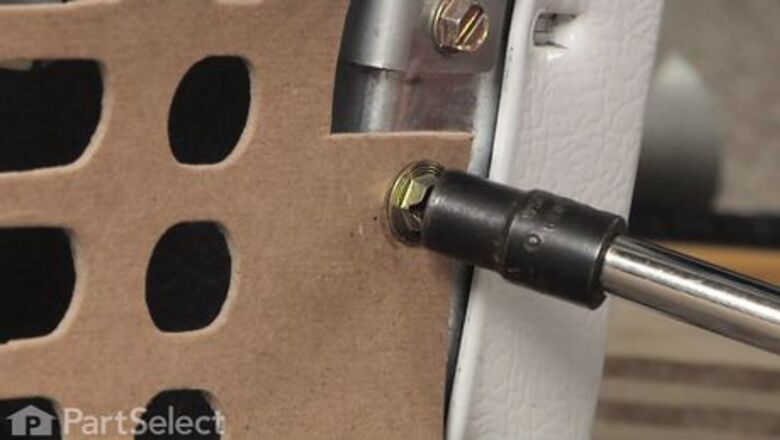
Taking off the fridge's back will give you access to the valve. Locate the screws in the upper right hand corner of the refrigerator and use a nut-driver to remove them. Depending on your model, there will probably be 2 or 3 screws. When removing these screws, make sure that you don't lose them. It's highly recommended that you place them in a small plastic container.
Remove the backing of the valve.
Use a screwdriver to remove the machine screws holding the water valve to the cabinet. Once these screws have been removed, you should be able to pull the valve outside of the cavity, allowing access.
Disconnet the electrical harnesses.
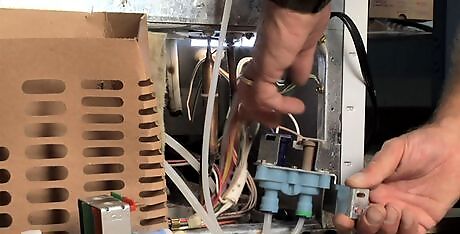
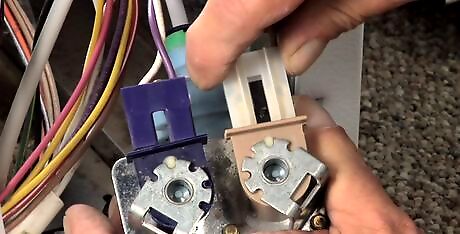
Behind the water valve, you will have to disconnect the two electrical harnesses. Each harness will have two different pin sizes. When the pins have been removed, slightly pull the tubing out. When doing so, it's normal to see some water spill out.
Clean the tubing when it's removed.
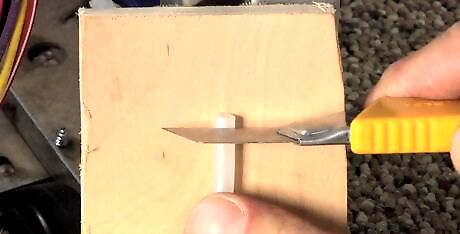
Clean up the rough edges of this tubing by cutting a bit of it off. To cut it, use a block of wood and putty knife on the floor. (Try to trim it and avoid cutting too much off.) Set this tubing aside.
Purchase your new replacement valve.
Use the old valve to help purchase the replacement. You may notice an extra piece on it; depending on the model of your refrigerator, you may or may not need this piece. If your existing piece had that additional part, keep it on. However, if it didn't, it's okay to snap it off.
Reinsert the tubing.
Lightly push the clean tubing in to ensure the new tubing snaps into place. When inserting the tubing, just make sure that it's firmly in place and doesn't move around when you poke at it, and that it is snug.
Reinstall the terminals.
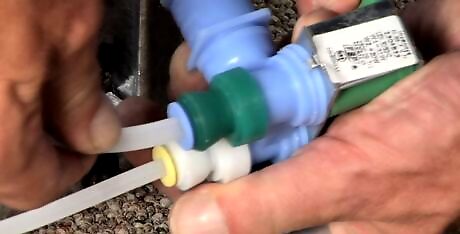
Each pin will be a different size, so it'll be impossible to mix up the connections.
Return everything to its place and turn on the water.
Reinstall the screws and tuck the tubing out of the way. Turn on your water supply to make sure there are no leaks. If there are no leaks, you can safely put the back cover back on using those screws you set aside in the plastic container.
Plug in the refrigerator.
Push the refrigerator into place and your water inlet valve should be working like new.


Comments
0 comment