views
Recognizing Damage
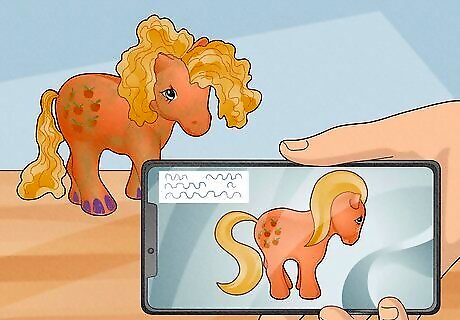
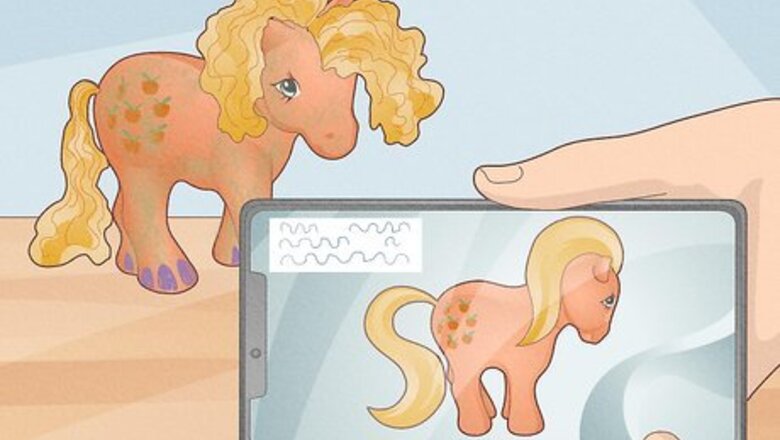
Research online to see the original colors of the pony and mane. If you're not familiar with the specific pony you've received, you might not recognize damage or markings that aren't meant to be on the toy. Look up the model of pony you're restoring to see what it originally looked like.
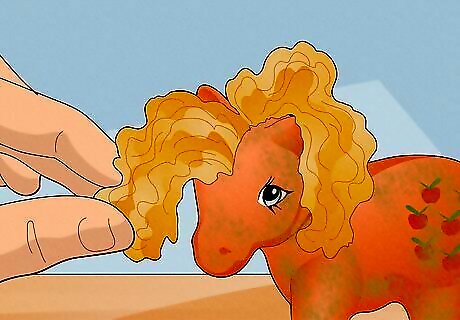
Check your pony's hair for damage. Look at the hair and see if it is frizzy, tangled, dirty, and/or damaged. You can tell if the hair is damaged if the ends feel dry and coarse. All these issues can be resolved or improved by washing the pony's hair. Ponies with a particular shade of pink hair can lose the pink color after being exposed to sunlight, and be left with white hair.
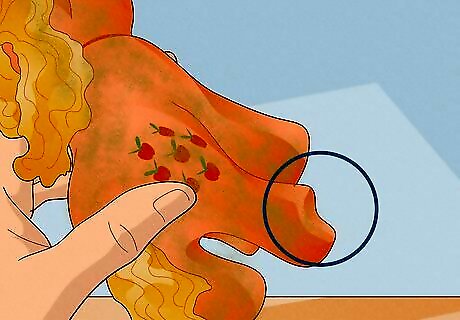
Note any disfigurement of the pony's body. There may be indents where the pony appears to have been squished, or the pony might have a hard time standing up without support.
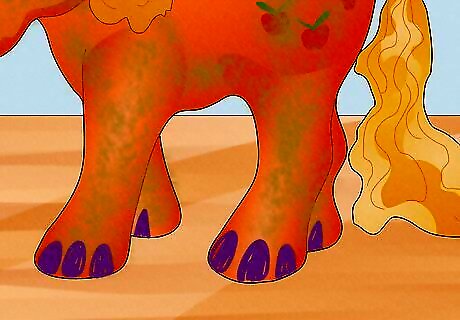
Analyze the pony for markings. Check the pony for stains from markers, crayons, dirt, nail polish, or any other markings that should not be there. It is good to note what marks may have a harder time coming off when it comes to washing. If you are unsure if a marking is a part of the cutie mark or not, look online for a photo of the pony.
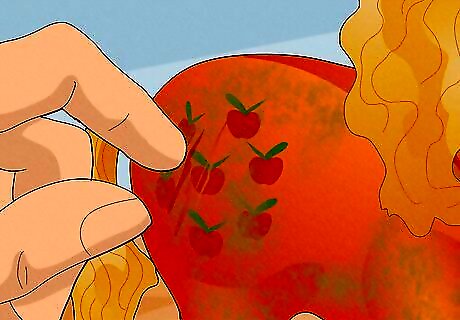
Look for any scratches or scrapes on the cutie mark. The cutie mark is located on the hindquarters of the pony. The paint on the cutie mark can sustain damage and should be noted before washing the pony. This is important because scrubbing the area could cause further damage.
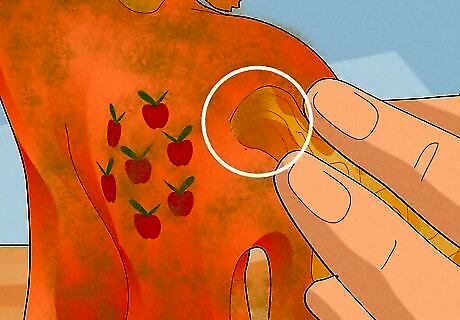
Acknowledge any grittiness or brown discoloration at the base of the pony's tail. This damage is called tail rust. The rust comes from a metal washer that holds the tail hair inside the pony, and this washer rusts like any other metal. It should be noted that this damage cannot be fixed without complete replacement.
Washing the Pony's Body
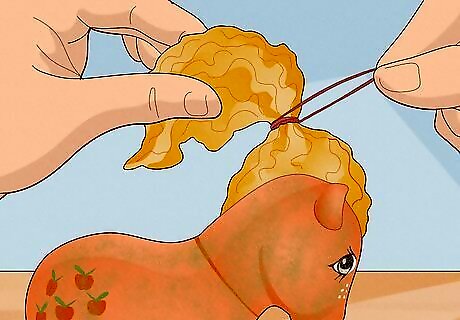
Tie the hair with a hair tie to avoid it getting wet. If the hair gets wet, it can cause water buildup inside of the pony, which can lead to mold growth and tail rust.
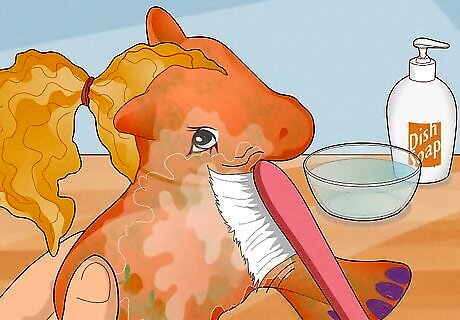
Dip a wet toothbrush in dish soap and start gently scrubbing the pony. Create a lather and make small circular motions to scrub out the grime. Go over areas with stains and marks until they lighten or disappear. Try to hold the pony with the tail facing down to prevent water from entering the pony through the tail. Avoid scrubbing too harshly, especially at the cutie mark. This could damage the toy.
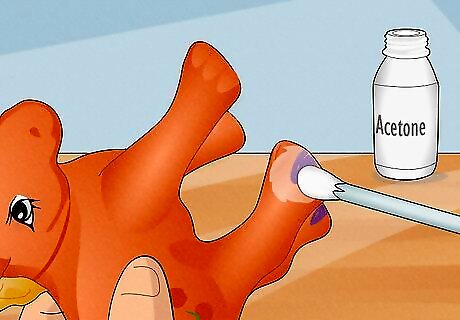
Apply a small amount of acetone on persistent stains and marks. Dip a cotton swab in acetone and use gentle, circular scrubbing motions to remove any markings. Once you've finished, wash the acetone off using soap and water. Avoid using acetone on any painted parts of the pony, like the cutie mark and eyes, because it will remove the paint. Be sure to fully wash away the acetone. Otherwise, the acetone can eat away at the vinyl of the pony's body and damage it.
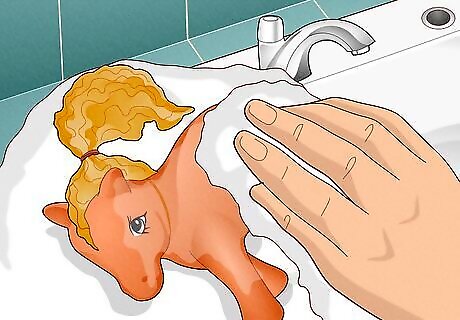
Rinse and dry off the pony with a towel. Put the pony in a dry place to fully dry. Do not leave the pony in direct sunlight to avoid sun damage.
Washing the Pony's Hair
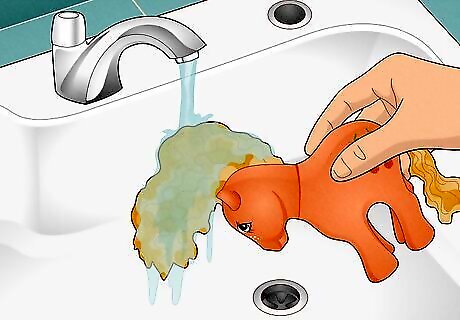
Wet the pony's hair.
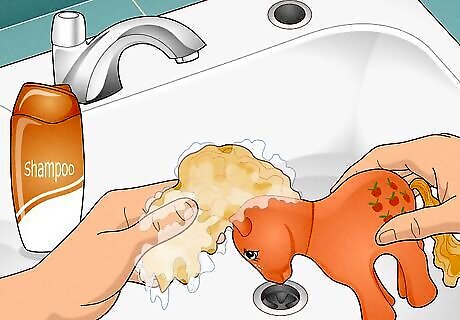
Shampoo the pony's hair to remove any dirt. If the hair is dirty, apply a dime-sized amount of shampoo to the hair, and use gentle scrubbing motions to remove the dirt. Do this until you have a lather; add more shampoo if the original amount is not sufficient. Once all of the desired dirt and grime is loose from the hair, rinse out the shampoo with water. If the hair is not dirty, you don't need to shampoo it.
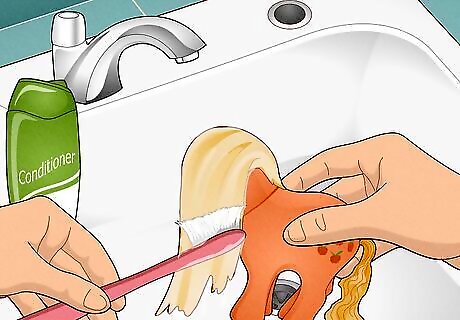
Lather conditioner into the pony hair, then use a toothbrush to comb out the tangles. It is easier to brush through small sections of the hair at the time, starting with the top layers of hair. Take your time and don't pull sharply, or you might pull out some of the hair.
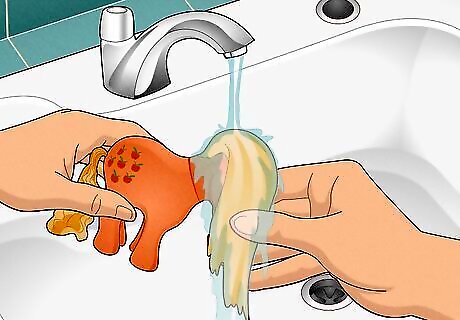
Rinse the pony's hair. Make sure to get out all of the shampoo and conditioner.
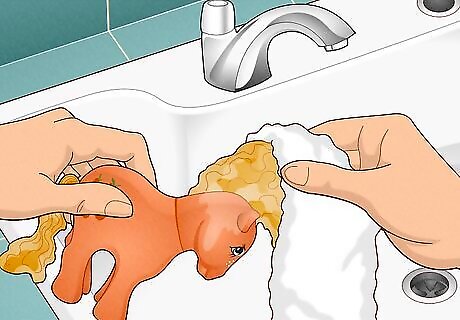
Dry off the pony. Pat the pony's hair dry with a towel, and dry off any other parts of the body that got wet. Do not put the pony in direct sunlight, as this can cause sun damage.
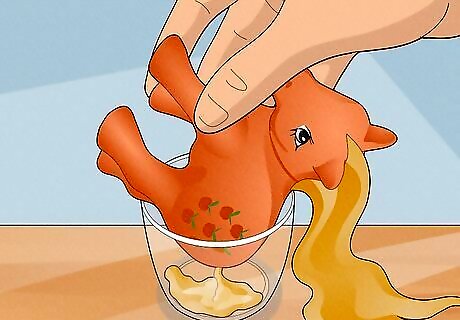
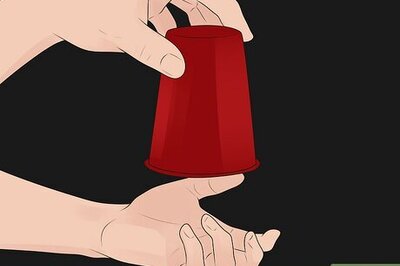
Drain any water from the pony. Get a heavy cup, and place the pony's tail facing downwards into the cup. This will drain out any water that entered the pony through the tail during washing. Leave the pony like this overnight to ensure all of the water gets out.
Removing Tailrust
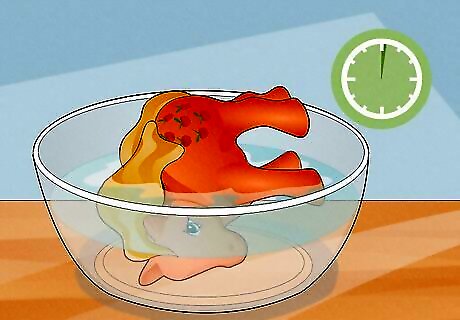
Soak the pony's head in a large bowl of hot water for 1 minute. This will start to break the glue down that attaches the head to the body.
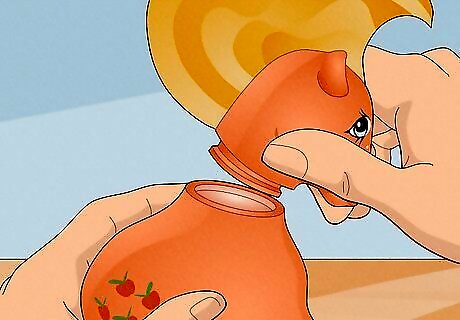
Pry the head off of the body gently. Use slow rocking motions to loosen the glue. Do not apply too much force when removing the head, because this can rip the vinyl. If you are having a hard time, try a different angle to pry the head off or soak the head in hot water for another minute. Repeat this process until the head comes off.
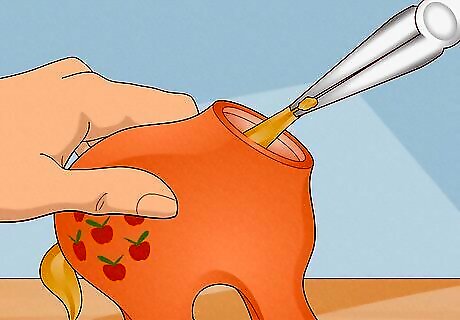
Remove the tail using long-nose pliers. There is a washer that holds the tail in place inside the pony like a cork. Insert the pliers through the neck hole of the pony, grab the tail, and slowly pull it out through the neck hole. Afterwards, discard the washer.
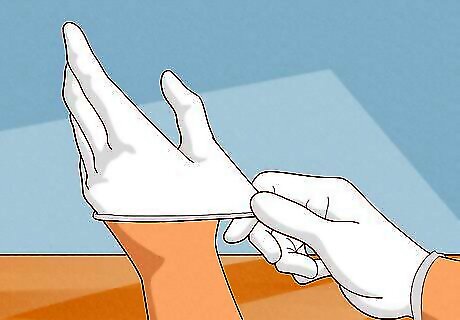
Put on gloves. OxiClean can irritate the skin if exposed.
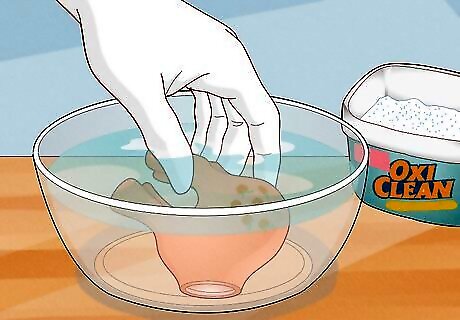
Clean out the rust inside of the pony. Fill up your bowl with a mixture of warm water and OxiClean and submerge the pony. Do not submerge your pony if it is from the Princess line. Princess ponies have raised jewel cutie marks that have a metallic setting, which will rust if exposed to OxiClean.
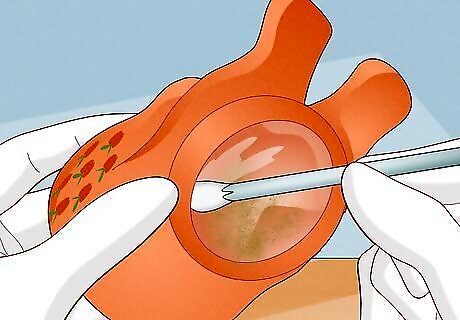
Use cotton swabs to loosen stuck rust. If some of the rust isn't coming off, soak cotton swabs in OxiClean, use the pliers to grasp the swabs, and insert the swab inside the pony. Move the pliers to scrub at the rust. If you have a Princess pony, this is the safest method to rid your pony of rust.
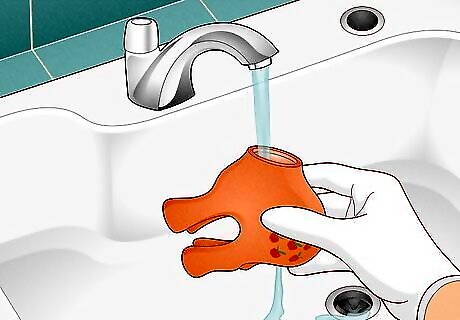
Rinse out the pony with soap and water. This will get rid of any OxiClean lingering inside of the pony.
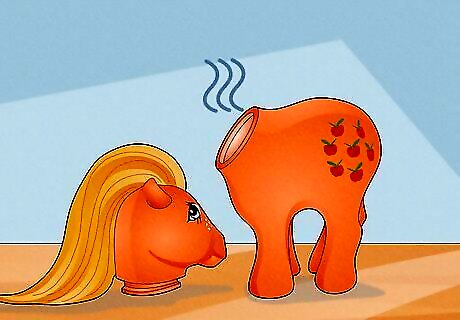
Let the pony dry. Leave the head of the pony off until the pony is completely dry. This will help ensure that the pony will not have any water trapped inside of it again.
Replacing the Pony's Tail
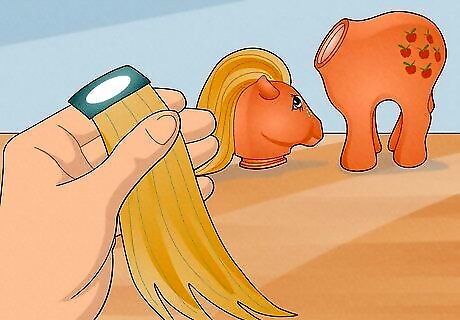
Buy the correct color hair from a doll hair shop. If you can't remember the pony's hair color, look for a photo online.
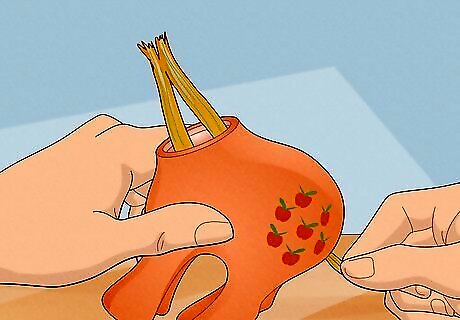
Replace the old tail hair with new hair. Take your replacement hair and fold it in half, forming a loop. Then, take the loop end and thread it through the tail hole until it sticks out through the neck hole. This can be made easier by using a piece of string as a makeshift needle threader.
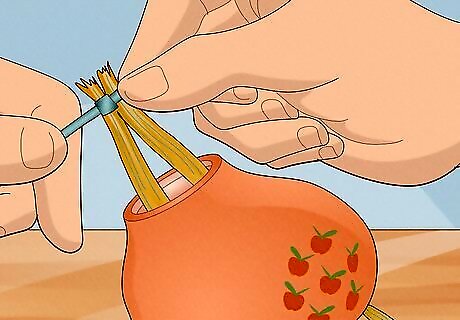
Secure the new tail with a zip tie. Zip-tie the tail in the middle of the trail loop that is sticking out of the neck. The zip tie is replacing the washer in this situation, which cannot rust.
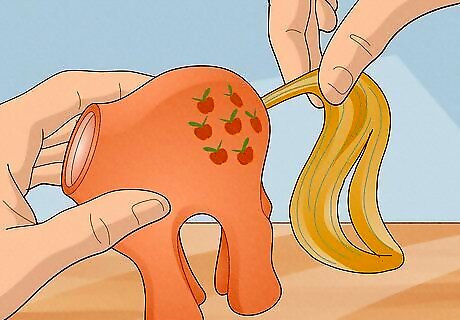
Pull the tail back out through the tail hole. This is to make sure that the zip tie is securing the tail in place.
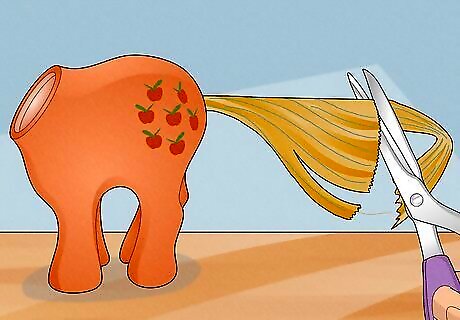
Cut the tail to the correct length. The tail will most likely be too long or uneven when first replaced. Look up a reference image and cut the tail to the appropriate length.
Reattaching the Head
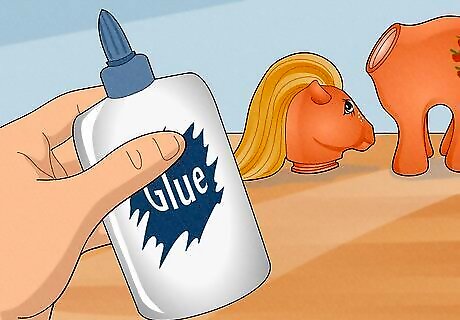
Acquire glue that is safe to use on the vinyl pony body. Some glues can damage the material.
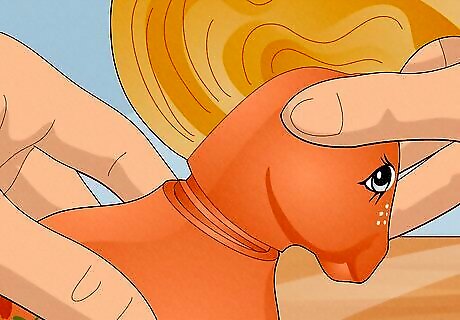
Reattach the head. Push the head back into the neck socket. If you are having a hard time fitting the head back in, use warm water to soften the vinyl, being careful not to get any water inside the pony.
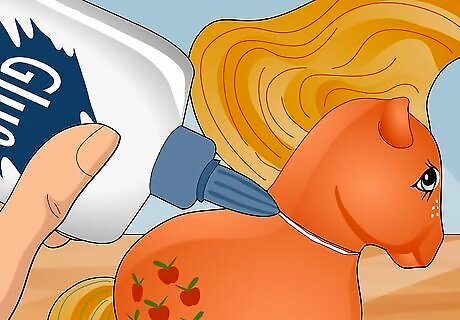
Glue the head back onto the body. Pry the head away from the body and insert the glue in the gap. Do not use too much glue to avoid it leaking through and being noticeable. Do not glue the head back into place unless you have replaced the tail and are satisfied with your work. Taking the head off will be much more difficult once the glue is dry.





Comments
0 comment