
Sewing a Throw or Bed Pillow
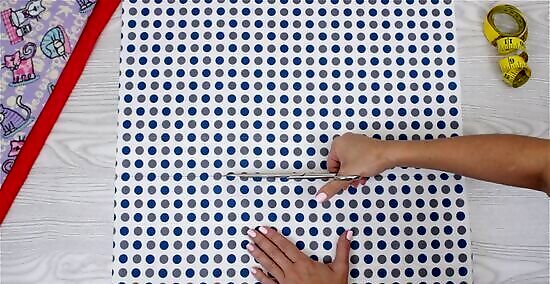
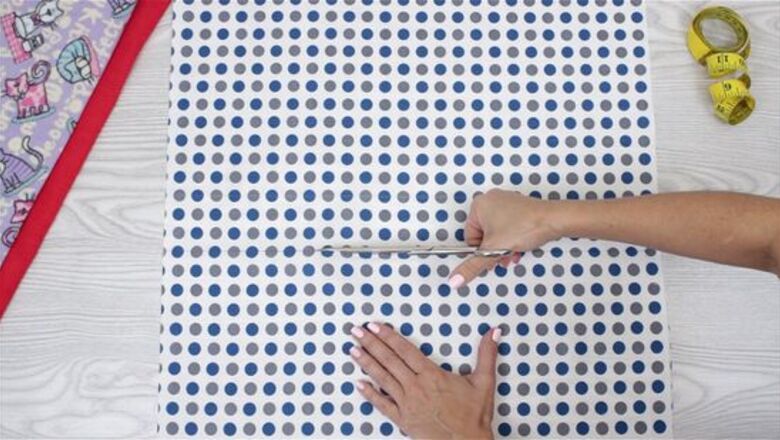
Cut a piece of fabric into two equal pieces. How big you cut the pieces depends on the pillow size you want. A standard throw pillow is 18 in (46 cm) by 18 in (46 cm). A standard bed pillow is 20 by 26 in (51 by 66 cm). Use a large ruler to trace the measurements onto the back of the fabric. Add ⁄2 in (1.3 cm) to each side of the fabric for seam allowance and cut with a pair of fabric scissors. If you’re using a pillow form as your filling, cut the fabric the same size and shape as the pillow form. Use an existing pillow as a template if you’d like. Grab a flexible tape measure and place it seam to seam (horizontally and vertically) to measure. Use any fabric you’d like, but consider the pillow's purpose. Use soft cotton with a high thread count if you’re using it to rest on. For decorative pillows, try brocade fabric. Cost: Cotton fabric costs $1 to $8 per yard, while decorative fabrics may have a higher price point, like $12 to $20 per yard.
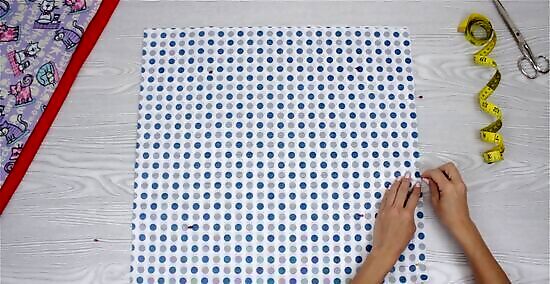
Stack the two fabric pieces with their right sides together. Pin each of the four corners ⁄2 in (1.3 cm) from the edge. Place pins at the center of three sides. Leave one edge unpinned so you can turn the pillow inside out later. If you’d like, add two pins on the bottom edge of the unpinned side so you know where to start and end your stitches.
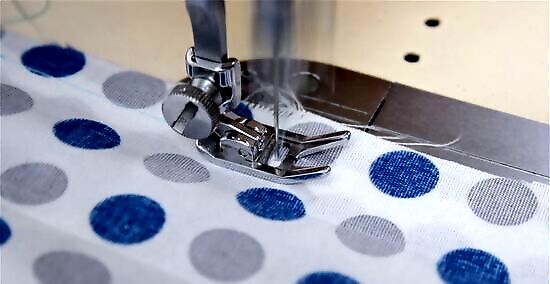
Straight stitch the edges on a sewing machine. Feed the fabric through the machine until you get to the starting corner. Begin at your ⁄2 in (1.3 cm) seam allowance and backstitch for a secure bond. Then, move forward in a straight stitch. When you’re ⁄2 in (1.3 cm) from the edge, leave the needle down. Raise the foot on the machine and turn the fabric to sew the other edge. Repeat on all three sides. Use a matching thread color for a nice, clean, polished look.

Turn the pillow right-side out. If you used thick fabric for the pillow, you might want to cut the corners off first; this will help reduce bulk. Trim as close to the thread as possible. Then, turn your pillow right-side out. Use your fingers, a seam turner, or pencil to help push the corners out so they’re nice and sharp.

Fold the raw edges in and iron the seams on all sides. Start at the open edge of the pillow, and fold the raw edge in by ⁄2 in (1.3 cm). Use a hot iron to press the edges flat, making it easier to sew later. Iron the rest of the fabric to smooth out any wrinkles. If you don't have an iron, pin each folded edge separately. Don't pin them together or you won't be able to stuff the pillow.

Stuff the pillow with polyester stuffing. Polyester stuffing is a popular and accessible option for pillow filling. It can be purchased at fabric and craft stores. However, you can also use filling from an old pillow, a pillow form, and scraps of old clothes or fabric as a substitute. Feed the stuffing through the small opening you left.
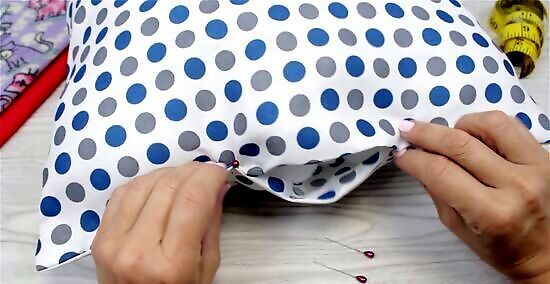
Pin and sew the opening shut. Squish the filling down. Pinch your fingers to keep the filling in place. Pin close to your finger to keep the filling to the side. Then, pin the open edges together. Feed the edge through the sewing machine. Use a straight stitch and remove the pins as you work along. Once it’s shut, remove the pins holding the filling back. Remember to backstitch at the start and end of your sewing. To sew the opening by hand, use a whipstitch. Poke your needle up through the top layer of the fabric, then circle up through both layers twice. Then, make another angular stitch and repeat the pattern as needed.
Sewing an Envelope Pillowcase
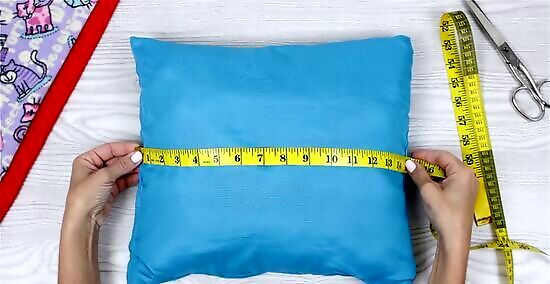
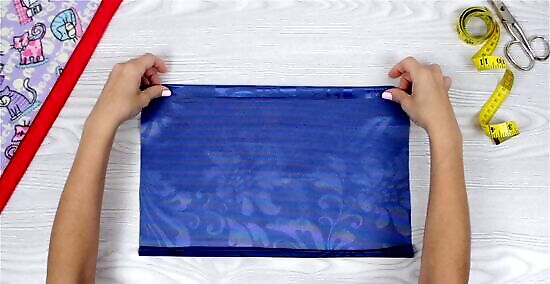
Cut a square piece of fabric the same size as your pillow. Measure your pillow insert first with a flexible tape measure. Then, cut a piece of fabric according to that measurement. The pillowcase will be slightly smaller than the form itself, so you have a nice, full pillow. A standard throw pillow is 18 in (46 cm) by 18 in (46 cm). Use any fabric you’d like, depending on what you use the pillow for.

Make two smaller pieces of fabric for the back of the pillow. Cut two additional pieces of fabric, each the same width as the pillow but only half the height. Then, add 5 in (13 cm) to create an overlap while accounting for the hem and seam allowances. For example: A 18 in (46 cm) pillow’s back pieces would be 18 in (46 cm) for the width, and 14.5 in (37 cm) in height. Alternatively, you can make the pieces the same width and two-thirds of the height. The back piece can be the same color and pattern as your front piece, or they can be different.
Hem one of the long edges on each of the back pieces. Turn one of the back pieces so the wrong side faces you. Fold the long, top edge down twice by ⁄2 in (1.3 cm). Press it flat once more with a hot iron, then use a straight stitch to sew it down as close as possible to the inside folded edge. Repeat this step for the other back piece.

Pin the back pieces to the front with the hemmed edges overlapping. Lay each back piece faced up. They should slightly overlap each other. Then, lay the top piece (the large square fabric) on top with the right sides together. Then, flip all three layers over so you’re looking at the back pieces. Pin the edges to keep everything in place. The raw edges of the back pieces should match the raw edges of the front pieces. Ensure the hemmed edges of the back pieces overlap along the middle of the front piece.
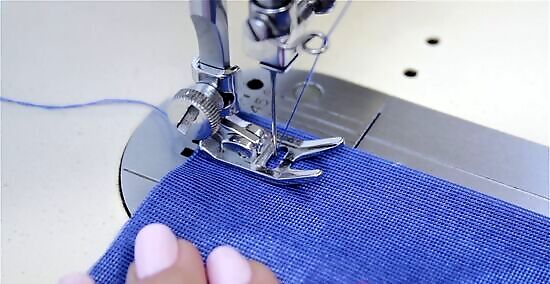
Use a straight stitch to sew all four edges. Sew a ⁄2 in (1.3 cm) seam allowance with a matching thread color. Backstitch at the start and end of your sewing, and remove the pins as you sew. Do not leave a gap for turning. You will turn the pillow through the opening created by the overlapping back pieces.

Finish the inside of the pillowcase, if needed. If you use thick or bulky fabric, snip off the corners as close to the stitching as possible. If your fabric is prone to fraying, serge or zigzag-stitch the raw edges.

Turn the pillowcase right-side out. Pull the fabric inside-out from the middle opening. Grab the corners to pull it through. Use your fingers or a pencil to push the corners out so the pillow has a nice, sharp look.

Insert your pillow form. The back pieces of the pillow will overlap across the back of the pillow form to keep it in. There’s no need to add buttons, snaps, or zippers!
Hand-Sewing a Pillow

Measure and cut two equal pieces of fabric. Use a tape measure to calculate the length and width of an existing pillow, or let your imagination run wild and make a shape as big or small as you want. Add an extra inch to the length and width for seam allowance. Cut the fabric out.
Pin the seam allowance together to secure the fabric. Place the fabric with the right sides together—the wrong or dull side of the fabric will face out. Pin ⁄2 in (1.3 cm) away from the edge on three sides, leaving one side unpinned. This is so you can later turn the fabric inside out and stuff the pillow.

Single-stitch all three sides. Thread a needle with a matching thread. Hold your threaded needle on the wrong side of the fabric and bring the needle up. Push the needle down to make a straight stitch ⁄4 in (0.64 cm) long. Bring the needle back up to make another stitch the same length and repeat. To thread a needle, cut a piece approximately 18 in (46 cm) to 24 in (61 cm) long to start with. Dampen the end of the thread with your mouth and feed it through the eye of the needle. Secure the thread with a knot at the end.

Flip the fabric inside out, fill it, and slip-stitch the opening. Using the open edge, flip the fabric inside out. Use a pencil to push out the corners of the pillow. Then, use Polyfil, a pillow insert, or something similar to stuff the pillow to your desired size and comfort. Use a slip-stitch to close off the gap and secure it with a double-knot.
Tying a No-Sew Pillow
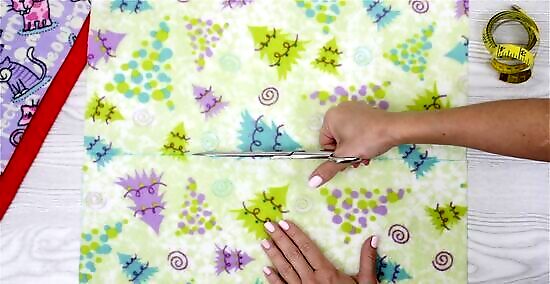
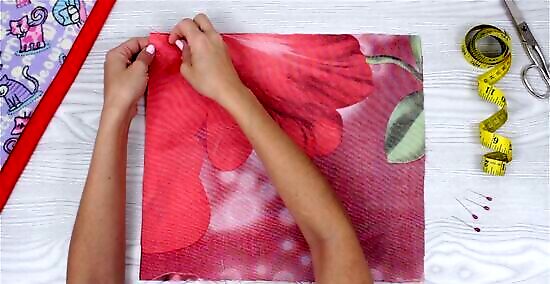
Cut the fabric into two identical squares or rectangles. Each piece should be 6 in (15 cm) wider and 6 in (15 cm) longer than you want the final pillow to be to account for fringe on both sides. If you want more fringe, cut the fabric longer. For example, if you want a 10 in (25 cm) by 10 in (25 cm) pillow, add 6 in (15 cm) for a total of 16 in (41 cm). Opt for non-fraying fabric, such as fleece or flannel. Cost: Fleece costs $5 per yard, while flannel costs as little as $3.50 per yard.
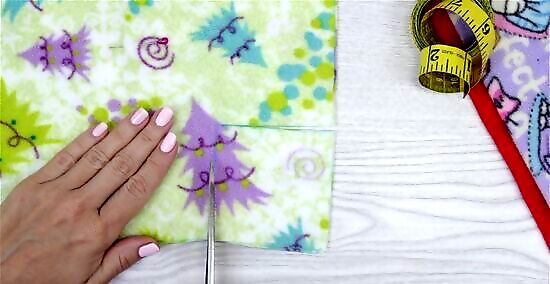
Cut a 3 in (7.6 cm) square out of each corner. Lay the two fabric pieces on each other, with the wrong sides facing in. Cut a 3 in (7.6 cm) square out of each corner. Make sure that you are cutting through both layers of fabric. The cut-out will be the same size, no matter how large your pillow is.

Cut a fringe into each of the four edges. Each tassel should be 3 in (7.6 cm) deep and ⁄4 in (0.64 cm) to 1 in (2.5 cm) wide. Again, make sure that you are cutting through both layers of fabric otherwise it won't match up.

Tie the top tassels to the matching bottom tassels. Use a tight double knot or a square knot. Tie together three of the edges and only half of the fourth edge. You won't be turning the pillowcase inside out, but you will be stuffing it!
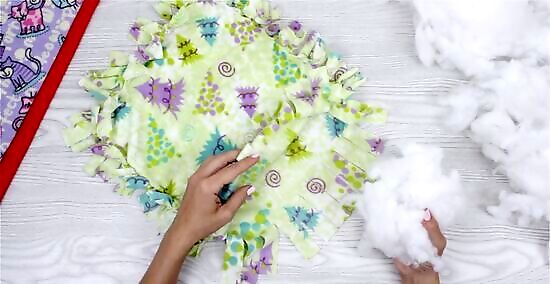
Add your stuffing. A polyester stuffing will work best, but you can also use a pillow form. Stuff the pillow until it is nice and full, making sure to fill out the corners.
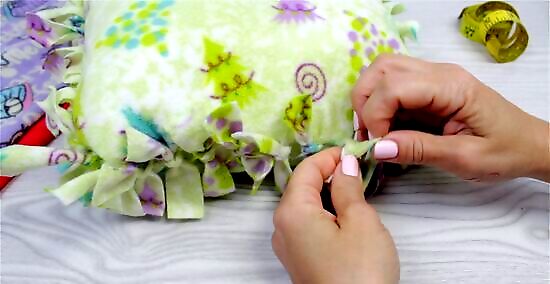
Finish tying the pillow. Poke the stuffing into the pillow as you tie the last few tassels together. For extra security, tie the corners together in a double-knot.


Comments
0 comment