views
Making a Gathered Skirt with a Casing Waistband
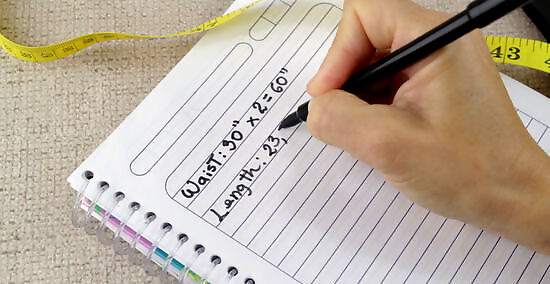
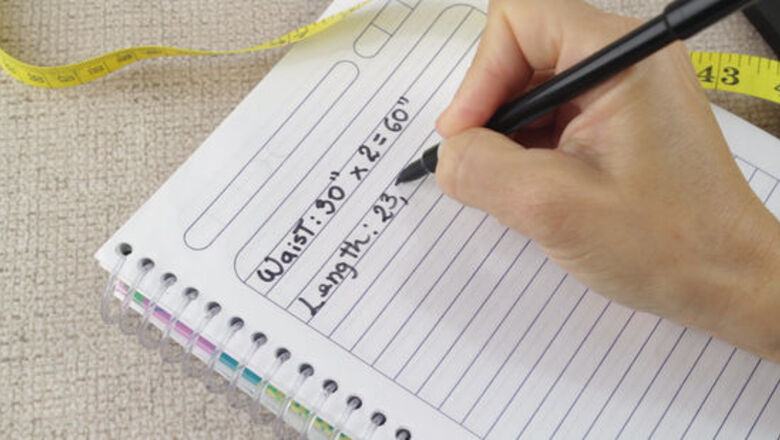
Decide on the measurements for the skirt. Wrap a measuring tape around the narrowest part of your waist and write down the measurement. Double this number and write down the new waist measurement. Then, hold the measuring tape at your waist and bring it down as long as you want the skirt to be. Write down this length measurement. For example, if you're making a kid's skirt, the waist might be 20 inches (51 cm) x 2 = 40 inches (100 cm) and the length may be 15 inches (38 cm). An adult skirt may be anywhere from 18 to 30 inches (46 to 76 cm) long. You'll need to double the measurement in order to have enough fabric to bunch together at the waist. If you'd like an even fuller skirt, you could triple the waist measurement.
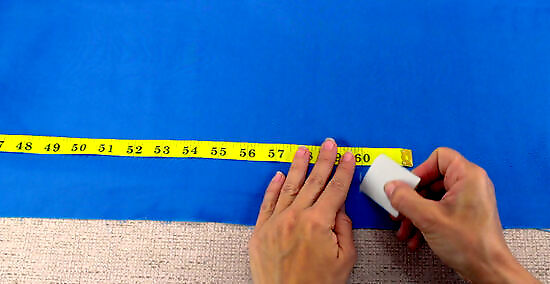
Cut out fabric based on your measurements. Unroll a large rectangle of fabric on your work surface and cut a rectangle according to your modified measurements. For example, to make the kid's skirt, cut a 40 in × 15 in (102 cm × 38 cm) piece. If you don't have a piece of fabric that's large enough for your measurements, you can cut 2 separate rectangles that are half the size of your total measurement and sew the sides together.
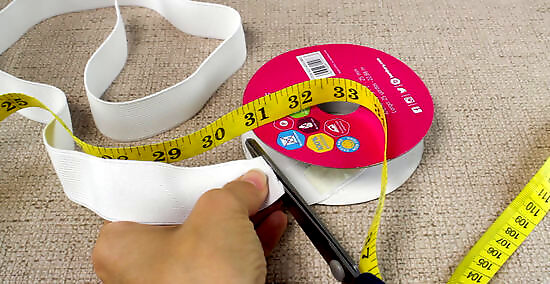
Cut a piece of elastic so it's 1 inch (2.5 cm) longer than your waist. Get out 1 inch (2.5 cm) wide knit elastic and unravel it so the elastic is as long as your original waist measurement. Then, add 1 inch (2.5 cm) and cut the elastic.Did You Know? Adding the extra 1 inch (2.5 cm) will give you room to sew the ends of the elastic once it's inside the casing. The elastic would be 21 inches (53 cm) if you're making the kid's skirt, for instance.
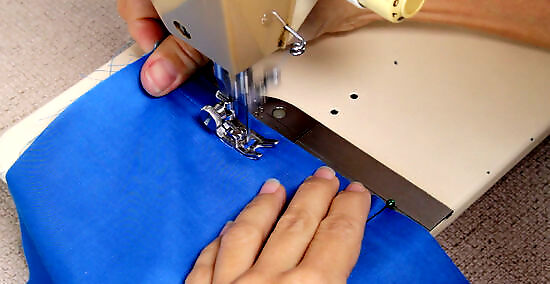
Sew the side seams of the skirt using a straight stitch. Fold your rectangle of fabric in half so the short sides of the skirt touch. The wrong side of the fabric should be facing you. Then, use your sewing machine to straight stitch along the edge and leave a ⁄4 inch (0.64 cm) seam allowance. If you're using 2 separate pieces of fabric, lay them on top of each other so the wrong sides are both facing out. Then, straight stitch along both seams.
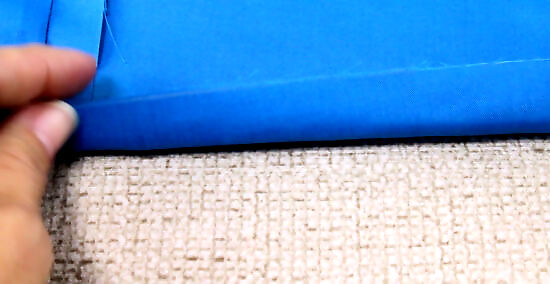
Fold over the seam and edges before ironing them. Take your fabric to an ironing board and iron the seam you just sewed so it lies flat. Turn the skirt right-side out and iron the fabric so it's folded ⁄4 inch (0.64 cm) over along the top and bottom of the skirt. Then, fold the top of the skirt over by 1 ⁄2 inches (3.8 cm) and iron it. Pick 1 side of the skirt to be the top where you'll make the casing.
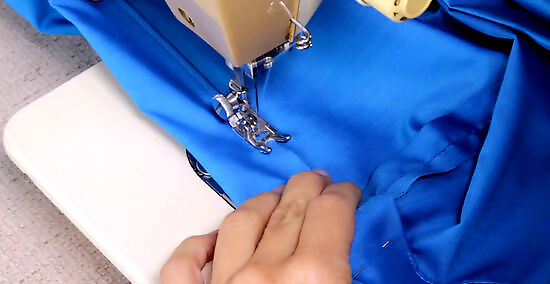
Straight stitch around the waist to create a hollow casing. Stick 2 sewing pins through the folded waistline so they're about 2 inches (5.1 cm) apart. Then, start from 1 of the pins and sew around the waist of the skirt until you reach the other pin. You should sew ⁄8 inch (0.32 cm) from the bottom of the folded fabric to make the hollow casing. The casing should be wide enough for the elastic to fit through.
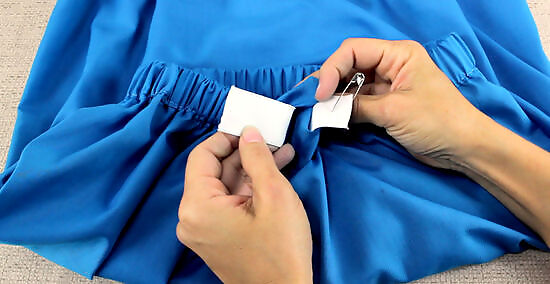
Feed a safety pin attached to the elastic through the casing. Attach a safety pin to 1 end of the elastic and use it to push the elastic into the gap of the casing. Then, feed the safety pin through the entire casing so it comes out the other end of the gap. You'll need to pull and tug on the fabric to help the elastic move through the casing.
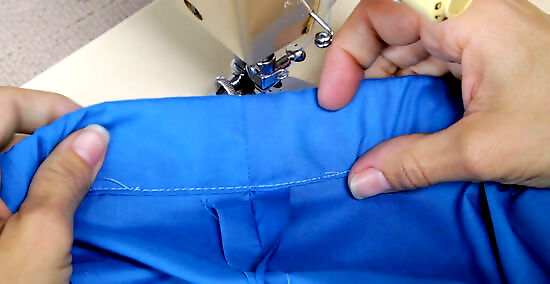
Zigzag stitch the elastic and casing closed. Hold the 2 ends of the elastic together so they're overlapping by 1 inch (2.5 cm) and zigzag stitch them so they're secure. Then, pull the elastic so the fabric of the waist moves into place and find the gap in the casing that you left. Sew the 2 in (5.1 cm) gap closed with a straight stitch. The flexibility of the zigzag stitch will allow the elastic to stretch without ripping out stitches.
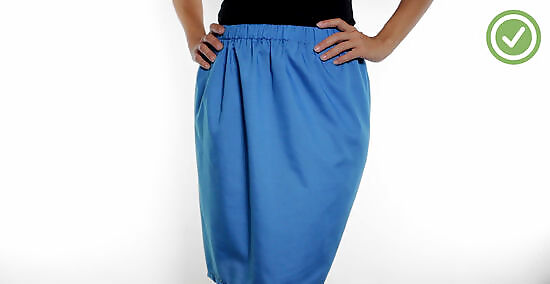
Hem the skirt using a straight stitch. Fold the bottom of the skirt over again by ⁄4 inch (0.64 cm) and iron it 1 more time. This will ensure that the raw edge of the fabric won't come undone as you wash the skirt. Then, straight stitch the hemline about ⁄8 inch (0.32 cm) from the bottom. Remember to sew the hemline with the wrong side of the skirt facing you.
Adding an Exposed Waistband to a Skirt
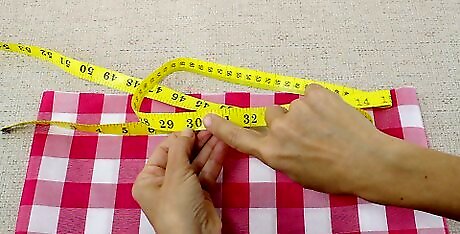
Measure the waistline for the skirt with a measuring tape. Lay the skirt flat on your work surface or put it on and hold it in place around your waist. Wrap a measuring tape around the waistline of the skirt and write down the measurement. If you're measuring the flat skirt, you'll need to flip it over so you can measure the entire waist.
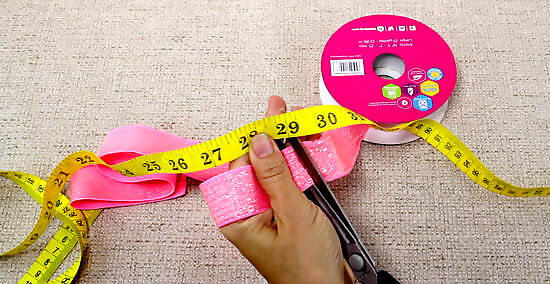
Cut a piece of elastic 1 inch (2.5 cm) shorter than your measurement. Unroll enough of your favorite woven elastic to match your waist measurement. Subtract 1 inch (2.5 cm) and cut the elastic.Tip: Since you want the exposed waistband to really stand out, you might want to buy a wide fashion elastic. These are usually at least 2 inches (5.1 cm) wide and come in a variety of colors or patterns. The elastic should be slightly smaller than your waist so it holds the skirt up.
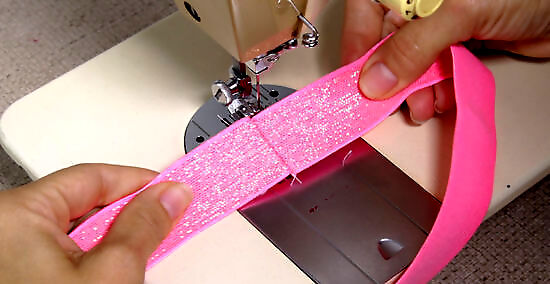
Sew the ends of the elastic together with a straight stitch. Fold the elastic in half so the ends are stacked on top of each other. Then, sew them together leaving a ⁄2 inch (1.3 cm) seam allowance. To make it easier to sew the waistband, you can iron the elastic seam so it lies flat.
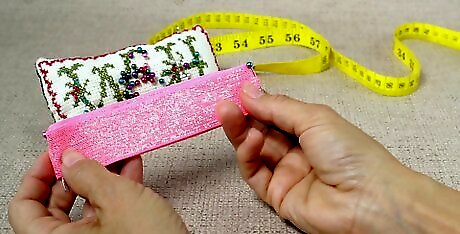
Use sewing pins to divide the elastic band into 4 equal parts. Fold the elastic band in half and push a pin through the seam. Insert another pin into the opposite end of the band so it's divided in half. Then, unfold the band and fold it in the opposite direction before you insert 2 pins into each of the ends. You should now have 4 pins in the band that are equal distances from each other.
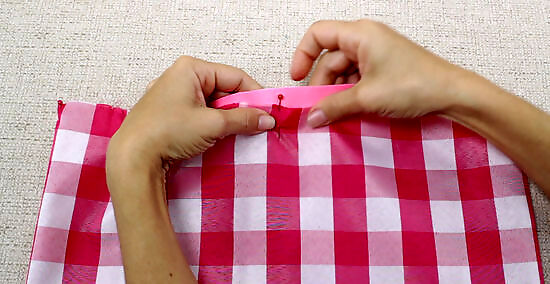
Pin the waistline of the skirt into 4 equal parts and secure the elastic. You'll also need to insert sewing pins into the front, back, and sides of the waistline so they're equal distances apart. Then, line up the seam of the elastic with the back pin of the waistline. Stretch the elastic so you can line them up with the waistline pins. Keep the elastic band about ⁄8 inch (0.32 cm) above the waistline fabric as you pin it in place. You should have extra waistline fabric between the pins. This will allow the elastic to stretch and hold up the skirt when you wear it.
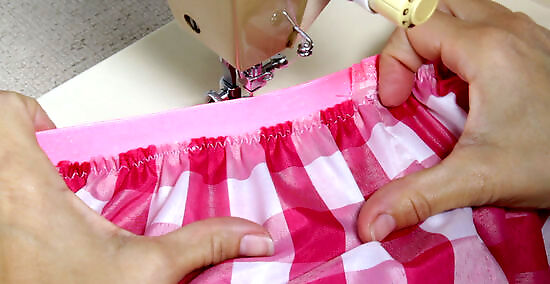
Stretch the elastic waist as you zigzag stitch across it. Hold the fabric and elastic at 1 of the pins and hold the fabric and elastic at the next pin. Pull until the fabric is flat and use your sewing machine to zigzag stitch the waist. The zigzag stitch will stretch with the elastic so the stitches don't break.
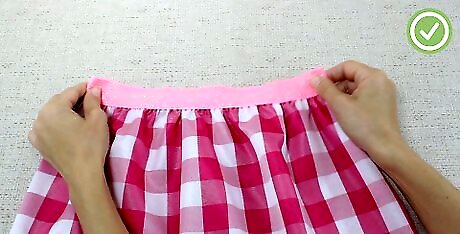
Fold the elastic over to the front and zigzag stitch it along the bottom. At this point, most of the elastic band will be behind the fabric waistline. Fold it up and over the waist so it's resting on the right side of your skirt. Then, stretch it and zigzag stitch it in place. This will also make your skirt's waist extra durable since there will be 2 rows of stitches.





Comments
0 comment