views
Reducing Bathroom Heat and Humidity
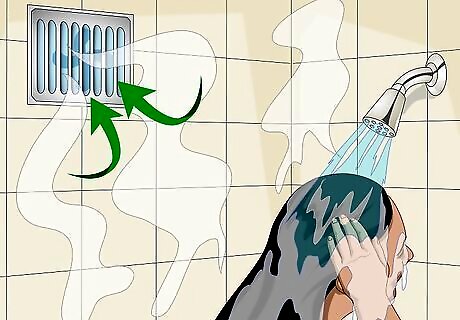
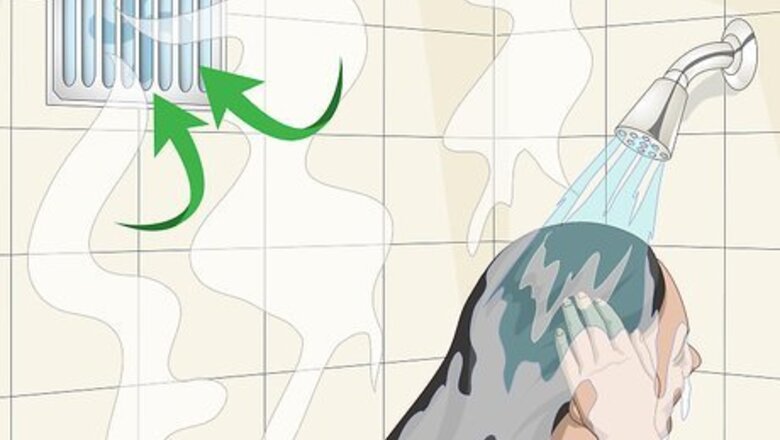
Use the vent fan whenever you shower. If your bathroom has an exhaust fan, always turn it on before you start the shower. Then, leave it on for at least 10-15 minutes after finishing the shower. Venting out as much of the warm, humid air as possible will reduce the likelihood of tank sweat. Taking shorter, cooler showers will also help--and they're invigorating! Turn the fan on when you take a bath or run a lot of hot water in the sink as well. If your bathroom doesn't have a vent fan, crack open the door as a less ideal option. Opening a window won't help much unless the humidity is low outside.
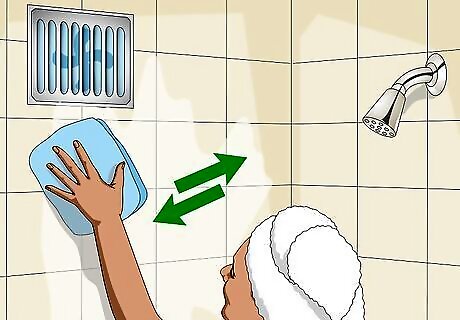
Wipe down the shower walls to remove surface moisture. After finishing a shower, use a towel to quickly wipe away most of the water on the shower walls. You can also wipe the tub surface or shower floor. Then, take the wet towel somewhere outside the bathroom to dry out. If you don't do this, the water on the shower walls will evaporate into the surrounding warm air and condense on the cool toilet tank.
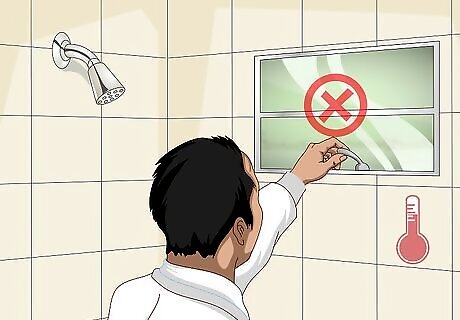
Keep bathroom windows closed on warm, humid days. Your first instinct on a hot day may be to open up the windows. However, if it is warmer outside than inside, and especially if it's both warmer and more humid outside, keep the bathroom windows closed. Otherwise, you're just increasing the temperature differential between the tank water and the air outside the tank, and providing moisture to condense on the surface.
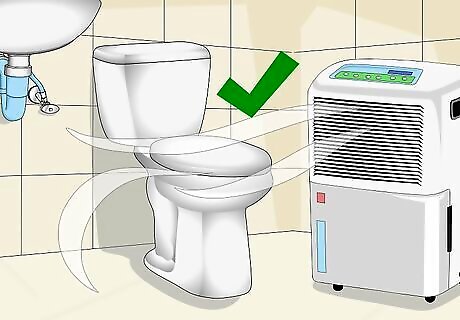
Run an air conditioner or dehumidifier. An air conditioner will bring the temperature of the air around the toilet closer to the temperature of the tank water. Likewise, either an air conditioner or a dehumidifier will reduce the moisture content in the air, which in turn reduces condensation. Central air conditioning or a whole-house dehumidifier should do the trick. In some cases, though, you may need to place a window A/C or a portable dehumidifier in the bathroom.
Insulating the Tank Interior
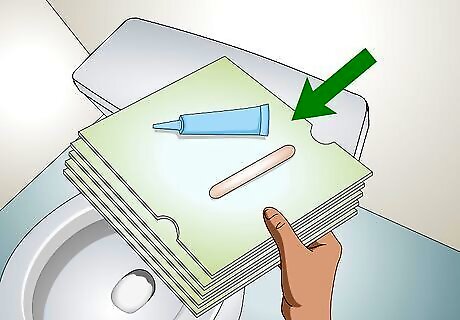
Buy a toilet tank insulation kit, or make your own. You can find these kits at hardware stores and plumbing supply retailers. A kit should include sheets of insulating foam, adhesive, an adhesive application tool, and instructions. Alternatively, you can create your own tank insulation kit by buying a standard size yoga mat and a tube of high-quality waterproof adhesive. Unless you find a good deal on the yoga mat, however, the price difference may not be that great.
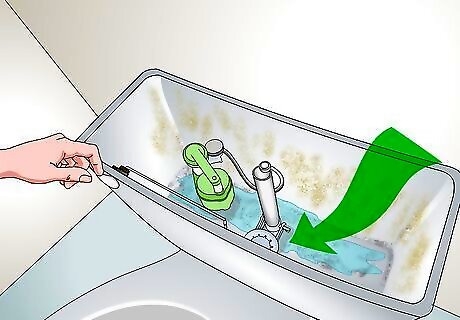
Empty most of the water from the toilet tank. Turn off the water supply by turning the oval valve at the end of the supply line clockwise. Remove the lid of the toilet tank and set it aside. Flush the toilet to drain nearly all the water from the toilet tank. For now, leave the small amount of water that remains in the tank. It will help you clean out the tank.
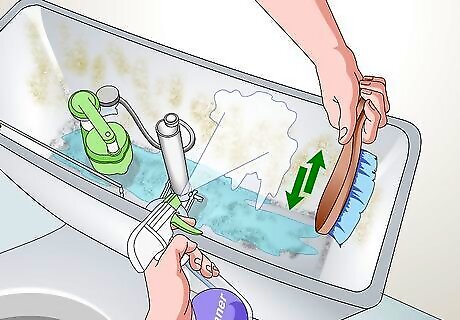
Clean off any buildup on the walls of the tank. Use your preferred spray-based cleaner and a handled scrub brush. Scrub away as much of the rust-colored buildup on the tank's interior sides and bottom as you can. Dip your brush into the water in the bottom of the tank occasionally to rinse it off. Cleaning off the walls will make the adhesive for the insulation hold better.
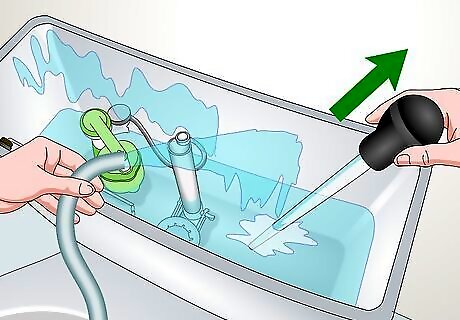
Rinse and drain the tank. Once you've cleaned off most of the buildup, rinse down the interior walls with clean water, then flush again to empty away most of this water. Use a turkey baster to suck up the remaining water in the tank, or use a sponge to sop it up. Your goal is to remove all standing water from the tank.
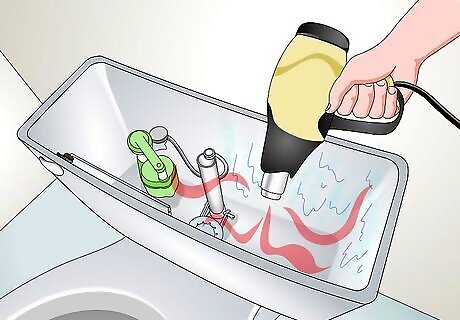
Remove all surface moisture from the tank's porcelain interior. Your fastest option is to wave a hair dryer on high power back and forth throughout the tank for 10-15 minutes. Or, you can try one of the following: Position a space heater so that it is blowing hot, dry air into the tank. Check it at least every half-hour and leave it running until the porcelain is dry to the touch. Clip a work light with a 100 watt incandescent bulb to the top edge of the tank. Position it so the bulb is inside the tank. The heat of the bulb will dry the tank in roughly 12 hours.
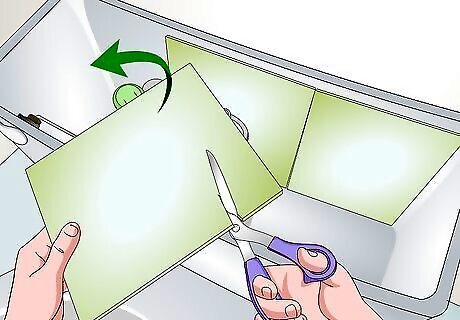
Cut the sheets of insulation to fit the tank's bottom and sides. A toilet tank insulation kit comes with sheets of flexible styrofoam that you can cut to fit. Estimate the size and shape of the bottom and sides of your tank interior, and cut the pieces as needed. Follow the same process if you're using a yoga mat instead of an insulation kit. Always estimate on the larger side first, then cut the pieces smaller as needed. There should be extra sheets if you make a mistake. You'll have to cut around some obstructions within the tank, like the flush valve and the flapper.
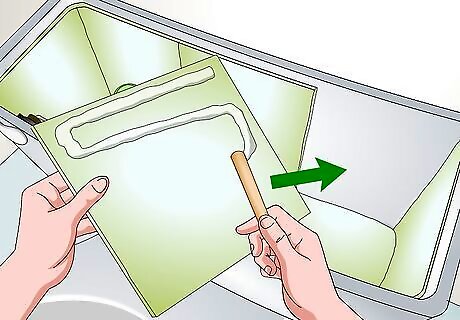
Glue the insulation to the bottom and sides of the tank. If you're using a kit, apply the included adhesive to the back of each sheet of cut insulation with the included wooden stick (basically, a popsicle stick). Try to spread a fairly even layer over the entire surface. Then, press each sheet in place against the tank interior. If you're using a cut-up yoga mat as your insulation, choose a high-quality, waterproof glue or sealant as your adhesive. Apply it according to the product instructions.
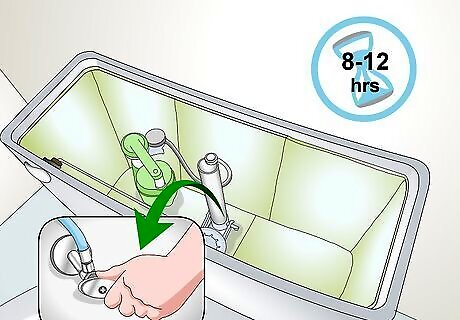
Wait 8-12 hours before refilling the tank. This gives the adhesive time to fully set. After waiting, just turn the water supply valve counterclockwise to fill the tank back up. Then put the lid back on and you're all set! Insulating the interior should make a noticeable reduction in the amount of condensation on the outside of the tank.
Trying Other Measures
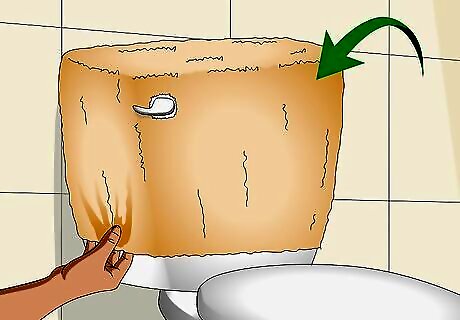
Wrap the outside of the toilet tank in fabric. Purchase a premade tank cover, or use a piece of fabric to wrap around the toilet tank. Terry cloth—that is, towel material—is a commonly chosen fabric for this application. The fabric will absorb any condensation that accumulates on the outside of the tank. You'll need to wash and dry this cover every week or so to prevent mildew buildup. So, consider buying at least two covers.
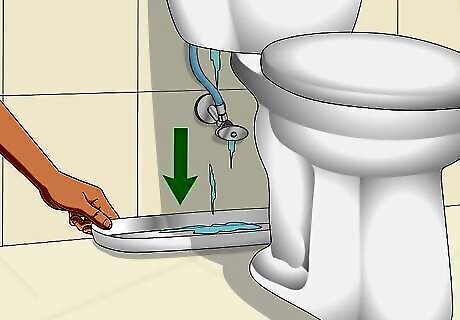
Add a tray under the toilet to catch dripping water. This method won't actually stop the tank sweat, but it will prevent it from damaging the floor under your toilet. You can buy one-size-fits-most trays for around $10 USD, or look for an under-toilet tray that is made for your particular type of toilet. This tray will need to be emptied regularly—perhaps multiple times a day when it's particularly hot and humid. Water damage to the flooring and supporting floor structure beneath a toilet can result in very costly repairs. Do not ignore water that is dripping on the floor around your toilet.
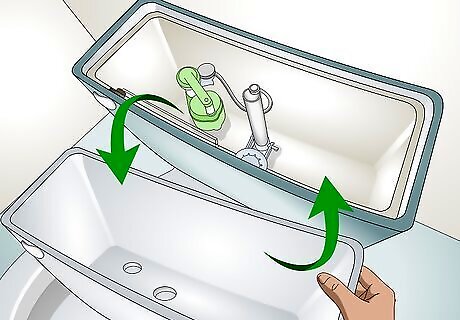
Replace your current tank with an insulated one. Many modern toilets have insulated tanks, which should prevent sweating. If you have an older toilet or uninsulated tank, you may be able to find a compatible insulated tank for your toilet. Write down the brand and model of your current toilet, if you have that information, and head to a plumbing supply store. Replacing the tank alone can be more convenient, but often you'll find that replacing the entire toilet is a more feasible option.
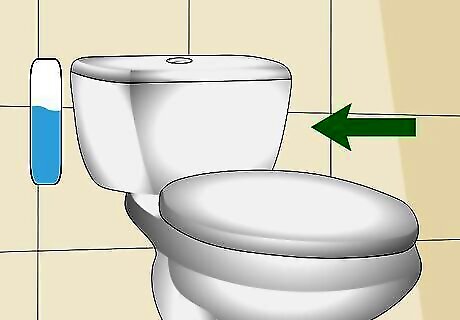
Buy a low-flow, insulated replacement toilet. Low-flow toilets have smaller tanks, which means they have less cool water to cool down the tank walls, which results in less condensation. Also, most modern low-flow toilets have insulated tanks, which also cut back on condensation. Especially if you have an older toilet, a newer model will significantly reduce your water consumption per flush. Installing a toilet can be a manageable DIY project for 1-2 people, or you may prefer to hire a plumber.
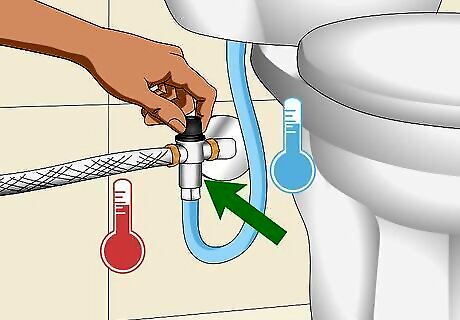
Install a tempering valve to warm the water entering the tank. This valve connects to the cold water line going into the toilet as well as the hot water line. Mixing in some hot water increases the temperature of the water going into the tank, thereby reducing toilet tank condensation. The intake of hot water can also be shut off when tempering is not needed—during winter, for example. Unless your water lines are easily accessible—such as via the basement beneath the bathroom—and you have decent plumbing skills, installing a tempering valve is best left to a professional plumber.
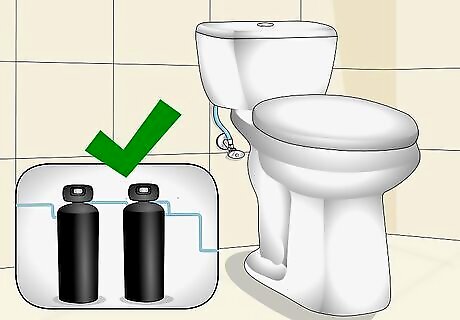
Invest in a tempering tank. This works in a similar fashion to the tempering valve. In this case, though, the cold water line feeds into a separate holding tank, which warms the water before sending it to the toilet. This job requires open access to the water lines and enough space for the tank, among other complications. You'll almost certainly have to hire a pro to do the installation.


Comments
0 comment