views
Styling Straight and Sleek Layers
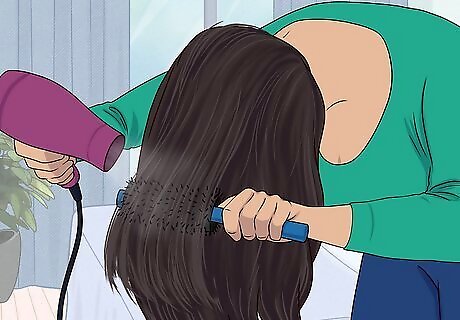
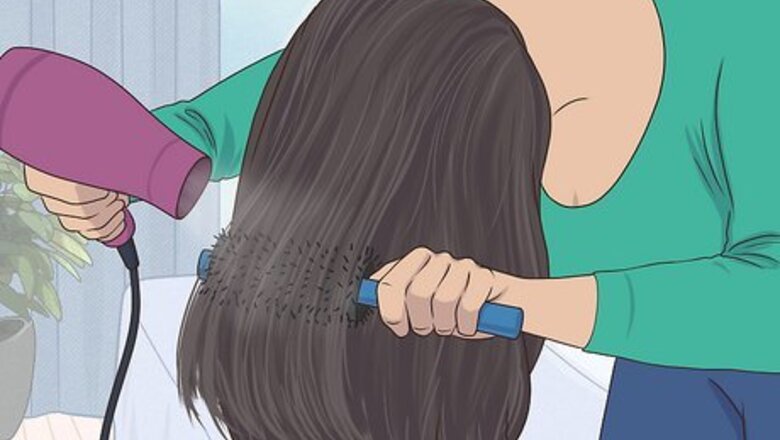
Add volume to flat hair by blow drying it upside down with a round brush. Flip your head over so your damp hair is hanging to the floor. Then, set your dryer to medium or high with low to regular heat and dry each section as you brush through it with the roll brush. Adding some oomph will help your layers stand out, making your hair look thicker. Comb in a texturizing product after you dry your hair to add some shape. Apply dry shampoo or volumizing serums to your roots to keep your hair looking fresh and volumized between washings.
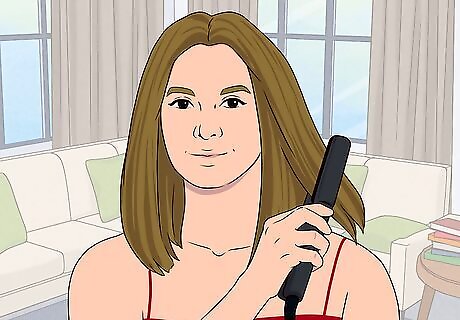
Use a flat iron for a straight and sleek look. Show off your choppy layers by blow drying your hair and then using a straightener. Pin up the top layers of your hair to straighten the underparts first, then gradually let down sections at a time until every strand is straightened. Use a heat protecting spray to minimize the damage caused by straightening tools. Make sure your hair is completely dry before using a flat iron.
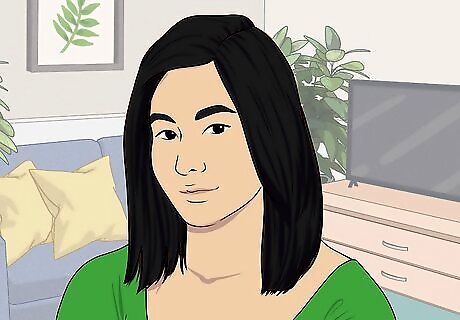
Part your hair to the side for a sophisticated look. Use a brush or comb to part your hair so the split is right above the arch of your right or left eyebrow. A side part will give your straight strands some oomph and can be dressed up or down depending on the occasion. Spray a volumizing serum on your hands, rub them together, and then massage it into your roots for extra volume.
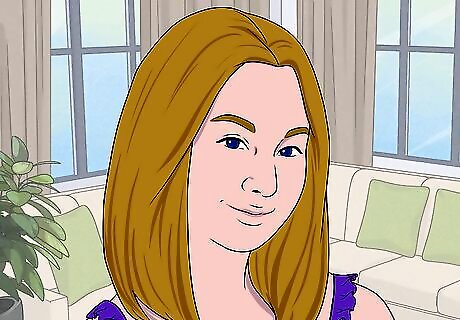
Don a classic center-part for an everyday look. Place the tip of a comb at your hairline directly above the bridge of your nose, then move it all the way back toward the crown of your head to make a perfect center part. It helps to use a rattail comb (one that has a point on one end), but a regular comb will work just as well! Part your hair straight down the center when it’s damp or wet so the individual strands are less likely to fight back. Chin-length layers will help frame and soften your face with a center part.
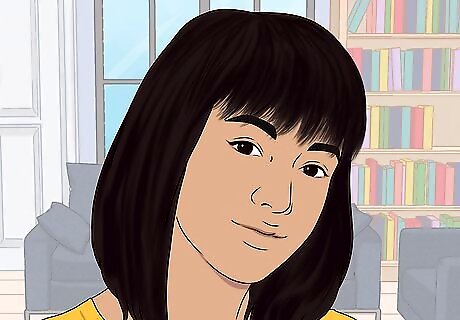
Cut heavy bangs to frame your face and create the illusion of thicker hair. Shoulder-length hair looks great with bangs, but if you still want to be able to sweep them aside, cut them long enough that they fall just past your eyebrows. Long, blunt bangs will draw attention to your eyes and cheekbones while making thin hair look thicker. If you have a round face, a straight-across bang will add geometric lines and length to your face. Soften up an oval or square-shaped face by cutting fringed or sloped bangs.
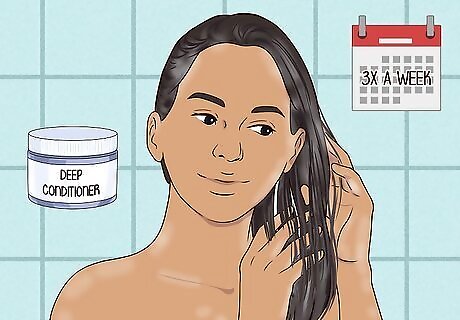
Smooth frizz by deep conditioning your layers and the ends of your hair. Keep your hair well-moisturized so frizz doesn’t mess up your sleek, straight locks. Use a deep moisturizer each time you wash your hair (no more than 3 times a week is ideal) and focus on massaging it into the middle and ends of each strand. Spray the tips of your hair with leave-in conditioner to fight frizz between washings. Avoid over-moisturizing the roots of your hair because it can weigh it down and make your layers look flat and lifeless. If you have fine, straight hair, frizz creams and balms are lighter, better options than gels and pomades.
Creating Beachy Waves
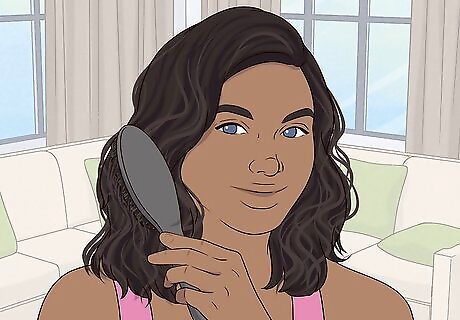
Part your damp hair on the side to add glamor to your waves. Use a comb or brush to sweep most of your hair to one side of your head. A slight part will align with the arch in your eyebrow and a deep part aligns with the very end of your eyebrow. Deep side parts are great for framing round faces. Insert a colorful clip or pin to the side with the most hair to create a “curtain” effect.
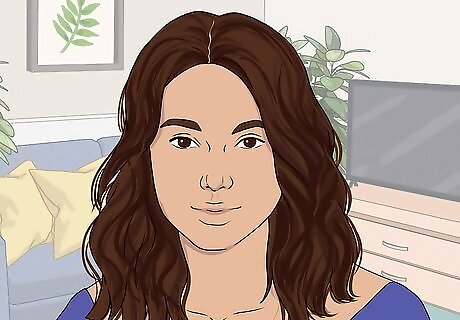
Go for a center part to complement classic beach waves. Use your finger of the end of a comb to part your hair straight down the middle. Use the bridge of your nose as a guide for where to place the part. Parting your hair when it’s wet or damp is typically better so certain strands don’t rebel against the part.
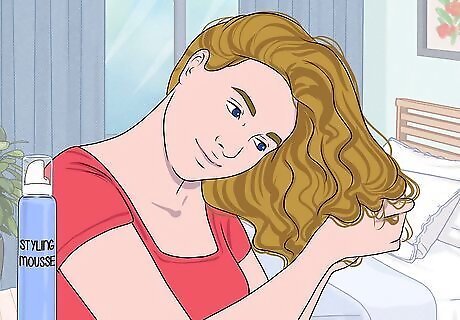
Scrunch damp hair with styling mousse to create textured waves. Deposit a quarter-sized amount of light-hold mousse for each section of your hair (the sides and back) and scrunch each section. Then, let it dry naturally or lightly diffuse it with a hair dryer and a diffusing attachment. Refresh your waves each day with a styling spray or leave-in conditioner. Adding some relaxed waves to your layered hair will give thin hair some body and bounce.
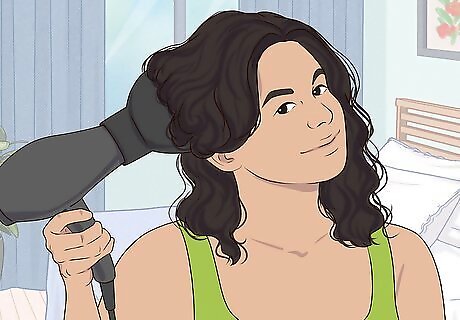
Use a diffuser to create frizz-free curls and waves. Attach the diffuser accessory to your hair dryer. Then, scrunch and pile your damp hair onto the surface of the diffuser. Set the hair dryer to the lowest power setting for the best results. If you don’t have a diffusing attachment, simply blow dry your hair while scrunching it up with your fingers. If you are looking to avoid heat styling tools, leaving your hair in braids overnight can give you relaxed, beachy waves without a blow dryer.
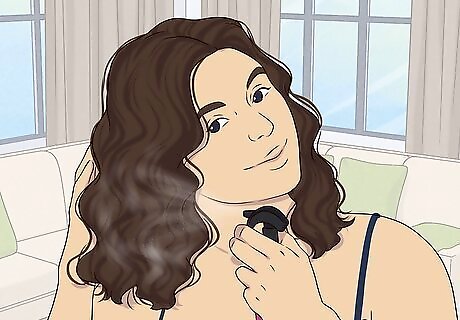
Spray damp hair with sea salt spray to create authentic beachy waves. Part your damp hair the way you want to wear it and spray the middle-shaft and ends of your hair with a sea salt spray. Then, scrunch it up with your fingers or use a towel. Let it dry naturally for the most authentic beach waves. You can use sea salt spray on dry hair, just be conservative with the amount you use because it might look crusty or sticky if you use too much—1 or 2 sprays for each section should do the trick.
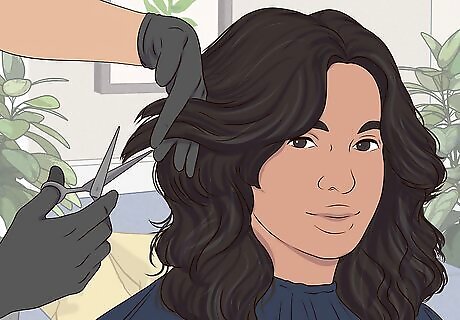
Cut cascading layers to frame your face. Go for a feathered look that frames your face and looks effortlessly classic. The shorter layers will add body to flat hair and pump up the volume of your waves. Tell your stylist you’d like cascading or feathery layers (like a modern “Farrah” cut).
Wearing Updos
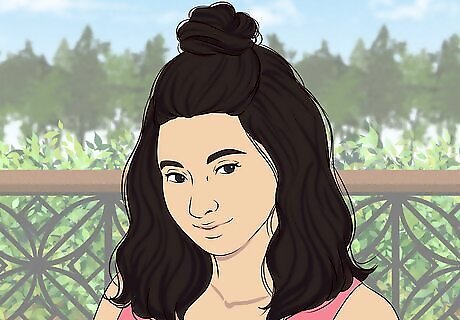
Pull your layers up into a half-up top-bun for an easy, sophisticated look. Pull the top sections of your hair up into a bun. Twist the hair into a donut bun or make it messy if you have layers that vary in length. This look will elongate your face and complement your neck. Use a volumizing or texturizing spray the bottom, loose strands of your hair to add a little bounce and body.
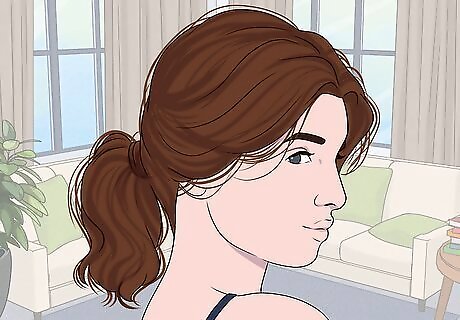
Pull your hair back into a loose, messy ponytail for a quick-fix style. If your hair is naturally wavy, pull it back into a messy ponytail. Let some of the shorter layers fall out of the ponytail for a tousled, chic look. Opt for a low ponytail for a classic look and a high one for a more playful style. Massage volumizing serum or dry shampoo into your roots so the hair on the crown of your head doesn’t lay too flat. It’s an easy, stylish look if you’re coming from the gym or if you haven’t washed your hair in a while.
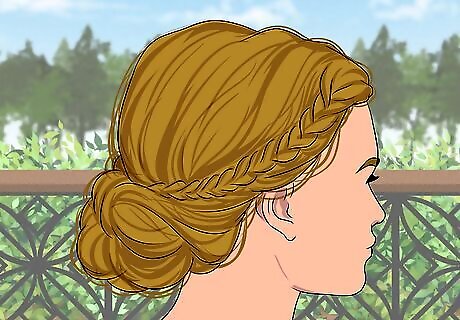
Incorporate twists and braids for a high-fashion look. Braid a section or two of your hair, starting at or just above your temples, secure them with small bands, and pull them back into a ponytail or bun. If you’re short on time, you can also twist small portions of your hair (starting just above your temples) then secure them with bobby pins before you put your hair up. Tease out the shorter layers from the braid or twists for a tousled runway look. Spray the twists or braids with finishing spray for extra shine.
Adding Color Effects
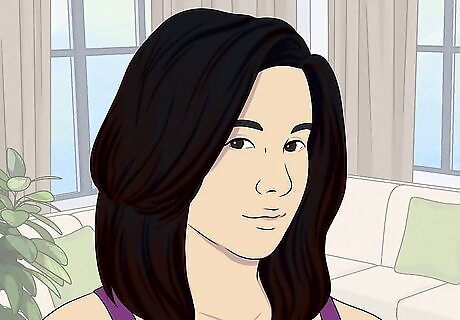
Use highlights and lowlights to draw attention to your layers. Ask your colorist to add some face-framing highlights into your layers and, if you like, ask them about putting lowlights beneath your layers. The subtle changes in color will make your layers stand out and frame your face even more. Layers that come to your cheekbones or your chin are best for highlights.
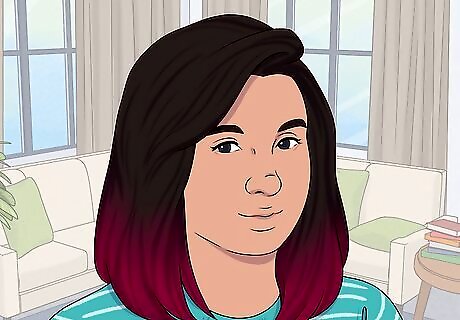
Go for a bold ombre that starts at chin-length layers for a playful look. Buy an ombre highlighting kit or book an appointment with a professional colorist to create this fun, trendy affect. If your hair is previously colored, it might be best to schedule a consultation with a professional colorist. Choose to make the ends of your hair a lighter shade of your current, all-over color or opt for a bold color like blue, purple, or pink. Note that darker hair might require several bleaching sessions to lighten into an ombre look.
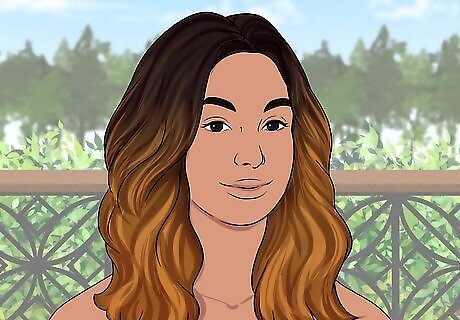
Add natural-looking dimension to your layers with a balayage effect. See a professional colorist about balayage or, if you have some coloring experience and know-how, pick up a balayage kit to do it yourself. Balayage looks great on relaxed, wavy, or curly hair because you’ll be able to see the highlighted sections ribboning through your hair. It will also make your layers pop! A balayage is when a stylist “paints on” highlights to produce more natural-looking color gradients. Balayage looks great on straight hair, too! Tell your stylist how you usually wear your hair so they can apply the effect to suit your style.





Comments
0 comment