
Getting the Right Equipment
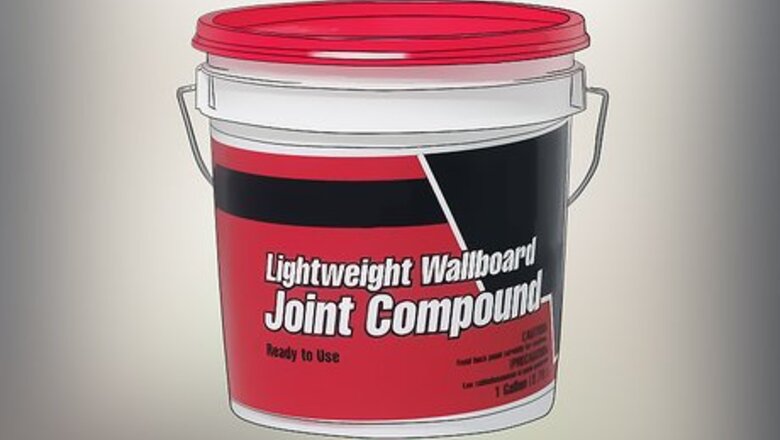
Find a high-quality lightweight joining compound. Look for a compound that you mix at home, rather than one that is pre-mixed. If you can’t find a powdered compound, just go with a pre-mixed one. Talk to the store clerk about using a brand that is smooth and hardens fast. There are a couple of key advantages to using a mix-at-home compound. Firstly, it hardens much faster than pre-mixed compound, and secondly, it doesn’t shrink once it dries, unlike pre-mixed. The amount that you will need obviously varies depending on the size of your job, so talk to the store assistant about how much they recommend you buy for the space you are working with. In this situation, it’s better to have too much than too little.

Get hold of a 10 in (25 cm) drywall knife. This tool is the most important of all the tools you will use for this project. Getting a larger knife (there are also 6 in (15 cm) knives available) allows you to apply more compound at once. Make sure you find an actual drywall knife, rather than a multi-purpose tool You use a drywall knife to apply the compound to the drywall. You also use it to smooth out and remove excess compound after the initial application you put down.
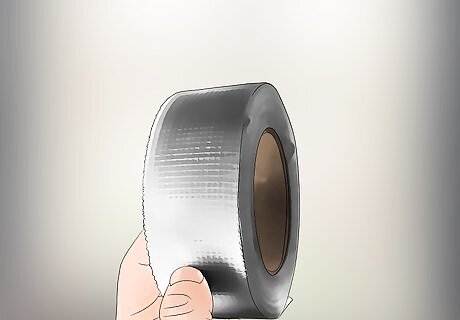
Buy some mesh tape to lay down first. Look for mesh tape that is specifically for use on drywall. You can find this tape at most home goods stores and it is fairly cheap to buy. Talk to the store clerk about what specific brand might be better for your particular needs. Mesh tape is much easier to use than paper tape. Paper tape has some advantages, such as being a little bit stronger, but for a novice plasterer, mesh tape is a much more straightforward option to deal with. Mesh tape goes down over any joins between pieces of drywall. It provides the base over which you start applying the ‘floating’ compound.
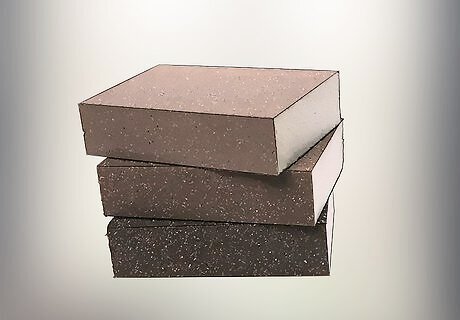
Purchase a high-quality sanding sponge. Look for a sanding sponge of about 180 grit. If you can’t find a sanding sponge, just get sandpaper. Sanding sponges are great for more heavy duty jobs because of how easy they are to hold and use. You use a sanding sponge to smooth out the compound mix once it has eventually hardened. Buy the best quality sanding sponge you can afford, as sometimes the cheaper ones can deteriorate fairly quickly after some heavy use.
Applying the Tape and Joining Compound
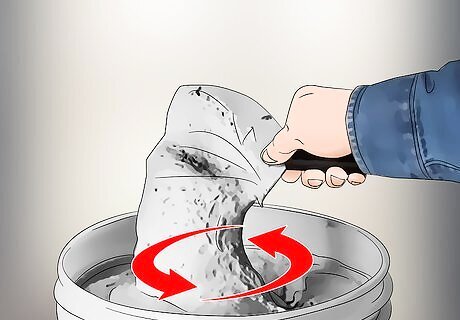
Mix your powdered compound with water to a smooth consistency. Follow the instructions on the package to find the proper ratio of water to powder. Some people describe the consistency you should aim for as “creamy mashed potatoes”. It needs to be thick enough to stick on the wall and not drip, but liquid enough that it is malleable and workable. Use your knife to mix it or, if you have one, a mixing attachment on the end of a drill. Only mix as much as you think you will use that day, as the compound hardens overnight. If you aren't sure about how much to mix, start conservatively as you can always make more. Using a mixing attachment on a drill takes a lot of the work out of mixing the compound, but it’s also more expensive if you don’t already own the attachment. You can find the attachments at a home goods store. The most important thing when mixing the compound is to make sure that there are no sizeable lumps in the mix. Trying to apply these onto a wall is a nightmare.
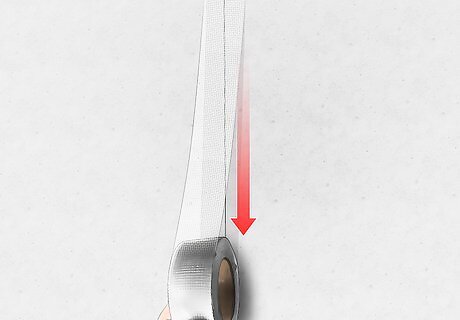
Lay down mesh tape on whatever joints you are working on. Cut the tape to the length of the joint. Try to apply it as straight as you can get it. Make sure that you only put it down a maximum of 2 hours before you plan on applying compound as after this, it’s likely that it will fall off. The mesh tape provides the base that you will apply the compound over. If you were to apply compound without any tape on, the compound would crack once it was dry. Mesh tape also allows you to work on it immediately after you apply it. Paper tape requires at least 24 hours to dry.
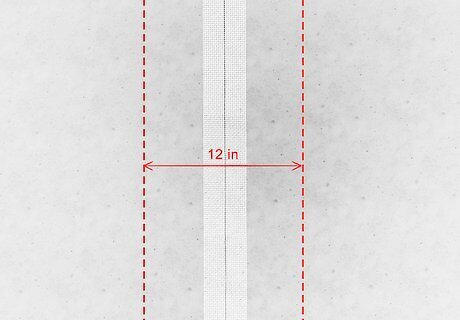
Smear a scoop of mix onto a 12 in (30 cm) length of drywall joints. It’s tough to know exactly how much to apply, but it needs to be enough to cover the line where the 2 pieces of drywall meet. If you realize you haven’t applied enough, or you’ve applied too much, you can always scrape some off or add some more on. A section of 12 in (30 cm) of drywall is just a simple, base measurement. Feel free to work on larger or smaller sections at a time. Only use the compound over joints in the drywall, rather than applying it to the entire wall.
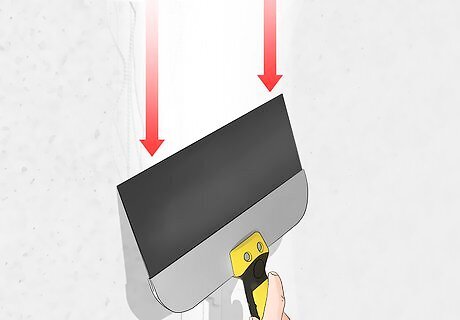
Drag the top edge of the knife across the compound. Start where the compound starts, and do this as smoothly as possible. Try to avoid using lots of little motions, as this inevitably leads to you creating little ridges in the compound. The first motion is about creating a nice smooth bottom coat, so don’t worry if it looks like you’ve applied too much.
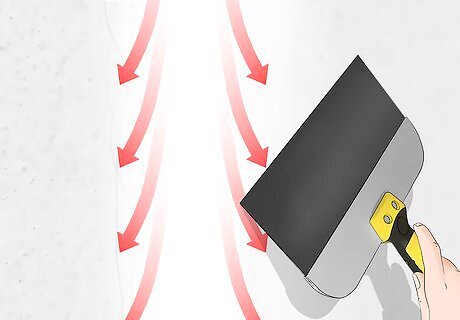
Use the bottom edge to smooth out the compound even further. Make sure to be slow and smooth in your motion to ensure you flatten the compound evenly. Also, in between each stroke, ensure that you wipe the knife clean on the edge of whatever container your compound is in. The bottom edge of your knife has a different angle which makes it better for the second portion of smoothing out the compound. The portion that you have worked on is now fairly smooth, and isn’t raised too far off from the drywall. If it isn’t smooth, just repeat the smoothing motion and keep removing the compound you drag off each time.

Let the compound dry for about 90 minutes. Look for information on your compound’s container for how long it takes to dry. Most of the time, 90 minutes is fine. Letting the compound dry is hugely important as it needs to set. Once it is set, you are able to work on it to get a finished product.
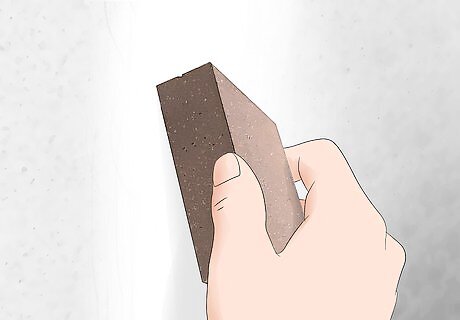
Use your sanding sponge to smooth out the compound. Do this by rubbing the sponge firmly on the hardened compound until it is smooth and free from any chunks or lumps. Depending on the type of compound you used, you may have to sand really hard, or it may be fairly easy. You can choose to do this at the very end of taping and floating a large room, or you can just do it after each smaller portion you work on is dry. It’s really important that the compound is completely dry when you start sanding. Once you’ve finished sanding, your job is complete and you can move onto the next portion of the building process, which is priming the drywall for paint or wallpaper!


Comments
0 comment