views
Choosing the Right Cut of Meat
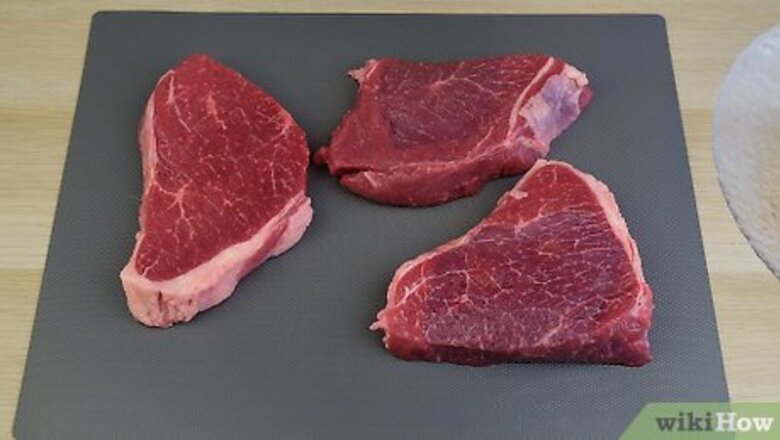
Choose your cut based on how you will cook it. Whether you plan to grill a steak or use a pan, there are some cuts of meat that are better done using the right technique. The amount of time you have will also determine what steak works best. For example, if you want a quick meal you can use a pan for a skirt steak rather than try the same technique for a porterhouse in the same window of time.
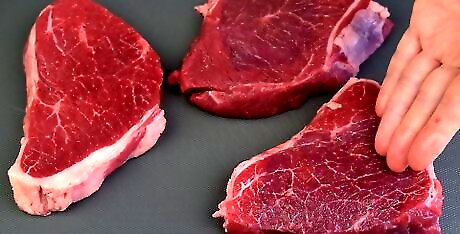
Know the difference between high-end and low end steak. The tenderness of the steak relates to how much work the muscles must work in its lifetime. So a muscle that does little work, like those in the back close to the spine, will be very tender as opposed to a muscle in the legs. The muscles around the loin, backstop, ribs are the most tender and, therefore, considered high-end. High-end steaks include the ribeye, the strip, the tenderloin, and the t-bone.
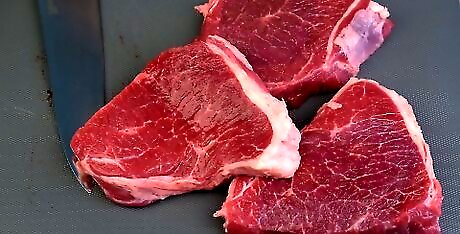
Understand how fat plays a role in both tenderness and taste. Marbling is the amount of fat in a steak. Steaks are graded by their tenderness and marbling. The scale ranges from Prime steaks, which have a great deal of marbling in a cow younger than 42 months, Choice steaks, followed by Select steaks, and all the way down to the lowest grade of Canner steaks. Marbling shows up as the interstitial fat that looks similar to white spiderwebs within your steak. The more of these spiderwebs you see, the more marbling it has. Marbling not only affects the tenderness but also the taste. The more marbling a steak has, the greater its tenderness. However, everyone has their own preference in taste. Some people may find too much marbling too rich in taste.
Tenderizing with Force
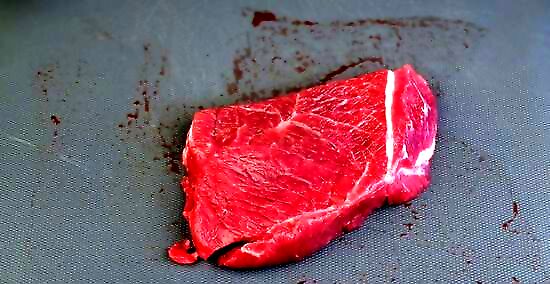
Move the steaks onto a flat surface. Always start with steaks fresh out of the fridge that are not frozen. When choosing a surface, keep in mind not all surfaces can be properly sanitized. When it comes to working in the kitchen, many cutting boards cannot be properly sanitized after contact with meat products. If you feel strongly about using natural fibre boards such as bamboo, keep a separate board to use only with meat products. Otherwise, plastic or glass cutting boards can be safely sanitized after contact with meat. Choose cutting boards not only for material, but also for sturdiness. When pounding out steak, large amounts of force may be used. A thin, glass cutting board may not be the best option for housing your steaks while the mallet is used.
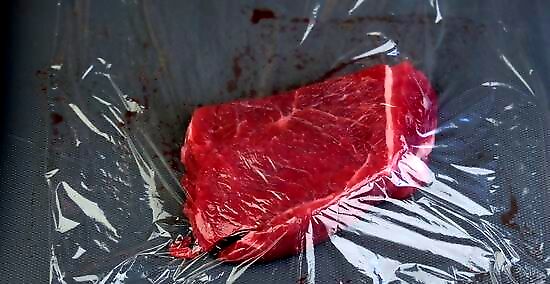
Bag the steaks into small sandwich bags or plastic wrap. The plastic cover atop the steak has two functions: prevention of cross contamination, and loss of juices. Keeping your steak properly wrapped will minimize the contact between meat juices and cutting board. When covering your meat with plastic wrap, keep in mind that it will expand in surface area after pounding. Ensure there is enough space for your meat to spread out once you start using the mallet.
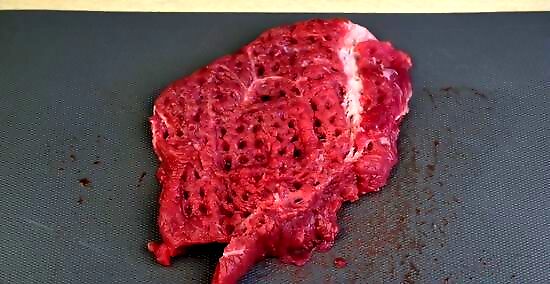
Pound the meat. Pound rhythmically, starting from the middle and working out. Rather than using excess force, apply firm but effective pounds, adding a small outwards push to the end. Proper use of the mallet will keep your steak looking plump and attractive, rather than skinny and worn down. Work over the entire surface of the steak, flip it over, and start again. Don’t have a mallet? No problem. Try using a heavy cast iron pan, rolling pin or wine bottle. Know what side of the mallet to use. The spiky, triangular side of the meat mallet is the primary tenderizer. By poking holes in the meat, the fibres are torn apart and when heat is applied, the meat will become significantly more tender. The flat side of the hammer is responsible for thin cutlets is used to make a cutlet thinner, allowing for more efficient cooking. After using a meat mallet, your meat may look slightly defeated. Try breading or adding a topping to help hide this.
Tenderizing with Enzymes
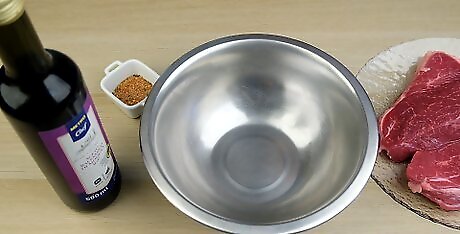
Choose the correct marinade for tenderizing. Not all marinades will act as a tenderizer. Look for marinades that contain an acidic ingredient such as vinegar, or fruit juice. Also consider what varieties of spices or flavors you like. A marinade can be either purchased in store or made by hand. Pineapple juice contains bromelin. Bromelin is excellent at breaking down toughness in meat. Unfortunately, it is denatured when heated, so any pineapple juice used for the intention of tenderizing must only be fresh.
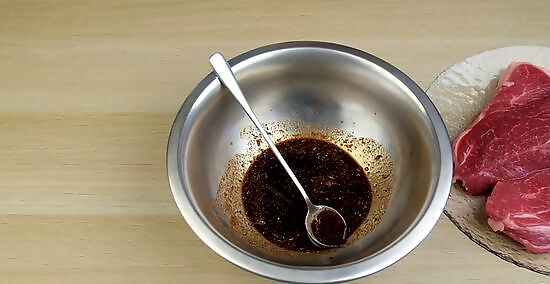
Mix up your marinade. When making a marinade, you want to end up with a smooth mixture. If you’re using ingredients such as pineapple or kiwi for their enzymes, it would be a wise choice to use a food processor to help keep your marinade smooth. If you must cook your marinade, ensure to allow it to completely cool before mixing onto your steak. This prevents portions of the steak from being boiled. When soaking your meat in a marinade, there should be sufficient marinade to cover the meat entirely. Since marinades often have acidic components, avoid metal bowls. The acid can react with the metal, which may give the meat a funky taste.
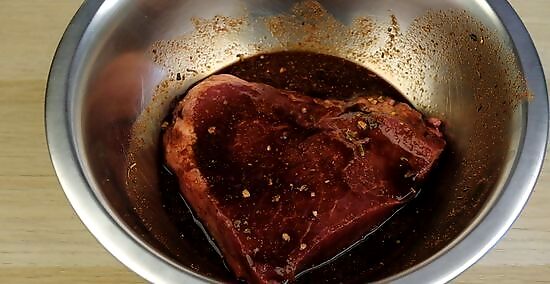
Maximize your marinating time. While more tender cuts of meat may only need two hours of marinating, a tougher cut such as rump roast can soak for several hours, up to overnight. The longer you soak the meat, the more tender it will become. As a general rule of thumb, fruit marinades are better for short term use, and an oil or vinegar based marinade is better for overnight marinating. Do not marinate meat for longer than 24 hours. You can also use a vacuum marinator that pushes out the air and allows you to marinate instantly.
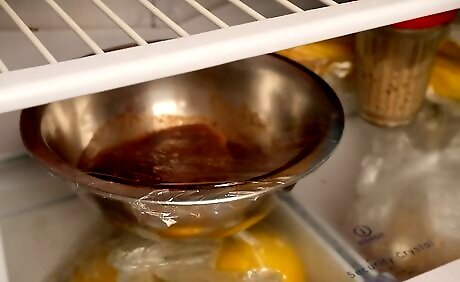
Always keep your beef in the fridge on the lowest shelf. Leaving any raw meat on your countertop to marinate is not practicing safe food hygiene. By storing it on the lowest shelf, it will prevent spillage or contamination onto any other foods below it.
Braising for Tenderness
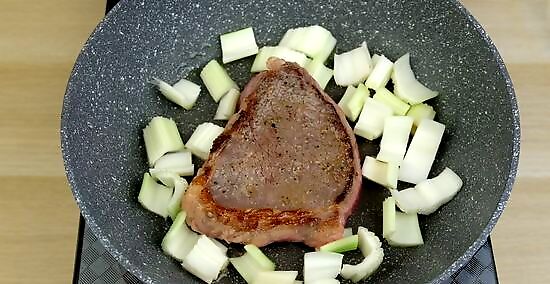
Sear your steak on all sides. Heat up a deep-dished pot that has a lid. Add a small amount of fat to the bottom, such as olive oil. After the fat heats up, add your pre-seasoned meat to the sizzling oil. After the meat is a deep brown on all sides, remove it until you are ready to move on to prevent over-cooking. If you want to add vegetables to the mix, now is the time to do it. Try diced carrots, celery, garlic, or zucchini. When cutting to the appropriate size, think small, bite-sized pieces.
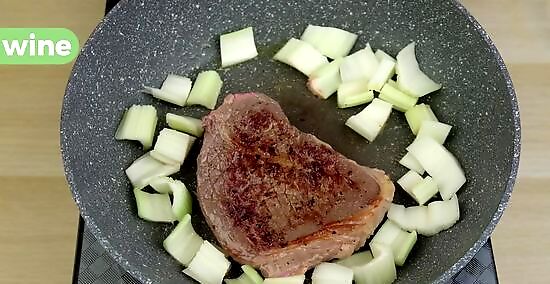
Deglaze the pan. Deglazing is adding a liquid while the pan is still hot to get any meaty bits previously stuck to the pan, floating in the liquid. Deglazing is generally done with wine or stock, or a combination of both. After your liquid is adding, keep scraping the bottom of the pan to pull up the caramelized bits of meat. Wine is often used in deglazing due to its high acidity. The acidity helps break down the proteins found within the meat, adding to the tenderness. It also provides extra depth in flavor. If you aren’t a wine expert, a pinot noir is a solid choice to use for deglazing. If you’d prefer to have alcohol-free dining, use a base of broth with apple cider vinegar added. The vinegar gives the acidity as the wine and the broth will provide a positive flavor.
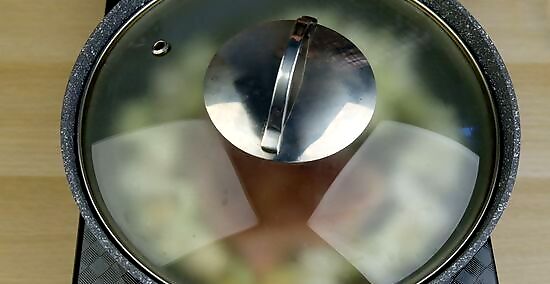
Get the steak, vegetables and liquid simmering at 350 °F (177 °C) and cover it. Top off the pot with any last minute vegetables and your steak. The pot can remain on your stove top or be moved to the oven. The objective is to get the liquid boiling, then lower the temperature to have it down to a simmer. It is ideal to have the pot approximately half full, so that most of your steak is covered with liquid. If necessary, add more of your liquid at any point of the cooking stage. Letting the liquid run down will result in a dry meal.
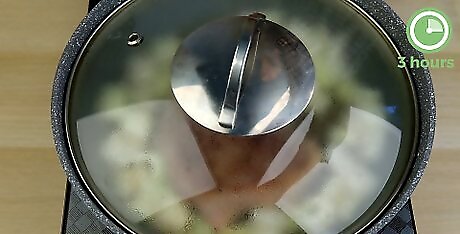
Braise the steak low and slow. Check the liquid levels frequently to keep it topped at optimum levels. Don’t allow the liquid to move past a simmer. By keeping the steak braising at a lower temperature over a longer period of time, you will have a perfectly moist steak. Braising may take up to three hours. By the time your steak is done, it should be fork-tender. If you continue to cook your steak past it’s fork-tenderness, you may experience overcooked meat that is tough.
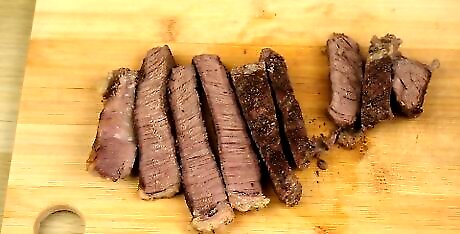
Finished.


Comments
0 comment