views
Improving Form to Improve Speed
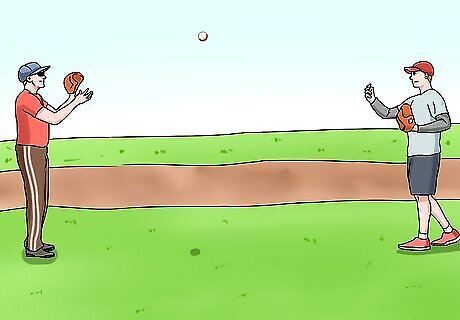
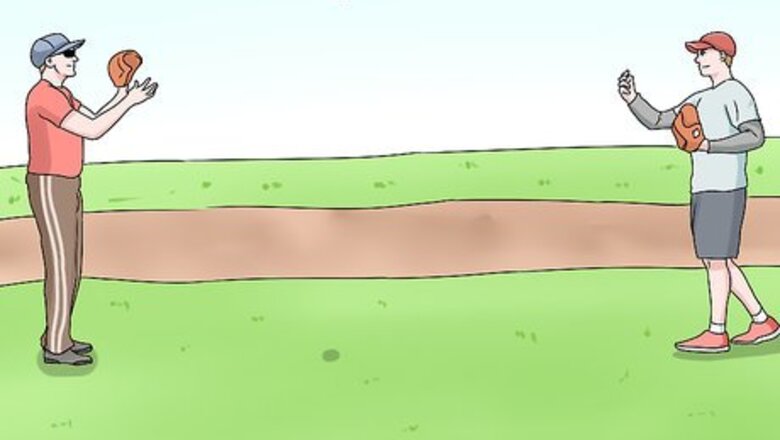
Throw gently with a partner at the beginning of every session. Throwing gently will warm up your throwing arm, and throwing too fast too quickly greatly increases the risk of injury. Always warm up for 5-10 minutes of light catch, easy throwing and gentle stretching before trying to throw fast or lift weights. Warming up loosens your muscles, and this flexibility is key to unlocking your most powerful possible throws.
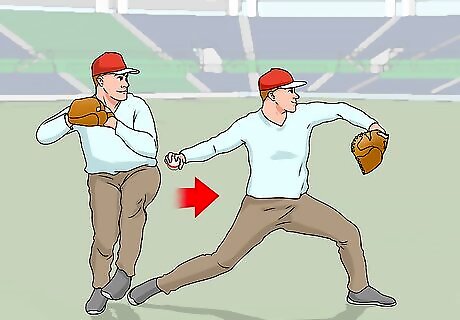
Use your full body to get power into your throws. Many people have heard that "your power comes from your legs," and while this is partially true, it doesn't tell the whole story, Your legs generate a lot of power, but it only helps your throw if you can transmit that power through the bottom up. Accordingly, powerful throwers know that they must focus on their entire body to throw well. For a righty, it looks like: Plant your left foot in front of your body. Point your shoulders in line with the target Bring the ball behind you. Push off the back foot as you start to throw Rotate your hips and shoulders towards the target. Release as the ball passes your head. Follow through with your shoulders and back foot as you release the ball.
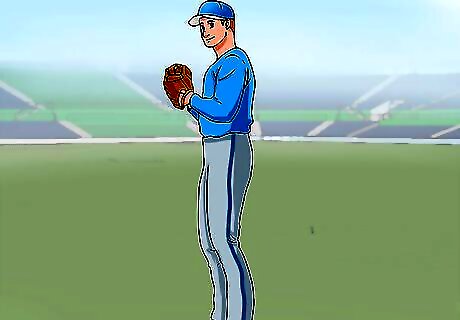
Set up in a strong athletic position. The basics of throwing are likely obvious, as outlined above.. But the little things, when you get the right, will add up to something much more powerful. The natural starting point is your stance. The stance is very similar to a tennis player getting ready to serve, or a basketball player guarding someone. To get maximum power, make sure your: Hands are in the middle of your body, ready to move. Knees are slightly bent as if you're ready to spring into action. Feet are light so that you are balancing near the balls of your feet. Spine and back are straight.
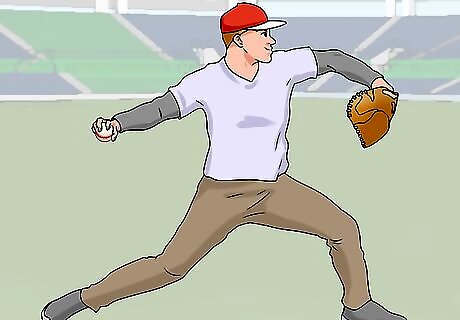
Take a big, powerful step with your left foot. This is for right-handed throwers. If you're a pitcher, this is your step off the mound, but all fielders do this for longer or more powerful throws. As your knee comes up, your throwing arm remains bent at the elbow and the ball near your chest. As your leg kicks forward, you start bringing your arm back. As you land your foot, you want your arm moving forward. Your goal, as you read the next few steps, is for you arm to be cocked right behind your head, elbow at 90 degrees, as this front foot lands stiff not flexed. Studies show that the stride is more important for power than the actual throwing motion. This is equally true for an outfielder running up to make a big throw to the infield.
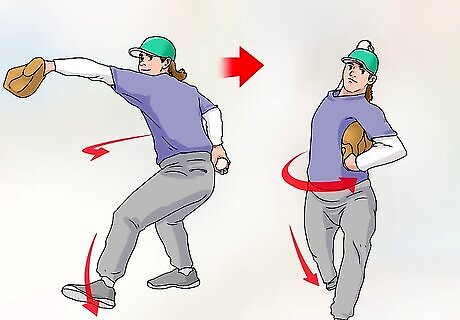
Push off your back foot and begin rotating your hips. This is where you really start getting power. As you are stepping forward with that front foot, your back foot is pushing you forward. As the ball is coming towards your head, your hips are turning towards your target at the same time your throwing arm is rotating your body around.
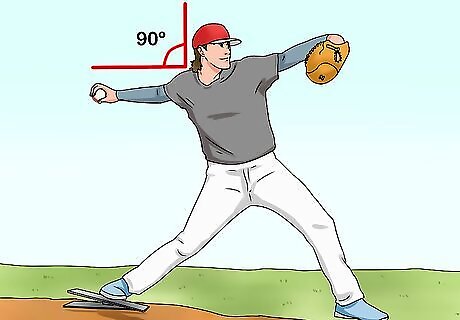
Cock your arm when your front foot lands. Timing this up is key for powerful throws. As you land on the foot, your elbow should be cocked behind you. It is at 90 degrees, with the ball above your head. Practice getting into this position right as your foot lands.
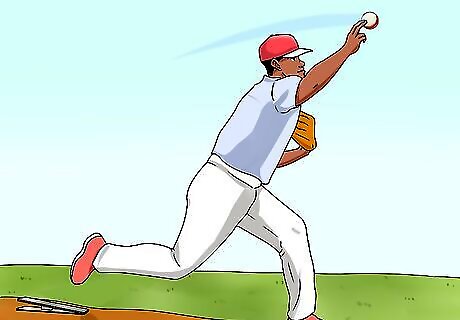
Release the ball as you body keeps moving, conserving momentum and power. As your arm comes over your head and you release the ball, let your back leg and throwing arm keep moving. Because you've been rotating, they'll both come across your body after you let the ball go.
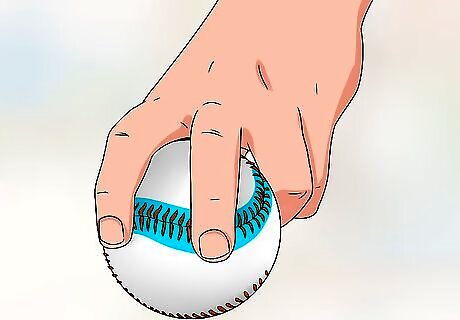
Snap your fingers down on the laces to get a little extra power on release. This puts back spin on the ball, stabilizing it as it flies through the air. Your fingers will pull down on the laces so that the ball spins back towards you as it flies. As the ball leaves your hand, snap your wrist and fingers down. If you haven't already started, make sure you're gripping the ball over the laces. Every time you catch the ball, focus on finding the laces quickly before throwing it back.
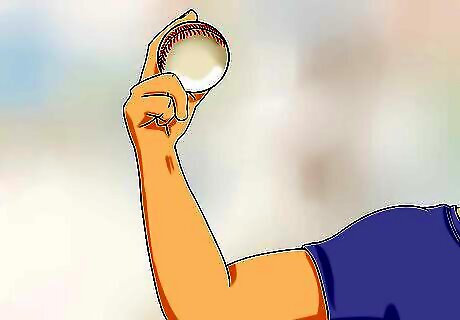
Relax your muscles -- trying to throw fast only gets you hurt. Ultimately, strength has very little to do with throwing speed. Mechanics are far more important. But most people consciously try to throw fast: they jerk their arms, increase the speed, and mechanics suffer. Loose arms and a relaxed body transmits energy far more effectively. Imagine your body as a slingshot. A rigid, taut sling would be very difficult to shoot effectively, but a loose, flexible band is quicker to release, prep, and fire.
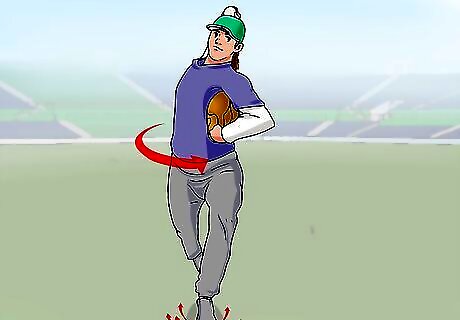
Imagine your power flowing up from your feet to keep your form perfect. When you push off the ground, you put your body in motion. It is almost like a waterfall -- the power of the water doesn't come from the top of the waterfall, but from the entire distance the water falls. Similarly, the power starts in your feet, but you must rotate your whole body, specifically the hips and torso, to transmit that power into your throwing motion. Focus on the tips above, then do the following to help improve your throws: Videotape your throwing motion. At what points do you look jerky or weak? Check your follow through. Your body should naturally follow the pitch, spinning you slightly so that your back leg comes around the front of your planted leg. Keep your muscles loose. If you feel like you're trying to hard, you are. It won't help.
Building Arm Strength
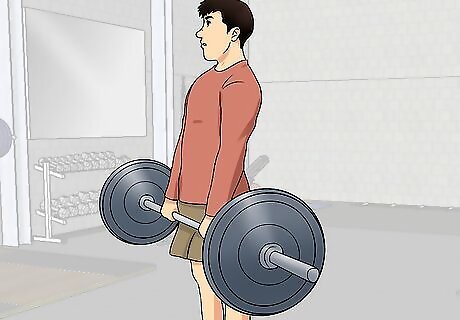
Create a strength training program to get more force behind your throws. It is important to note, however, that you can only improve your power so much with strength training. Far and away, the biggest bang for you buck is to focus on form. However, with attention to better mechanics and an intelligent strength program, you can start to see improvement. More importantly, a strong arm is less likely to get injured. Do not lift weights if you are under 16. The potential for injury is far greater than any added strength you'll get. With all exercises, focus on smooth, slow motions. The amount of weight is not important, but getting through your entire range of motion is. You want low weight, high reps for everything but the leg exercises. Don't risk long-term injury for a little more power.
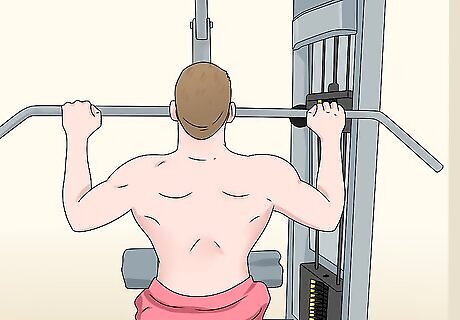
Build up your lats, two of your major back muscles, to see the greatest returns on velocity. The best bang for your buck is a strong, sturdy set of lats. These muscles help you bring the power from your legs up into your arms to make sure you throw faster. Overhead Pulldown: The reverse of a pull-up. There is a bar above you attached by cables to a weight. Sitting down, keeping your spine straight, pull the bar to your upper chest. Repeat 10 times. Seated Rows: With your arms in front of you, grab a handle so that your hands are close together. You'll be using the rowing machine, which attaches to weights with a cable. Pull your hands into your chest, then slowly extend them back in front of you. Repeat 10 times. Pull ups: You want the wide grip, palms facing forward kind.
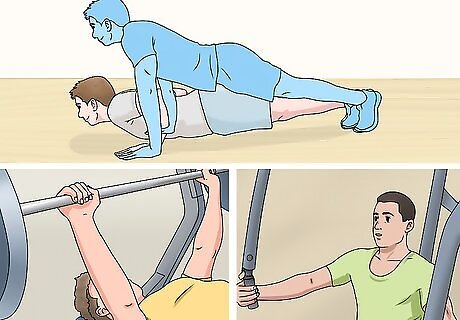
Tone your chest muscles for throwing arm acceleration. A lot of your upper body power comes from your pecs, and it is not surprising that they'll help you throw harder. Focus on: Push ups Bench Press Pec flies.
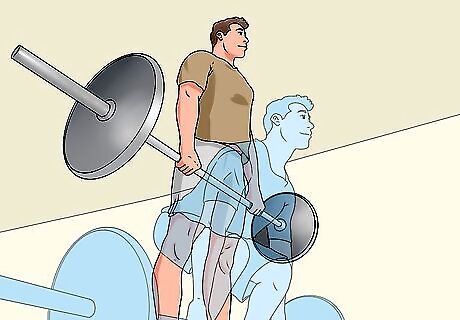
Build up strong quads and glutes for added power. Take away your legs, and you take away your power. While a strong arm is important, you need to have a solid base to throw harder. Neglect leg day at your own peril. Dead-lifts Squats Leg Press Lateral box jumps and plyometrics. When doing jumps, lunges, or other active workouts, focus on side-to-side motions and rotations, as they are more similar to your pitching motion.
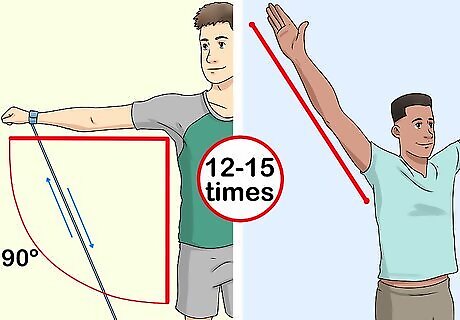
Use shoulder exercises to protect and strengthen your rotator cuff. Rotator cuff surgery is the most common fix many pitchers need, but you can prevent future injury with smart training now. Most exercises for the rotator cuff are low-weight, high rep. You don't want to feel a lot of burning or pain -- these are small muscles that you're working. Internal/External Rotations: Stand with your elbow at your side, arm bent 90 degrees. Grip the cable so that it pulls your arm away from you. Slowly, rotate your arm to bring your hand inward, towards your belly. Repeat 12-15 times. When done, reverse it so that you now rotate your arm away from your belly. Do three sets of each. Scapular Plane Elevation: Hold a small weight in your throwing arm. Point the arm diagonally away from you. Your palms should face to the sides, not pointing up or down. Lower the arm, then raise it until it is straight, keeping on the diagonal angle. Repeat 12-15 times, for three sets.
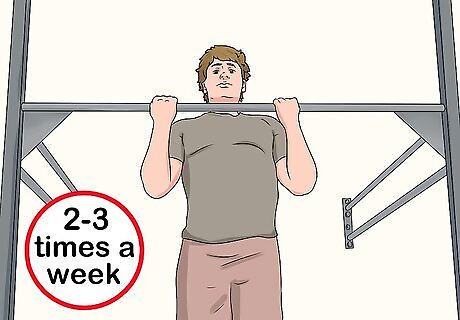
Build up your biceps to help decelerate. Strong biceps help you counteract the force of your throw, slowing you down and keeping your arm in control. This helps form and injury-prevention. Note, however, that you don't want grossly over-large biceps. Work them out 2-3 times a week as part of your training program. Curls Chin-ups Seated Rows


Comments
0 comment