views
X
Research source
To tie an obi, you’ll need to wrap the belt around your waist, then wrap the belt around your body and overlap the ends until you’re left with a diamond-shaped knot.
Placing the Obi around Your Body
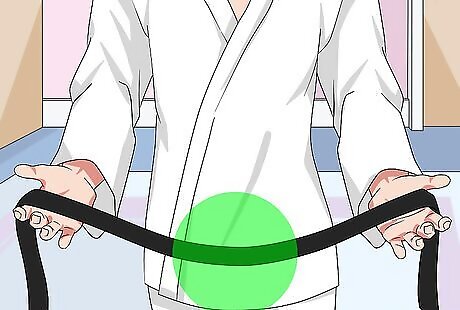
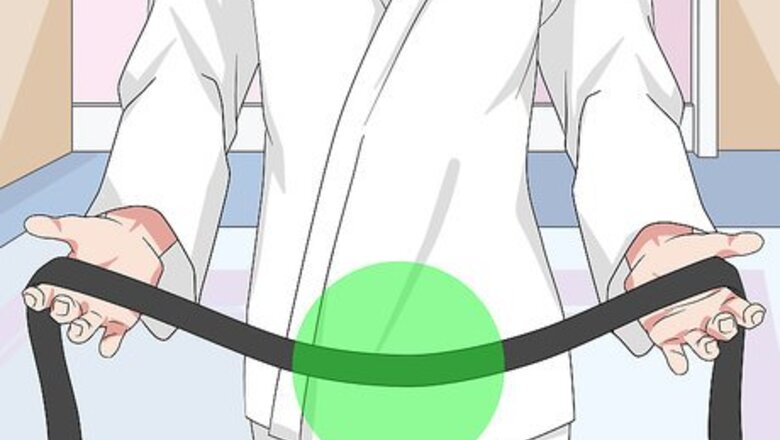
Find the mid-point of the belt. Begin by folding the belt in half. Make sure that the two ends of the belt are touching—if one side of the belt is longer than the other, your midpoint will be inaccurate. Once the two halves of the belt are even, the center of your fold will be the belt’s mid-point. If you’re still new to tying an obi on yourself, practice in front of a mirror. This will make it easier to tell if the belt is lying as it should behind your back.
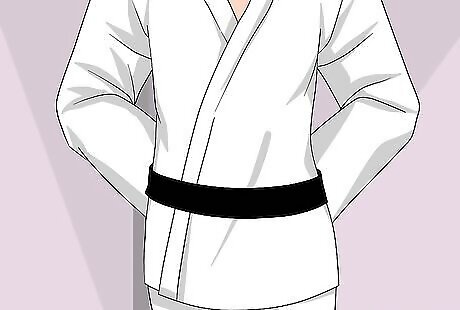
Wrap the belt around your waist. Place the mid-point of the obi in the middle of your stomach, just above your navel. Then, wrap the two ends of the belt behind your back. Make sure that that the belt crosses behind you in the center of your back. Make sure that one of the sides of the obi is lying beneath the other. If the sides are lying parallel on your back, you won’t be able to tie the belt correctly.
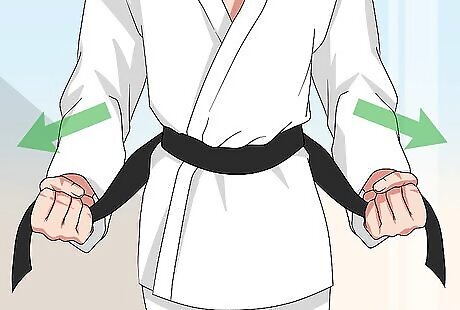
Bring the belt ends back in front of your body. Make the two sides of the obi overlap as much as possible. You’re essentially creating a double-thick belt which fully circles your waist. At the end of this step, you should be left with one side of the belt in each hand, and the overlapping halves of the obi wrapped fully around your body.
Weaving the Belt Ends
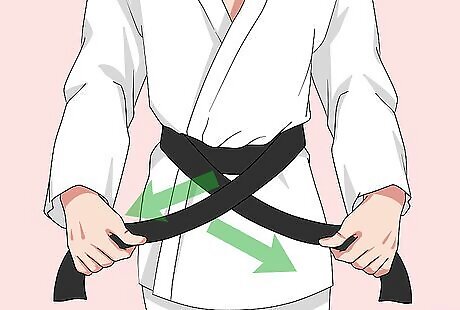
Cross the top side over the bottom. Holding the upper layer (side 2) of the obi in your left hand and the lower layer (side 1) in your right hand, cross left over right, so that the two sides of the belt form an “x” shape on your stomach. Cross the belt as close to the center of your belly as possible. If the cross is to one side of your body or the other, the knot in your obi won’t be centered.
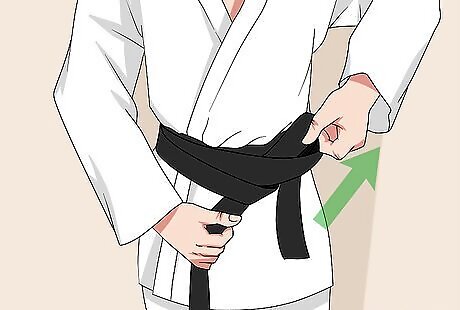
Tuck the left side of the obi under both layers of the belt around your body. The mid-point of the belt should still be centered above your navel. Take the upper side (2) of the belt (which has been in your left hand) and tuck this under up the belt’s mid-point, so it passes next to your body. Pull the side of the obi tight, so that no excess belt is hanging down below the beginning of the knot. As you tie the knot, be sure to keep the belt flat. Never crunch, bend, or fold the flat obi when tying it.
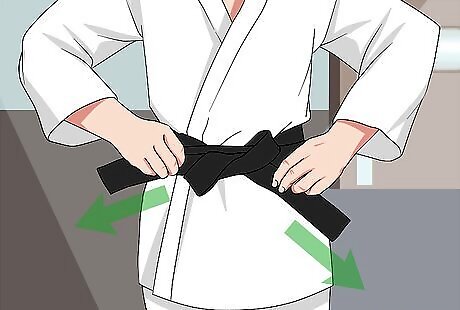
Bend the tucked side of the obi so that it crosses the other side in front of you. Take side (2) of the obi and gently bend it down so that it crosses back over the knot that you’ve started to tie. Cross side (2) over side (1) in front of you. The two sides of the belt should overlap a few inches in front of your body, leaving an open gap between the partially tied knot and the crossed sides of the belt.
Finishing the Knot
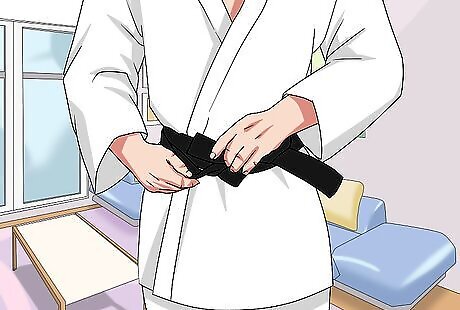
Tuck end (1) through the gap in the knot. At this point, side (1) should be crossed under side (2) a few inches in front of your body. Take end (1) and pass it up and over side (2). Pass end (1) through the large gap that you formed when overlapping the two sides of the obi. Leave the knot loose as you’re forming it. Do not try to tighten the knot until it’s completed, or you’ll have a very difficult time completing the knot.
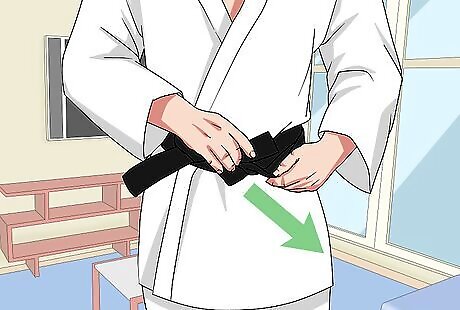
Guide the rest of side (1) through the hole. Keep one of your hands on the point in front of you where sides (2) and (1) overlap, and use your other hand to guide side (1) of the belt through the gap where you put its tip in the previous step. As you pull side (1) through the gap, keep it flat. Don’t allow the fabric of the belt to twist or fold, or you’ll end up with a messy knot.
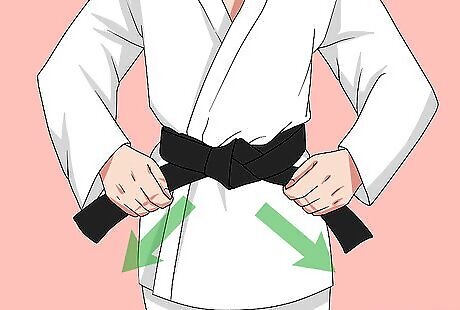
Pull both sides outward to tighten the knot. Once you’ve pulled side (1) through the gap, the knot is ready to be tightened. Don’t try to tighten the obi knot by pulling one side up and one side down, or you’ll risk skewing the knot and giving it an asymmetrical look. The tightened knot should have a roughly diamond-shaped appearance.




Comments
0 comment