views
Purchasing a Plasma Cutter
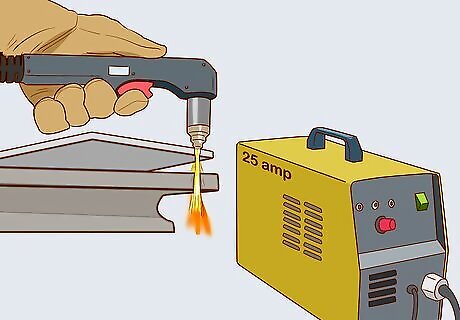
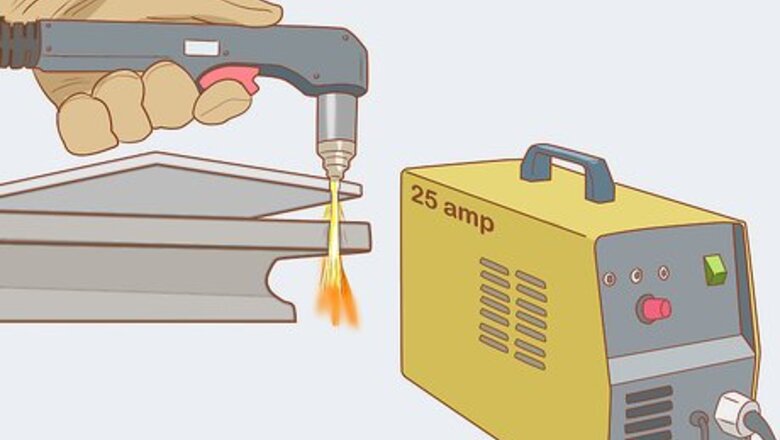
Buy a low-amperage cutter for material that is ⁄4 inch (0.64 cm) thick. If you're going to cut metal ⁄4 inch (0.64 cm) thick or less, use lower amperage cutters that are around 25 amperes. Of course, anything higher than this will also work, but is not necessary. Locate the range of thickness that your plasma cutter can handle on its packaging. Always purchase cutters that are designed for the thickness of your metal.
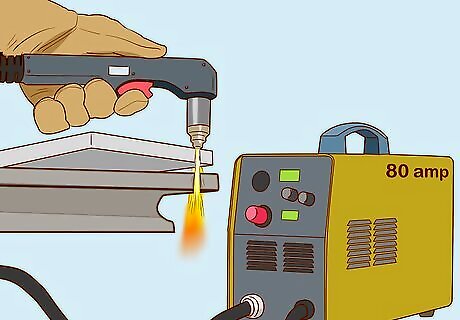
Purchase a high-amperage cutter for material that is ⁄2 inch (1.3 cm) thick. For metals that are ⁄2 inch (1.3 cm) thick or more, plasma cutters with 60 to 80 amperes of output are ideal. Typically, this output can cut material between ⁄4 to 1 inch (1.9 to 2.5 cm) in thickness. Always check the thickness range that your plasma gun can cut to ensure that it can cut your metal.
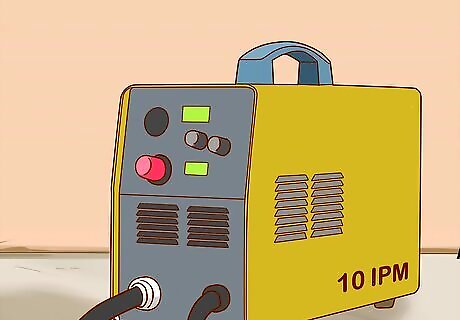
Check the inches per minute (IPM) for each plasma cutter. Always check the IPM on the package of potential plasma cutters to determine how fast they cut. In general, more amperes means a faster cutting speed. If you want production quality cutting, purchase a plasma cutter designed for twice your material's cutting thickness. For example, if you're cutting ⁄4 inch (0.64 cm) thick material, buy a gun designed for ⁄2 inch (1.3 cm) thick material. Measure the distance of metal you plan to cut to get an idea of how much time the job will take. For example, if you're cutting a 20 inch (51 cm) length of steel that is ⁄4 inch (0.64 cm) thick, a plasma gun that cuts 10 IPM will take 2 minutes. Consider the power of each product when purchasing your gun. For example, if you purchase a gun designed for ⁄2 inch (1.3 cm) thick steel for the same material in the previous example, it will likely take closer to 1 minute to cut along a 20 inch (51 cm) cut line.
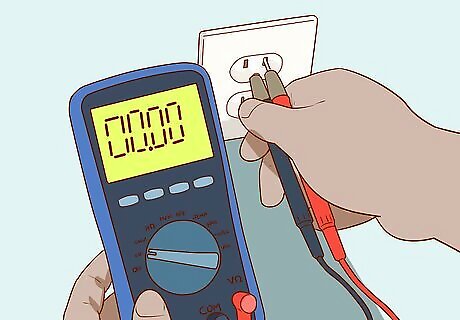
Select a plasma cutter with equal voltage to your input. Most residential outlets are in the range of 110 to 120 volts. This limits you to weaker plasma cutters with amperage between 12 to 25, meaning you won't be able to cut more than ⁄4 inch (0.64 cm) thick metal. If you have access to a more powerful outlet, you'll be able to use the more powerful products. Check outlet input using a digital multimeter. Start by connecting the probes to the multimeter—the black lead to the COM and the red lead to Volts. Now, connect the red probe into the right outlet slot and the black probe into the left outlet slot and check the voltage reading. Never use a plasma cutter that requires more power than your outlet can provide. If you have access to one, use the auxiliary power of an engine-driven welding generator. These are commonly used by construction contracting companies and can be rented from independent suppliers.
Making Straight Cuts
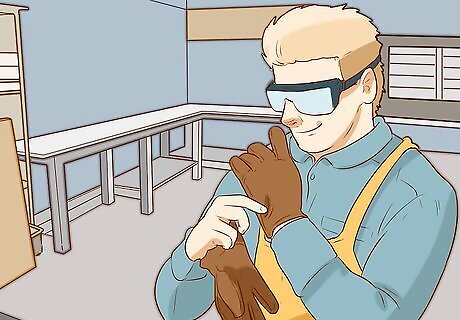
Find a safe workspace and put on your safety gear. Always use your plasma cutter in a well-ventilated area free from flammable material. In addition, anytime you use a plasma cutter you should be wearing the following: welding helmet, safety goggles, work boots, heat-resistant gloves, heat-resistant apron, work pants, welding jacket, ear plugs or ear muffs, and a respirator mask. Cover flammable material with flame-proof covers and keep it at least 35 feet (11 m) from the plasma cutter.
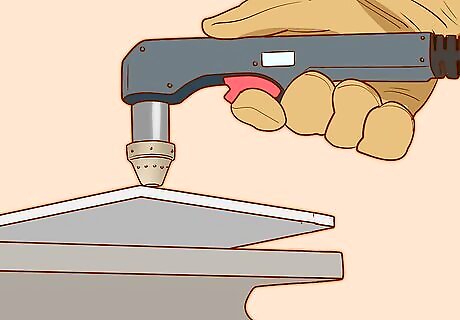
Rest the drag shield on the bottom edge of the metal. If you're using a drag shield—the copper piece that covers the plasma torch—place it at the bottom edge of your metal. Be sure to hold the drag shield straight down so that it makes a 90-degree angle with the metal. Use a drag shield to increase the ease and accuracy of your cuts by allowing you to rest the torch on your metal while following the cut line. If your plasma cutter doesn't have a drag shield, hold it ⁄8 inch (0.32 cm) from the metal and maintain a 90-degree angle between the torch body and the metal.
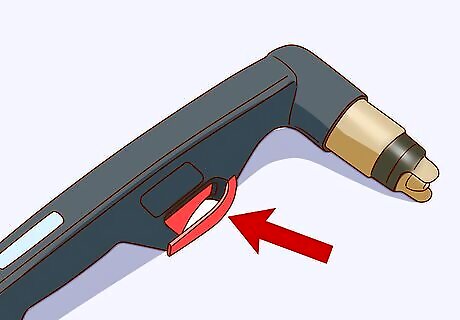
Remove the trigger lock and press the plasma cutter trigger. Maintain a 90-degree angle to the metal from the drag shield or torch body and raise the trigger lock. Now, press and hold the trigger—an arc of plasma should spray downward from the tip of the plasma torch. Make sure sparks spray from the bottom of the metal after pressing the trigger. If not, your plasma cutter is not powerful enough for the thickness of metal you're trying to cut.
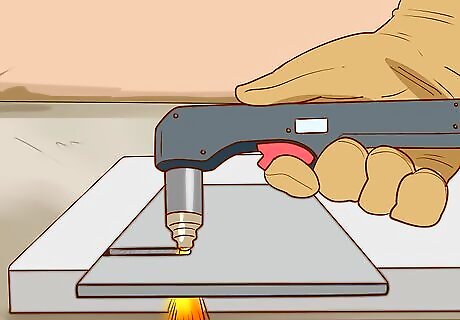
Move the torch along the metal slowly and evenly. As you move the plasma arc across the metal, it should penetrate it through to the bottom. If no sparks are spraying outward from the bottom of the metal, this means the arc is not effectively penetrating it. Either you're moving the torch too fast, the stream is not being directed straight down, or the plasma cutter has insufficient amperes. Adjust the speed of your cut as you drag the blade so that you always see sparks at the bottom of the metal. For example, if you're moving too fast and don't see any sparks, slow down your speed until you do. If you see an excessive stream of sparks, increase your speed.
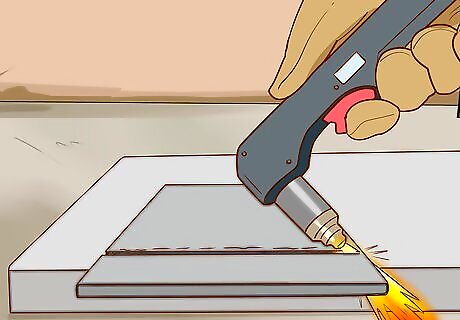
Angle the plasma torch toward the end of the metal and release the trigger. Once you reach the end of the metal, angle your plasma torch slightly toward the edge of the metal. Once you do, pause for a moment and then release the trigger. This will ensure that you sever the metal completely. If you fail to cut a certain portion of the metal along your cut line, follow the instructions for piercing to remove it.
Gouging and Piercing Metal
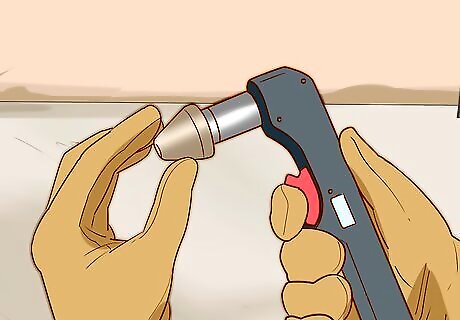
Connect a gouging tip prior to gouging metal. Purchase a gouging tip from a home hardware store. These are 3 to 4 times wider than standard tips, allowing them to remove more metal. Ideally, purchase a tip that can create an arc that is 1 to 1.5 inches (2.5 to 3.8 cm) long. Don't use older plasma cutters—with weaker arcs less than 1 inch (2.5 cm) long—for gouging.
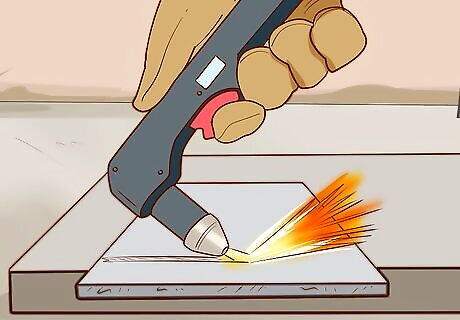
Gouge metal by aiming the torch at a 40- to 45-degree angle to the metal. Gouging is conducted to remove imperfections or old welds. After aiming the torch 40- to 45-degrees to the base metal, hold the trigger until you create an arch that is about 1 to 1.5 inches (2.5 to 3.8 cm) long. Now, move the torch steadily across the imperfect region of metal. Always aim the sparks away from the torch. Don't gouge too deeply—make another pass across the metal if necessary. Slow down the speed of the gouge if you don't see any sparks. If you see an excessive amount of sparks, speed up your gouge.
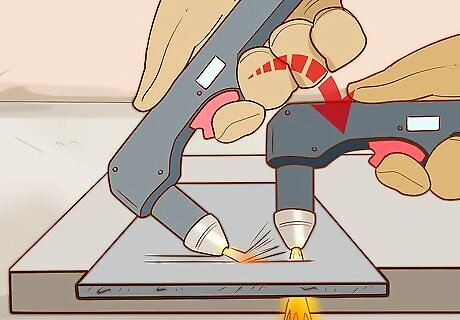
Pierce metal by moving the cutter angle from 40- to 45-degrees to 90-degrees. If you want to create a hole in a piece of metal, start by aiming the plasma torch at a 40- to 45-degree angle to the target. After you have steady aim at the target section of metal, press and hold the trigger of the cutter. Once you see the full cutting arc, raise the torch to a 90-degree angle to create a hole in the base metal. After you make the hole, release the trigger. Don't try to pierce metal more than 1.5 your cutter's maximum cutting thickness.


Comments
0 comment