
A kernel is a system file which controls the CPU and GPU. As such, custom kernels are modified versions of official kernels, or are completely rebuilt depending on your source. It can increase performance, overclock your device’s CPU, and more. It needs root access, so make sure you’ve established that for your device.
Though there is little risk in using this method, there are instances that it may brick your device---which is out of our control. You should be fine as long as you follow the instructions carefully. Make sure that the kernel you are using is compatible with the Android version your device is currently on. Use at your own risk.
Purchase Mobile Odin
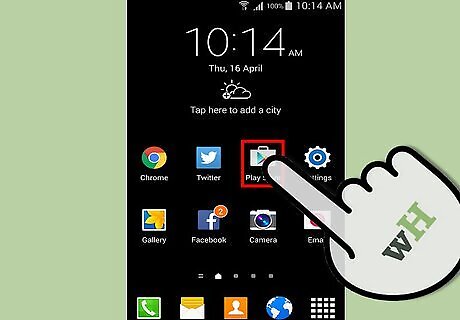
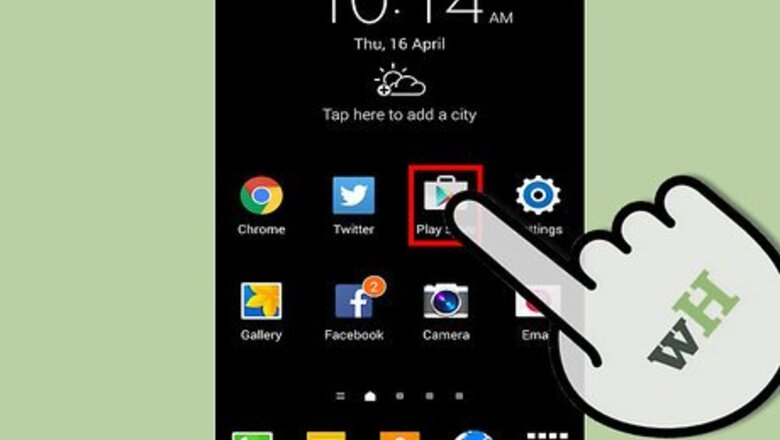
Open the Google Play Store app.
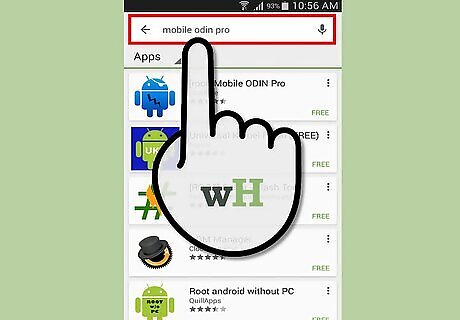
Type “Mobile Odin Pro” in the search bar. An app by the same name should appear, which is made by the developer Chainfire.

Purchase the app.
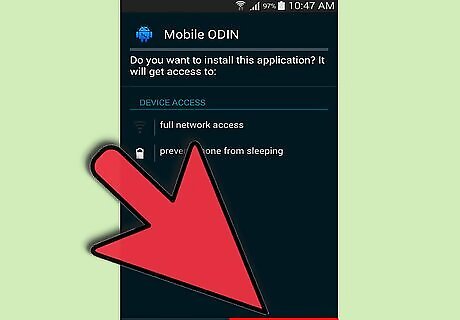
Install. Once it’s finished, you can proceed to the next step.
Launch Mobile Odin
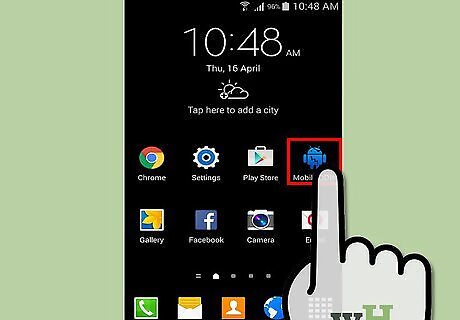
Open the app. Tap the app either on your Homescreen or in the App Drawer.
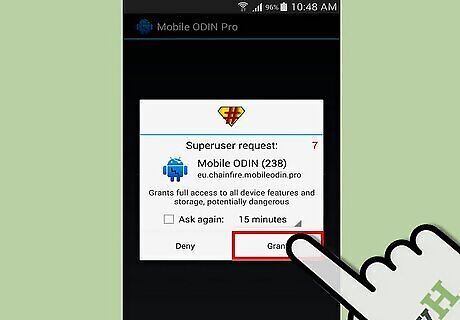
Tap “Grant.” A Superuser notification should pop out, and tap “Grant.”
Flash a Kernel
Flash for .tar files. Select “Open File.” Find the .tar file on your device. Select “OK.” Select “Flash Firmware.” Wait for the device Recovery to install the Kernel. Reboot.
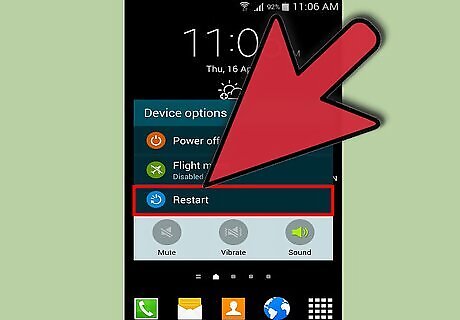
Flash for zips. Select the “OTA/Update Zip” option in Mobile Odin. Select “Flash Firmware.” Wait for the device Recovery to install the Kernel. Reboot.

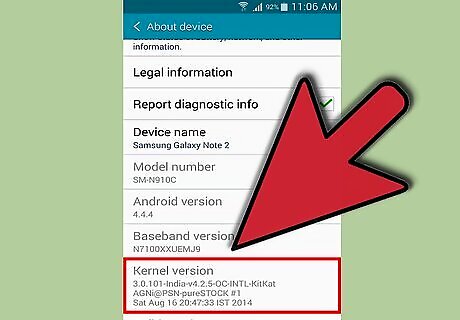
Check the installed kernel. After your device reboots, check in Settings>About Phone/Tablet>Kernel Version, and you should see the name of the kernel you’ve just installed. Congratulations, you’ve installed a custom kernel on your device. Enjoy increased performance on your phone or tablet!


Comments
0 comment