views
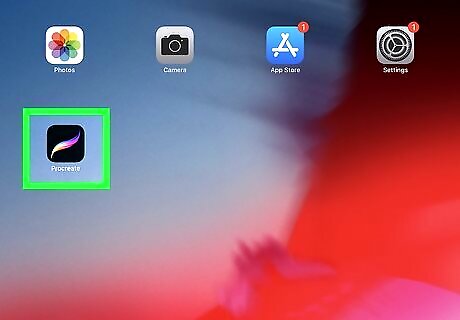
Open Procreate. Procreate has an icon that resembles a rainbow-colored brush stroke. Tap the Procreate icon on your Home screen to open Procreate. If you do not have Procreate, you can purchase it from the App Store. Procreate is only available for iPad. However, Procreate Pocket (paid) is available for iPhone in the app store.
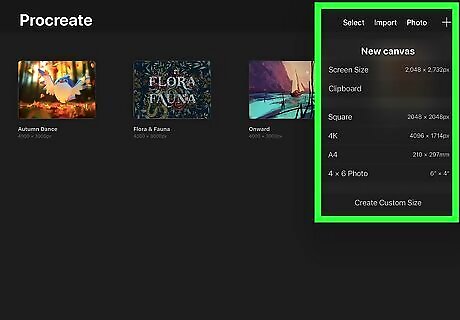
Open or create a new project. To open an existing project, simply tap the project you want to open on the Gallery menu when you open Procreate. To create a new project, tap the plus (+) icon in the upper-right corner. Then tap the canvas size you want to use.
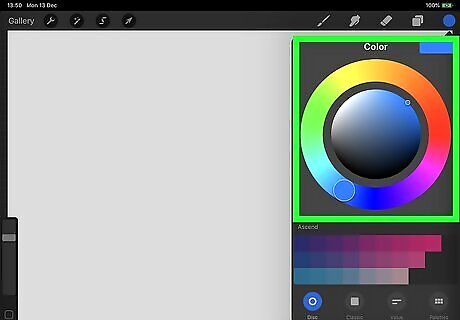
Select a color. Before you can use the smudge tool, you need to paint some color on the canvas. To select a color, tap the colored circle in the upper-right corner. Then tap the hue you want in the outer color wheel. Then use the inner circle to select a tint for that hue. Colors that are closer together on the color wheel are easier to blend using the smudge tool than colors that are further apart.
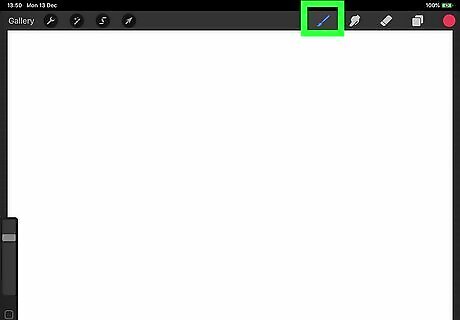
Tap the paintbrush icon. It's the icon that resembles a paintbrush at the top of the screen..
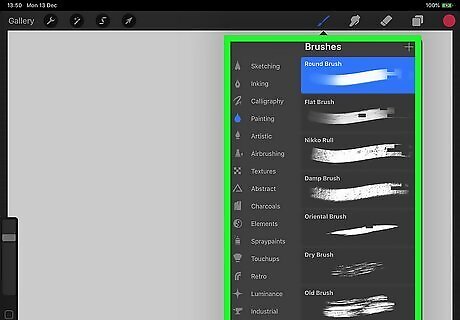
Select a brush. Brushes are categorized by style. Tap one of the categories in the menu to the left in the Brush Library menu. Then tap a brush preview swatch to select a brush.
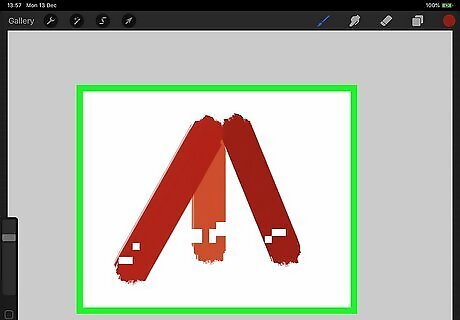
Paint some color. You can paint using your finger, a stylus, or Apple Pencil. Simply paint on the canvas the way you would using an actual paintbrush. You can use as many colors as you want. You can adjust the size and opacity of the brush stroke using the slider bar on the left. The top slider bar adjusts the size of the brush, the bottom adjusts the opacity of the brush stroke. More opaque brush strokes will appear softer and more transparent. Adding color using low-opacity brushstrokes will be easier to blend with the smudge tool than full-opacity brushstrokes.
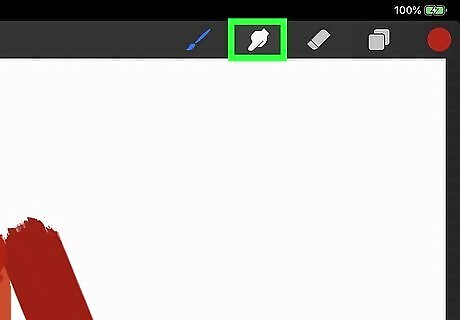
Tap the smudge tool icon. It's the icon that resembles a finger. It's next to the paintbrush icon at the top of the screen.
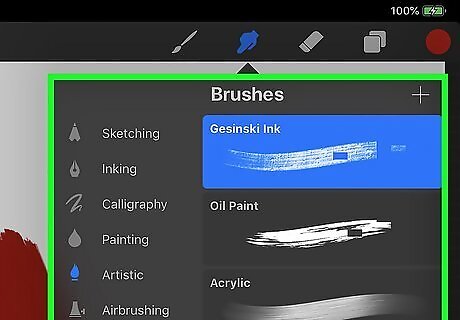
Select a brush. The Smudge tool uses the same brush library as the paintbrush tool. Tap a brush preview swatch to select a brush. Different brush types will have different effects when using the smudge tool. Experiment with different brush types.
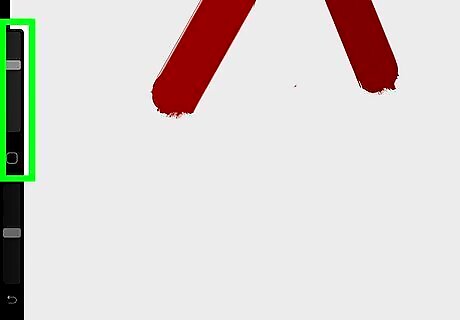
Adjust the size of the brush. Use the top slider bar to the left to adjust the size of the brush. Drag it down to make the brush smaller and drag it up to make the brush larger.
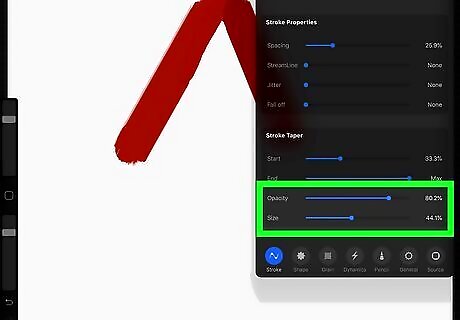
Adjust the opacity of the brush. The opacity affects the strength of the smudge tool. When the brush setting is less opaque, it will smear less color. Use the bottom slider bar on the left to adjust the opacity of the brush. Drag the slider bar down to reduce the strength of the brush. Using a higher opacity will smear color around like wet paint. This will blend colors much quicker and also leave visible smear lines. Using a lower opacity creates a softer blend. This is better for creating gradients. If you are using an Apple Pencil, you can adjust the opacity using the pressure of your brush strokes. Press harder for more opaque brushstrokes, and use light strokes for less opaque brushstrokes.
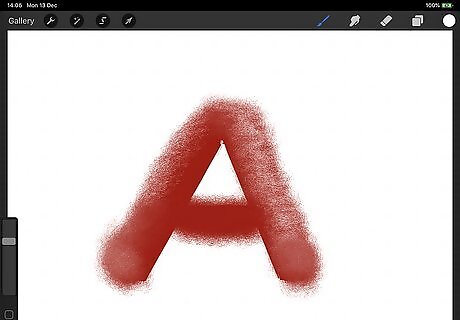
Swipe over the color on the canvas. This will smear the color in the direction you swipe. To create a gradient between two colors, start by making short back-and-forth strokes across the two color regions. Then use long brush strokes along the length of the color regions. In order to smudge a color, you must be on the same layer as that color. To select a layer, tap the Layers icon in the upper-right corner. It has an icon that resembles two pieces of paper stacked on top of one another. Then tap the layer with the pigment you want to smudge.


Comments
0 comment