
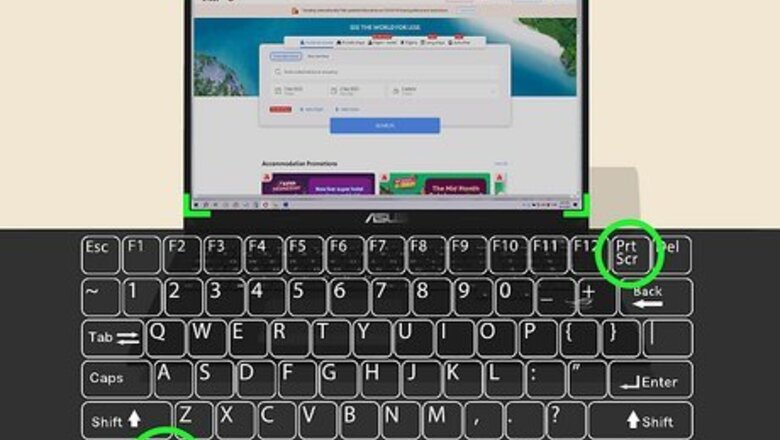
- For a quick, full-screen capture, press Win + Prt Scr.
- For a full-screen capture that you want to edit immediately, press Prt Scr and paste the capture into an image editor, like Paint.
- If you want to choose how to capture your screen, open the Snip & Sketch tool and choose a screenshot mode before capturing your window, screen, or selection.
Using the Windows and Print Screen Keys
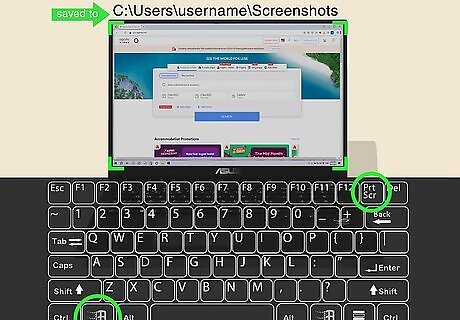
Press the ⊞ Win and ⎙ PrtScr keys at the same time. The Print Screen key is in the upper right corner (next to the Pause/Break key). This is the easiest way to take full-screen screenshots on your Asus laptop. You can press this keyboard shortcut to instantly capture the entire screen on both Windows 10 and Windows 11. Find your screenshots in the Pictures folder. Screenshots captured with the Win + Prtsc keys]] are in a location like "C:\Users\username\Screenshots."
Using the Print Screen Key
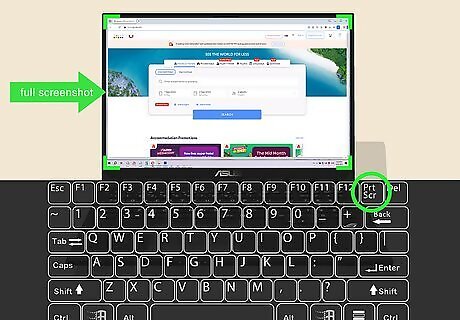
Press ⎙ PrtScr to take a full-screen screenshot. Instead of instantly saving the screenshot to your Pictures folder like pressing Win + PrtScr at the same time, pressing PrtScr by itself copies the screenshot to your Asus laptop's clipboard, making it easy to paste into a document, email message, or social media post. To save your screenshot, open the Paint app and press Ctrl + V to paste it from your clipboard. You can then save the screenshot by clicking File > Save as > PNG Picture and choosing a file name. You can also quickly paste the screenshot into a document, email, or post by right-clicking the typing area and selecting Paste.
Using the Snipping Tool

Press ⊞ Win+⇧ Shift+S to open Snipping Tool. This will prompt the Windows Snipping Tool to open, which gives you many options for taking a full or partial-screen screenshot.
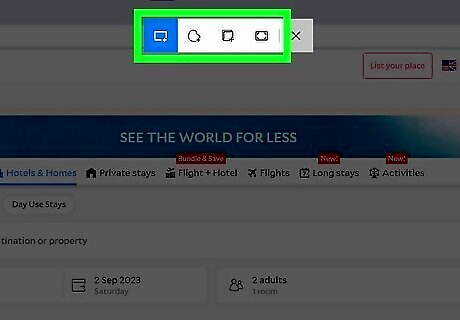
Select a screenshot mode. By default, Rectangular mode is selected, which allows you to draw a rectangle around the part of the screen you want to screenshot. To screenshot just one window, click the Window mode icon (the window on the toolbar). If you'd rather take a full-screen screenshot, click the last icon (Full-screen mode). Click the Free-form mode icon (the rounded line) to draw a freehand line around the area you want to capture.
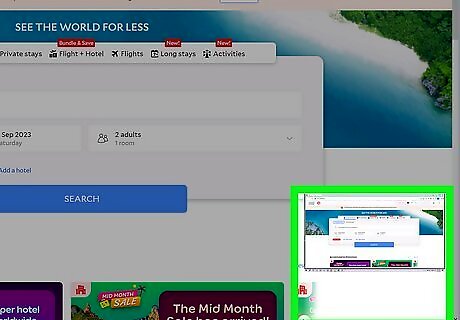
Take your screenshot. If you chose Full-screen mode, Snipping Tool will take a screenshot instantly, copy it to your clipboard, and save a copy to your Pictures folder under "Screenshots." You'll also see a preview at the bottom-right corner of the screen, which you can click to view and edit. If you chose Window or Free-form mode, click and drag your cursor around the part of the screen you want to capture. When you lift your finger, the screenshot will automatically copy to your clipboard and save to your Pictures folder under "Screenshots." You'll also see a preview at the bottom-right, which you can click to view.
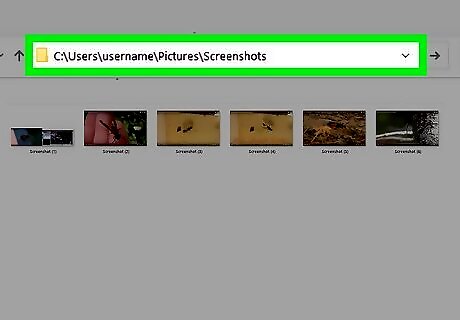
Find your screenshot. Your screenshot is automatically saved to your Pictures folder in a sub-folder called Screenshots. For example, "C:\Users\username\Pictures\Screenshots"
Using Snip & Sketch (Windows 10)
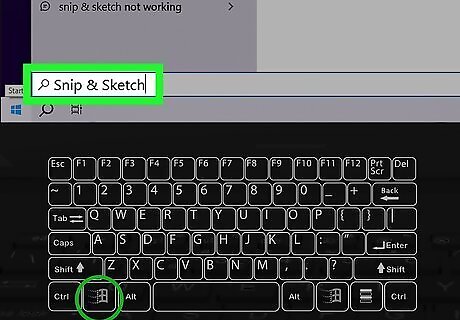
Press ⊞ Win and type "Snip & Sketch," then click the app search result. The Snipping Tool opens with a warning window that prompts you to use the new "Snip & Sketch" app instead. "Snip & Sketch" features a sketch tool that will be useful if you want to markup the screenshot before sharing it.

Click New. This will move the Snip & Sketch window so you can capture a screenshot. If you aren't ready to take the screenshot yet, you can click the down arrow next to New and select an option like Snip in 10 seconds.
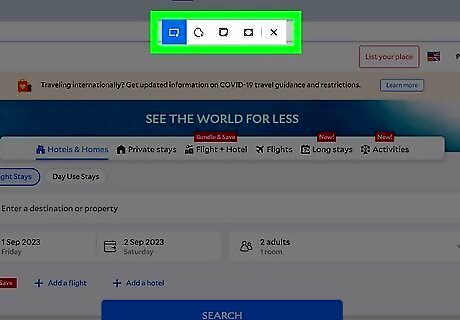
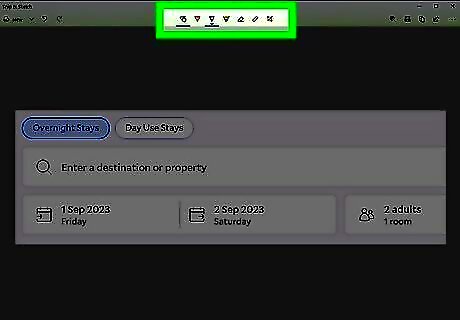
Select a mode. At the very top of your screen, you'll see five icons: Rectangular snip, freeform snip, window snip, fullscreen snip, and close snipping. Click a mode to use it.

Take the screenshot. Depending on the mode you picked, you'll take screenshots in different ways. For the rectangular and freeform snips, use your mouse to select the area of the screen that you want to screenshot; for window and fullscreen snips, click the screen you want to capture. Your screenshot will appear in the Snip & Sketch window so you can edit and save it.
Edit and save your screenshot. You can use the icons above your screenshot preview to edit it by highlighting areas, drawing on it, or cropping the image.

Save your work. Click the save icon (it looks like a floppy disk) from the lower right corner. From there, you'll need to choose a save location in your File Explorer and save it.
Using Xbox Game Bar
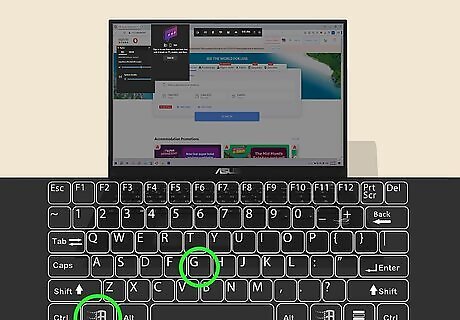
Press ⊞ Win+G. This opens the Xbox Game Bar overlay, another easy way to screenshot your Asus laptop.

Click the icon that looks like a webcam. It displays "Capture" when you hover your mouse over it and prompts another window to open.
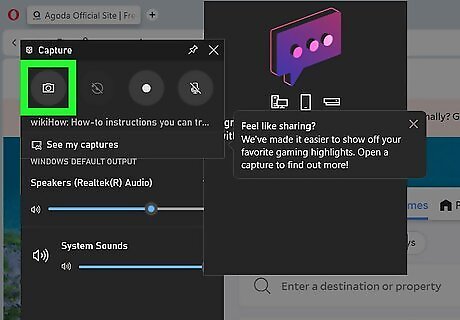
Click the icon that looks like a camera. It'll snap a screenshot, but you can also press Win + Alt + PRT SCR to screenshot with Xbox Gaming Bar overlay using a keyboard shortcut. If you get a pop-up that says features aren't enabled, click the prompt to enable those features. After that, you'll be able to screenshot anything! Including game-play. You can find your screenshots by clicking See my captures once you click the web camera icon.


Comments
0 comment