
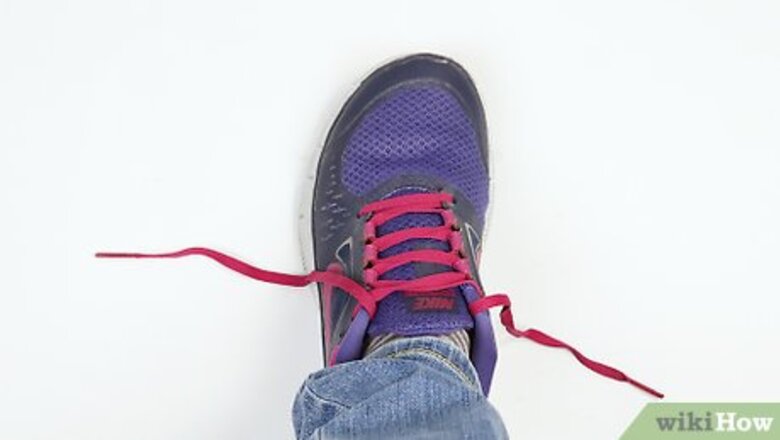
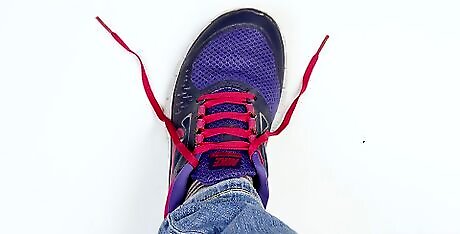
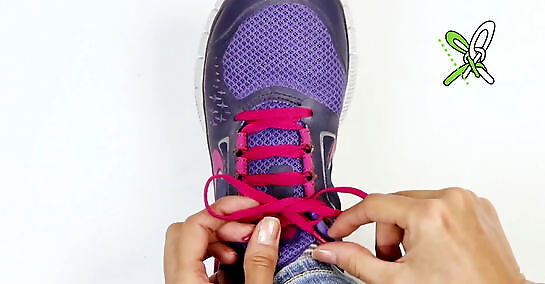
Tying a Basic Knot

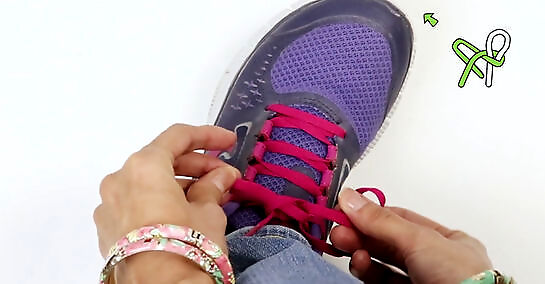
Place the shoes on a flat surface. Let the laces fall to either side of the shoe. If you’re demonstrating this technique to someone, point the toe side of the shoe toward them so they can see your hand movements. To make it easier for children, color the bottom of one shoelace brown, the middle part of the lace green, and the top part of the lace brown. This way, when you instruct them to make a loop with the lace, it can look like trying to form a “tree” by always making sure the green part of the lace is at the top of the loop, like the leaves at the top of a tree.
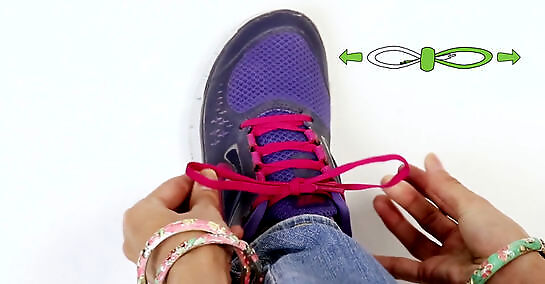
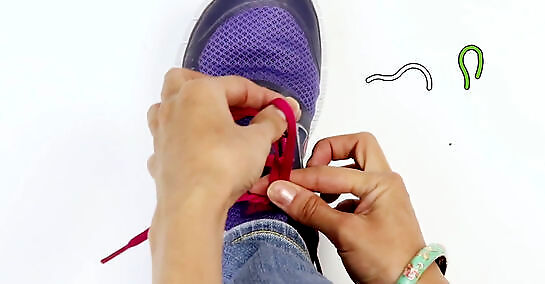
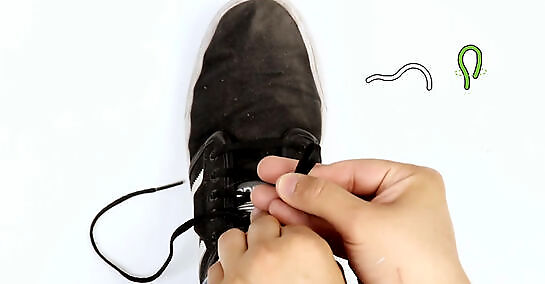
Tie a basic knot. Take both laces and thread one lace over the other and then pull them tight. They should form a knot in the middle of the shoe.
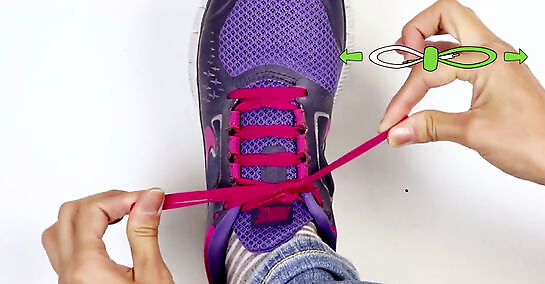
Make a loop with one of the laces. You should be holding the lace between your thumb and your first two fingers. If you are using the “tree” trick, instruct your child to form a loop with the colored lace so the brown parts of the lace are on top of each other (the trunk of the tree) and the green part sits at the top of the loop (the leaves of the tree).
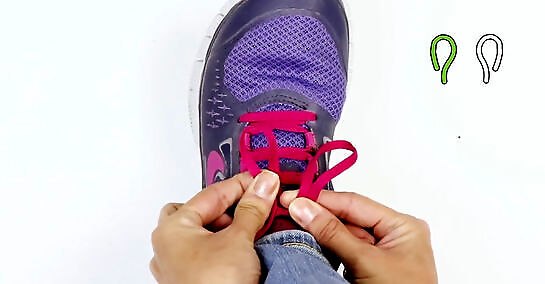
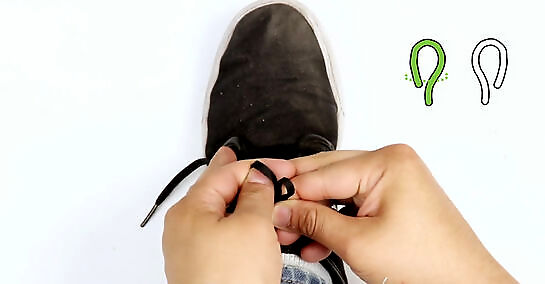
Use your other hand to wrap the other lace around the loop. You should be holding it over your fingers and around the loop. Wrap the other lace toward you rather than away from you. Again, if you are using the “tree” trick, instruct your child to wrap the shoelace with the knot over the “trunk” of the tree.
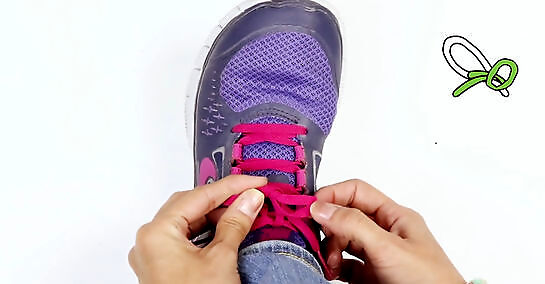
Pull the shoelace through the hole to form another loop. You should use your free hand to pull the shoelace through. There should now be a hole between the looped shoelace and the wrapped shoelace. Pull the wrapped shoelace through so it comes through this hole. Another way to explain this is to have your child poke the knot on the shoelace through the hole to make another loop.
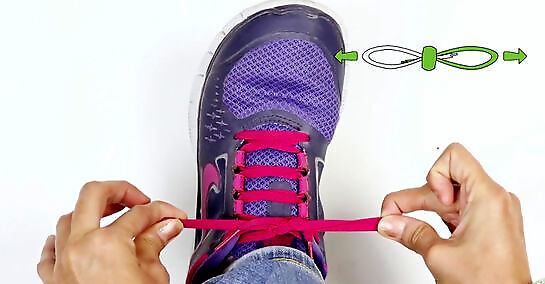
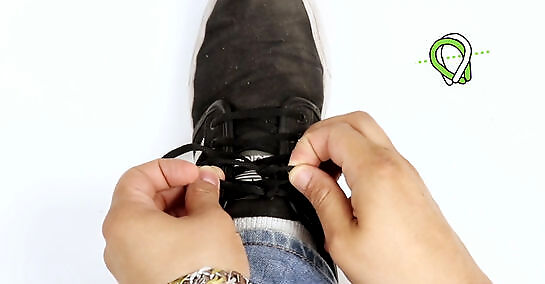
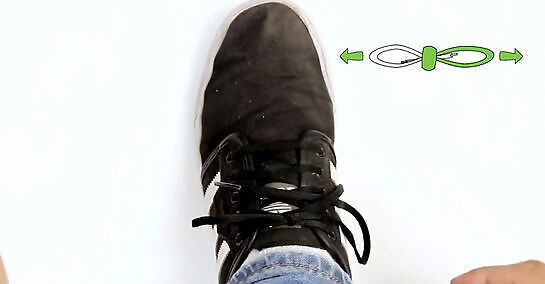
Hold both loops and pull them tight. You should now have a nicely tied shoe. You can also instruct your child to pull the knot and the top of the tree trunk to either side, tightly.
Using the "Bunny Ears" Technique
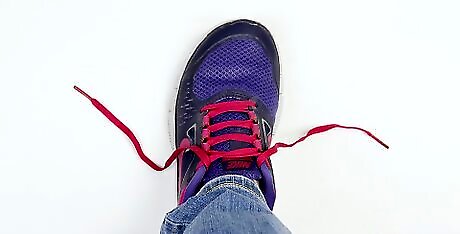
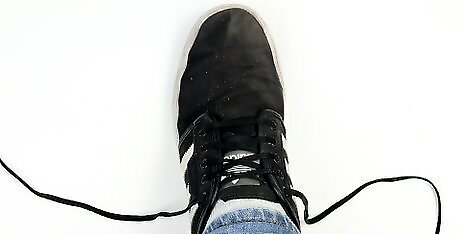
Place the shoes on a flat surface. Let the laces fall to either side of the shoe.
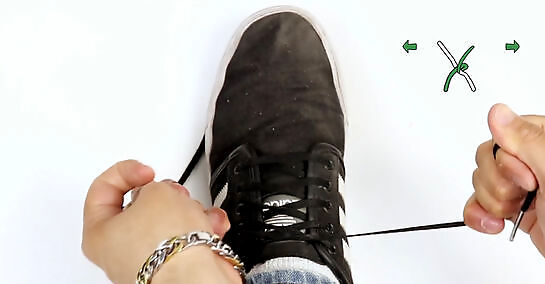
Tie a basic knot. Take both laces and thread one lace over the other and then pull them tight. They should form a knot in the middle of the shoe.
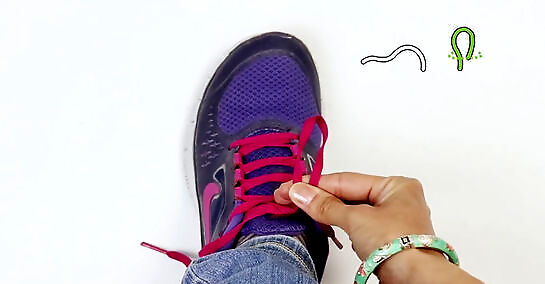
Make a “bunny ear” loop with one of the laces. You should be holding the lace between your thumb and your first two fingers. The loop should be small and the “tail” should be long.
Make a “bunny ear” loop with the other lace. Hold the lace between your thumb and first two fingers. Make the “tail” long and the loop small.
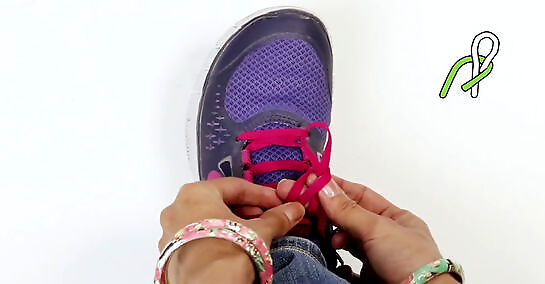
Tie a basic knot with the “bunny ear” loops. Place one loop over the other, then tuck it behind the other and thread it through the hole that is created.
Pull the “bunny ear” loops tight. Now your shoes are tied nicely.
Using the "Circle" Technique
Place the shoes on a flat surface. Let the laces fall to either side of the shoe. If you’re demonstrating this technique to someone, point the toe side of the shoe toward them so they can see your hand movements.
Tie a basic knot. Take both laces and thread one lace over the other and then pull them tight. They should form a knot in the middle of the shoe.
Tie another knot, but don’t tighten it. Keep the second knot loose. Notice there is a circle shape formed by the knot. Hold the circle shape with your hand and lay it flat against the shoe.
Thread one shoelace into the circle. Make sure it comes up through the circle and over to one side. You can keep it loose, but make sure it does not slide all the way out of circle.
Thread the other shoelace into the circle. It should come up through the circle and over to the other side of the shoe. You should now have two loops on either side of the knot in the center of the shoe.
Pull the loops tight. Use your hands to pull the loops tight so they are secure. Now your shoes are tied.
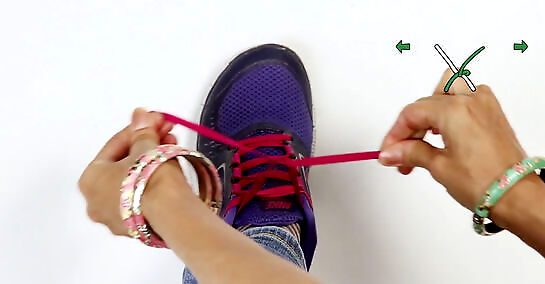
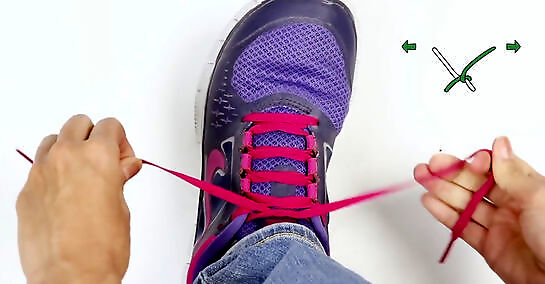
Using the "Magic Fingers" or “Ian Knot” Technique
Place the shoes on a flat surface. Let the laces fall to either side of the shoe. If you’re demonstrating this technique to someone, point the toe side of the shoe toward them so they can see your hand movements.
Tie a basic knot. Take both laces and thread one lace over the other and then pull them tight. They should form a knot in the middle of the shoe.
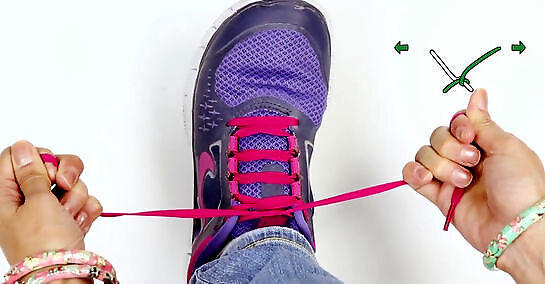
Grip one of the shoelaces. Use your thumb and forefinger on your right hand to grip one of the shoelaces. Your fingers should be facing toward you. Make sure your pinky finger is also gripping the shoelace. You should be making a half rectangle shape (or lobster claw shape) with your thumb and forefinger, as you grip the shoelace.
Grip the other shoelace. Use your thumb and forefinger on your left hand to grip the other shoelace. Again, your fingers should be facing toward you. Don’t forget about your pinky finger. Make sure it is also gripping the shoelace. You should be making a half rectangle shape (or lobster claw shape) with your thumb and forefinger.
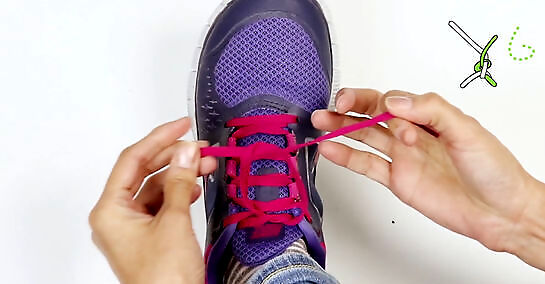
Pull your fingers towards each other so you feel some tension. Twist your fingers so they are facing each other. It should look the the two halves of the rectangle or the two lobster claws are coming toward each other. You should be forming an “X” shape with the laces.
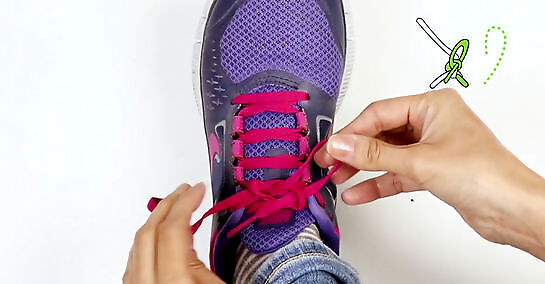
Pull the laces through using your thumb and forefinger. Pinch the laces between your fingers and pull them tight. As you tighten the laces, you should now have two loops on either side of the shoe and a nice, clean tie in the middle of the shoe.


Comments
0 comment