
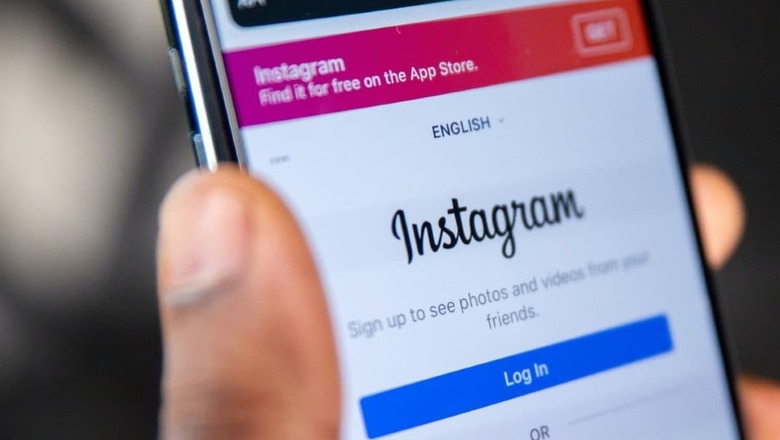
Be it a millennial or a Gen-Z, life without Instagram seems almost impossible. The photo and video-sharing social networking platform has become an inseparable part of our lives. Launched in 2010 by Kevin Systrom and Mike Krieger for iOS, the application became a favourite within months.
Instagram enables social media users to post videos and pictures and is also a platform where the internet community can showcase their talents. From displaying their artworks to flaunting dancing and singing abilities — Instagram has paved the way for many hidden talents.
Often developers add some new features on apps like Instagram. One such interesting feature of the Meta platform is scheduling posts, introduced in 2022. This feature is useful for social media influencers or individuals who use Instagram for business. As per the feature, users can schedule up to 25 postings each day, 75 days in advance. This feature can only be accessed by business profiles. Those with personal profiles won't be able to schedule content. If you also want to use the schedule post feature, here are the few steps you must follow:
Step 1
Open the Instagram app on your device. To add new content, scroll the home feed to the right or hit the plus sign (+) at the bottom of the screen.
Step 2
Depending on the type of content you want to add, be it a picture, a reel, or a full-fledged video, select the Post or Reel option.
Step 3
Use the in-app camera feature to click a photograph of your choice, record a video, or upload one from your camera roll. After inserting any additional effects, stickers, or music, add a relevant caption that suits your post.
Step 4
Look at the bottom of your screen and press the “Advanced Settings” button.
Step 5
Turn on the “Schedule this post” option. Next, from the menu bar that pops up, you have to choose your preferred time and date (referring to the time and day when you want the content to show up on Instagram for your followers to see and enrich the engagement of the post.)
Step 6
In the final step, return to the last screen and click Schedule. You are all done. Now that you have learned to schedule your posts, apply the feature to amplify your reach.


Comments
0 comment