
views
Using the Terminal
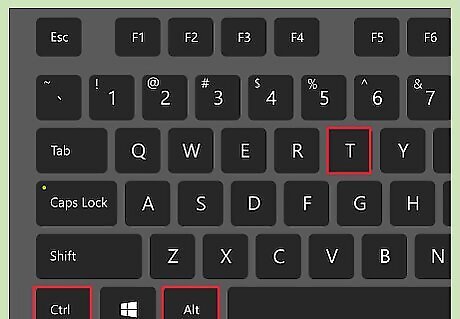
Open the Terminal. You can open the Terminal from the side bar, or by pressing Ctrl+Alt+T.
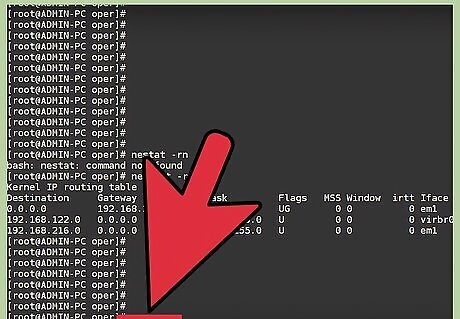
View your current default gateway. You can check what your default gateway is set to by typing route and pressing ↵ Enter. The address next to "default" shows your default gateway, and the interface it is assigned to is displayed on the right side of the table.
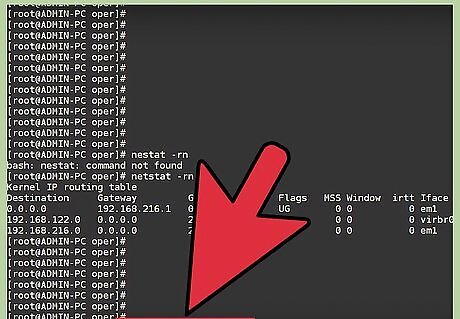
Delete your current default gateway. If you have more than one default gateway set, you'll run into connection conflicts. Delete your existing default gateway if you intend to change it. Type sudo route delete default gw IP Address Adapter. For example, to delete the default gateway 10.0.2.2 on the eth0 adapter, type sudo route delete default gw 10.0.2.2 eth0.
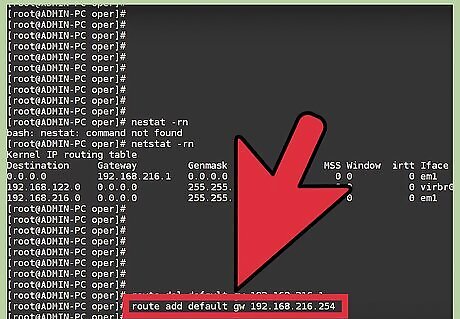
Type .sudo route add default gw IP Address Adapter. For example, to change the default gateway of the eth0 adapter to 192.168.1.254, you would type sudo route add default gw 192.168.1.254 eth0. You'll be prompted for your user password in order to complete the command.
Editing Your Configuration File
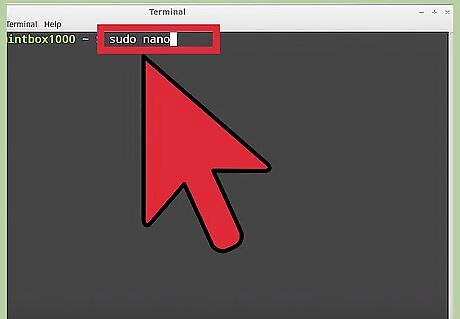
Open the configuration file in an editor. Type sudo nano /etc/network/interfaces to open the file in the nano editor. Editing your configuration file will keep your changes every time the system restarts.
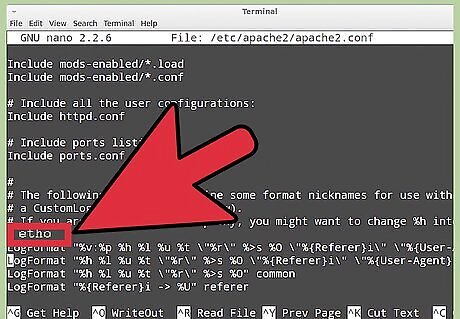
Navigate to the correct section. Find the section for the adapter you want to change the default gateway for. For a wired connection, this is usually eth0.
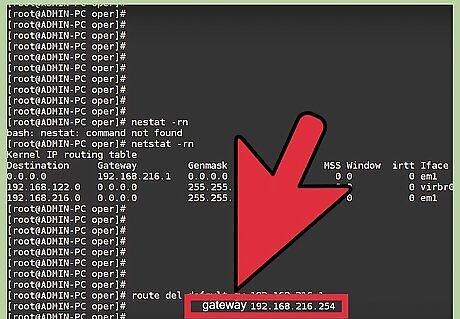
Add .gateway IP Address to the section. For example, type gateway 192.168.1.254 to make the default gateway 192.168.1.254.
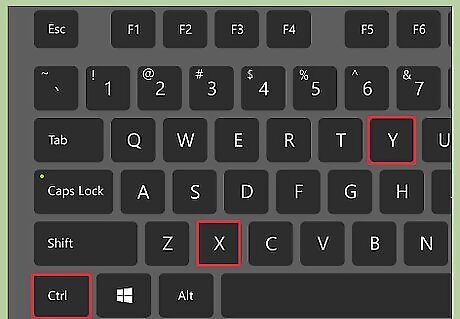
Save your changes and exit. Press Ctrl+X and then Y to save your changes and exit.
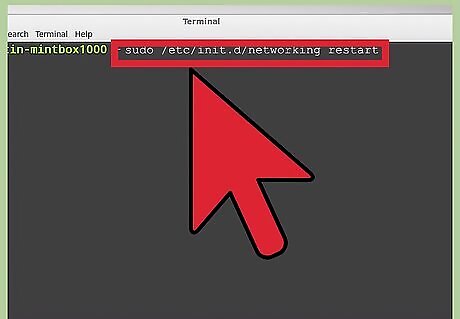
Restart your network. Restart your network by typing sudo /etc/init.d/networking restart.


Comments
0 comment