views
- Tape over both ends of the egg; poke a small hole in the top with a thumbtack, and a slightly larger hole in the bottom.
- Insert a straightened paperclip into one hole and wiggle it, then blow through the small hole to push the egg out and rinse the shell.
- Make the egg last longer with decoupage glue and water, then dye them with food coloring and add designs with puff paint and washi tape.
Blowing out the inside of an Egg
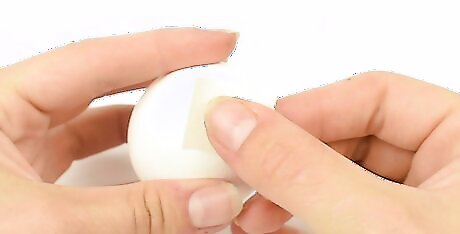
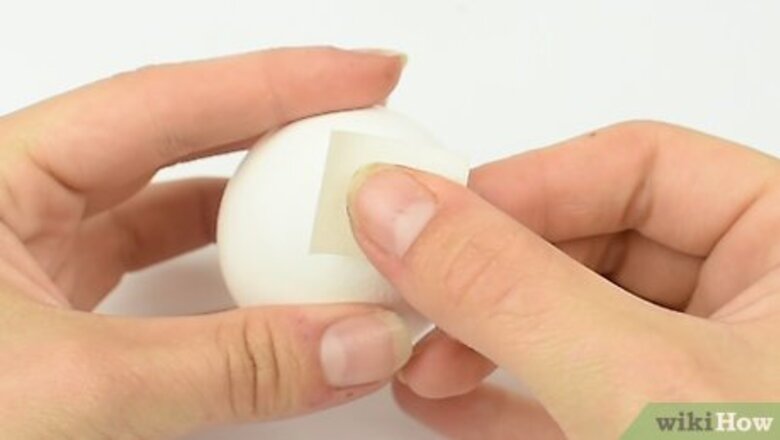
Place a piece of tape over both ends of the egg. This will prevent the eggshell from cracking when you poke holes in it. Stick a small piece of tape onto the top of the egg, and another piece on the bottom. You can use clear tape or masking tape. Chicken eggs are most commonly used. However, you can blow out any type of egg. For example, turkey or duck eggs are larger than chicken eggs, while quail eggs are smaller.
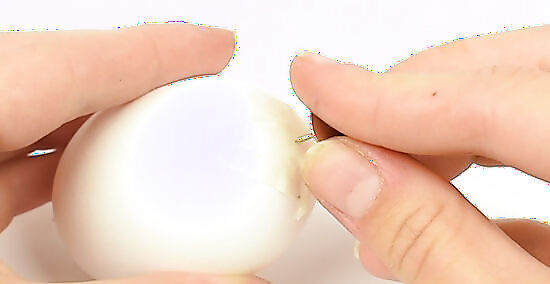
Poke a small hole in the top of the egg with a thumbtack. Gently press the pointy end of a thumbtack through the tape and into the egg at the very top. Twist the thumbtack carefully once it’s through the shell to slightly widen the hole to about ⁄8 inch (0.32 cm). If you don’t have a thumbtack, you can use any object that has a thin, pointed tip, like a needle or nail. Other Ways to Make a Hole in an Egg Use a hammer to carefully tap a very thin nail into the top of the egg. Buy an egg-piercing tool from a kitchenware store or an online retailer. Poke a hole with a small rotary tool or hand drill.
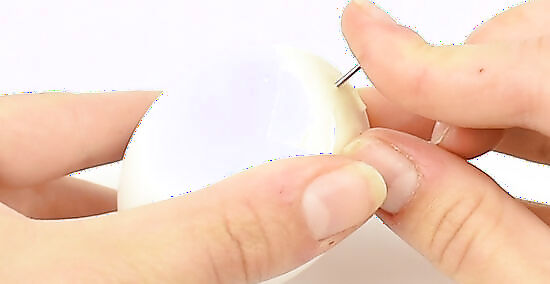
Flip the egg over and poke a slightly larger hole in the bottom. This is the hole the yolk will come out of. Turn the egg upside down and push the thumbtack through the tape and into the eggshell in the center of the bottom. Once the thumbtack is in, rotate it around very carefully to widen the hole a little larger than the one you made at the top. The hole should be no more than ⁄16 inch (0.79 cm) in diameter. Do this over a bowl or the sink in case anything leaks out of the hole you made on the top.
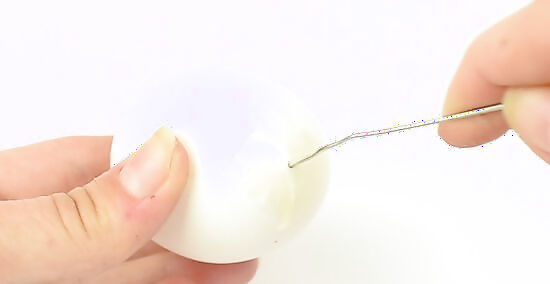
Insert a straightened-out paperclip into either hole and wiggle it around. This breaks up the yolk so that you can blow it out more easily. Unbend a paperclip into a straight piece of wire, then slide it into either the top or bottom hole. Move it around once it’s all the way inside the egg, as if you were stirring it up. You can also use a pin, toothpick, or needle to do this. Be careful not to wiggle the paperclip too forcefully or you’ll crack the egg.
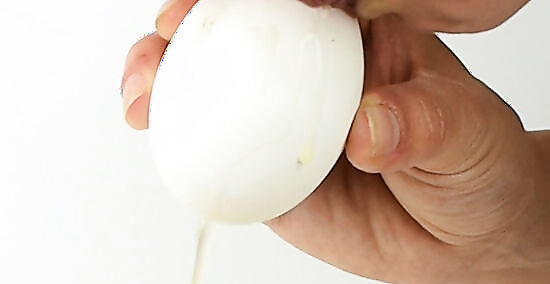
Blow through the small hole at the top to push the yolk out of the bottom. Press your mouth against the top of the egg, over the hole. Breathe in through your nose, then breathe out forcefully through your mouth, blowing the air into the egg. The yolk will come out of the bottom hole as you blow. Hold the egg over a bowl to catch the yolk when it comes out. If you’re having trouble getting the yolk to come out, try making the hole at the bottom a little bigger or shaking the egg to break up the yolk more. If you don't want to use your mouth on the egg, you can place the tip of a rubber ear syringe into the hole and squeeze the syringe to push out the yolk. You can also put a straw over the hole to blow out the egg.
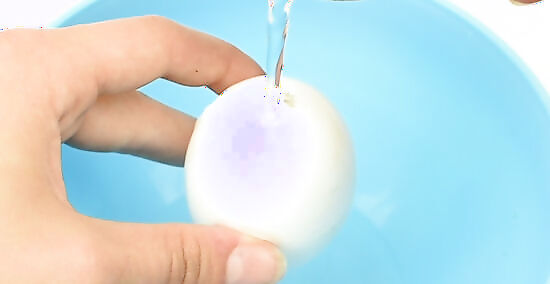
Rinse the empty shells and let them dry overnight. Gently run the eggshells under water to remove any extra pieces of yolk that may still be inside. Hold the egg with the top hole facing up so that the water runs through the egg and out the bottom hole. Set the eggs on a towel to dry. If you’re going to paint or dye the eggs, make sure they’re completely dry first. Otherwise, the colors will run or wipe off. You can also set the eggs in an empty carton or on bamboo skewers to dry. Slide the skewers carefully through the 2 holes of each egg. To sanitize the eggs while you rinse them, use a little bit of dish soap or vinegar along with the water.
Decorating Blown-Out Eggs
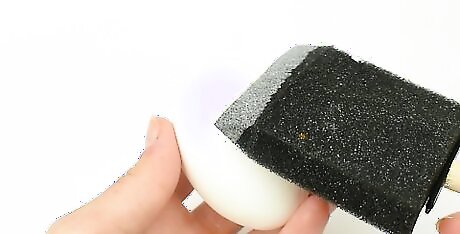
Apply decoupage glue and water over the eggs to make them last longer. Mix 1 part decoupage glue and 1 part water in a small bowl. Brush the mixture onto the outside of the eggs with a small paintbrush, then use an eyedropper to squeeze 2 to 3 drops into one of the holes on the egg. Close both holes with your fingers and shake the liquid to coat the inside of the egg. Let the eggs dry completely. You can buy decoupage glue from a craft store or an online retailer. Place a towel under the eggs while they dry since some remaining liquid may come out.
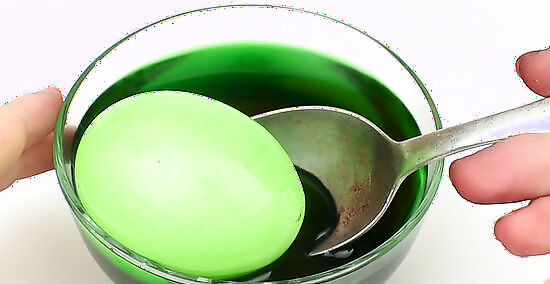
Dye the eggs with food coloring for a pretty spring decoration. Mix ⁄2 cup (120 ml) of hot water, 1 teaspoon (4.9 ml) of vinegar, and 10 to 20 drops of food coloring in a small bowl or mug. Place an egg into the mixture so that it’s completely submerged, then let it soak for 5 to 10 minutes. Once it’s the color that you want, take it out of the dye using a spoon or tongs and place it on a paper towel to dry. The longer you let the egg soak, the deeper the color will be. Get creative with your colors and designs. Try mixing different colors or making fun patterns, for example. Different Ways to Dye Your Blown-Out Eggs To make stripes, wrap clear tape around the egg before you dye it. Anywhere that’s covered in tape won’t be dyed. You can do the same thing with circular stickers to make polka dots. For an ombre effect, use tongs to hold the egg so that just the bottom is in the dye. After 3 minutes, lower the egg further into the dye, about another ⁄4 inch (0.64 cm) for another 3 minutes. Continue to make layers down the whole egg. If you want to add a glittery accent, add metallic temporary tattoos to the egg after the dye has dried. Carefully lay the tattoo onto the egg, then wipe a damp cloth over it before removing the paper backing. For cute egg faces, glue googly eyes onto the egg after you dye it and draw mouths or noses with a permanent marker.
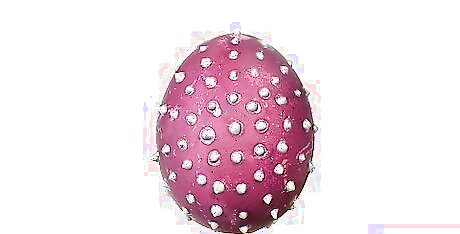
Draw designs with puff paint if you want eggs with texture. Squeeze acrylic puff paint onto the eggshell to create 3D patterns like stripes, swirls, or dots. Let the paint dry for 2 to 3 hours. You can also make a design with puff paint, then paint over it with acrylic paint once the puff paint has dried. This creates a cool raised effect underneath. To prevent the paint from smearing while it dries, slide a bamboo skewer through the holes. Stand the skewer upright or lay it over an empty container so the egg is suspended in the air.
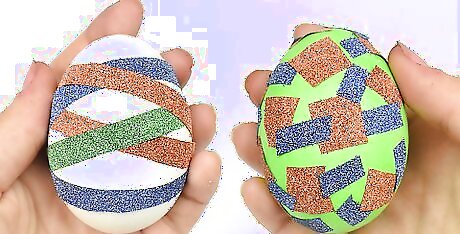
Use washi tape to add colorful accents to the eggshells. You can find washi tape in all different patterns, colors, and textures at a craft store. Wrap 2 to 3 strips of the tape around an egg if you want to leave some of the shell showing, or cover the egg completely with tape for an all-over decoration. If you want an artsy mosaic look, cut out small pieces of washi tape and arrange them around the egg, leaving white space in between each piece. You can also paint the egg with acrylic paint first if you want a more colorful craft. Let the paint dry completely for 2 to 3 hours before you add your washi tape on top.
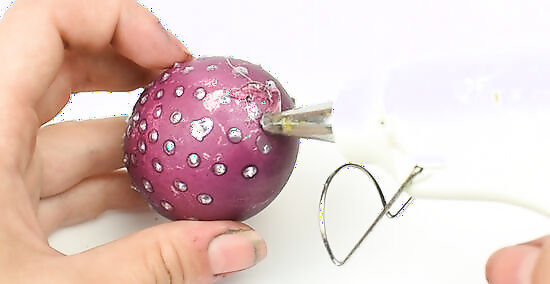
Attach an ornament cap to hang the eggs on a Christmas tree. Squeeze the 2 prongs of the cap together to slide them into the hole at the top of the egg. Once the prongs are inside, they’ll spread out, holding the cap in place. Hang your ornaments on a tree by tying a piece of ribbon to the cap or using a wire hanger. You can buy ornament caps from a craft store or an online retailer. At the store, they’re usually in the holiday section. Instead of buying new caps, you can take the caps off of old ornaments you no longer use. For an extra festive decoration, paint the eggs in holiday colors or add stickers before you attach the caps.



Comments
0 comment