views
Heating Your Skillet
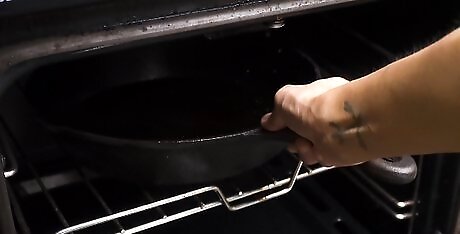
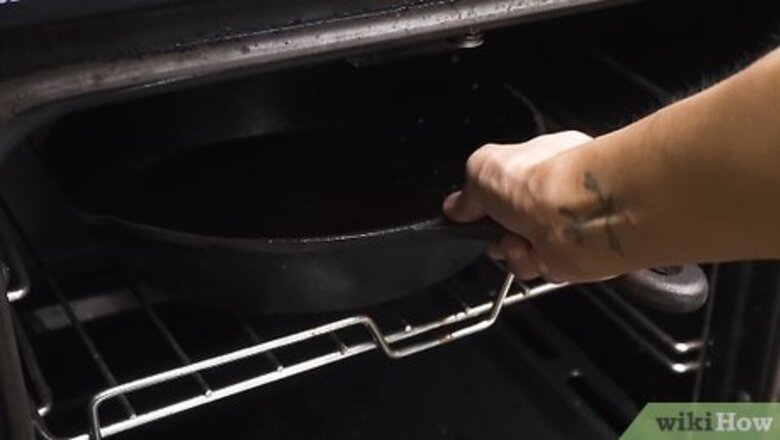
Put a cast iron skillet in your oven on the center rack. Make sure one of the racks is in the center position inside your oven. If you don’t have a cast iron skillet, you can use any oven-safe frying pan. If you don’t have a frying pan that you can put in the oven, then you can heat the pan on the stove instead.
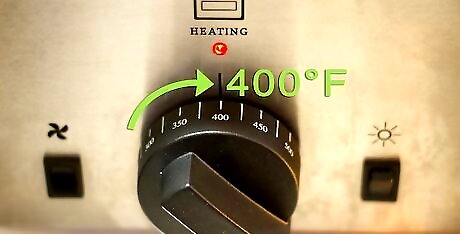
Preheat the oven to 400 °F (204 °C). Let the cast iron skillet heat up along with your oven. Be sure to let it preheat completely, which usually takes 10-15 minutes.
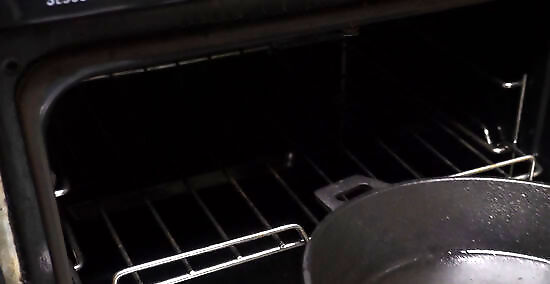
Pull the heated skillet out from the oven. Once the oven is completely heated, put on a pair of oven mitts and remove the skillet. Be careful not to touch any part of the skillet with bare skin since it will burn you.
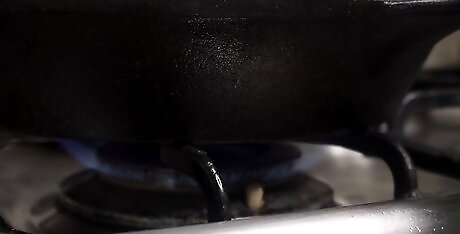
Turn your stove to medium heat to keep the pan warm. Set the skillet on your stovetop and turn the burner onto medium heat. That way, the skillet will stay hot enough to sear the pork chops. If you don’t have a pan that’s oven-safe, set it over medium-high heat. Test the pan by flicking water onto the pan, and keep heating it until the drops immediately sizzle.
Searing the Pork Chops
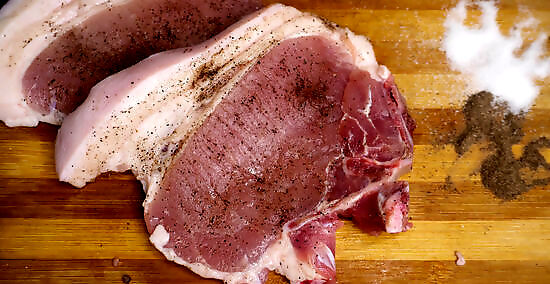
Pat the pork chops dry and season them with salt and pepper. Make sure the pork chops are dry to the touch after using your paper towel. Sprinkle a large pinch of salt and pepper on each side of the pork chops and rub it into the meat. This helps flavor and tenderize your pork. Wash your hands after handling raw meat and switching tasks. That way, you won’t spread any bacteria.Tip: Brine the pork chops before you season them to add extra flavors to the meat.
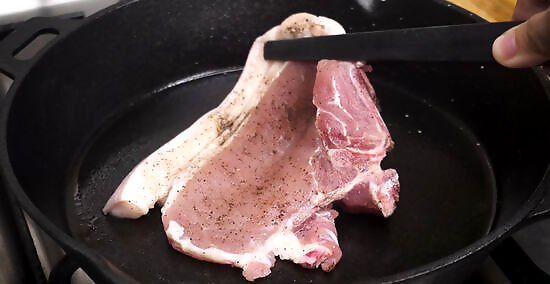
Set the pork chops on the hot skillet. The pork chops should immediately start to sizzle once you place them on the pan. Leave ⁄2–1 inch (1.3–2.5 cm) between each of your chops so they aren’t overcrowded in the pan. Once you set the pork chops down, don’t move them again until you need to flip them or else they won’t get crispy.
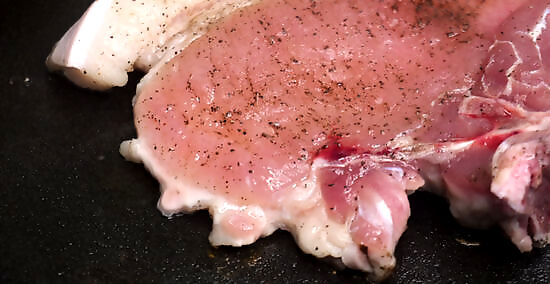
Sear the pork chops for 3 minutes. Let the first side cook until the meat is crispy and golden brown on the bottom. Keep in mind that you will only be searing 1 side of the pork chops. If the pork chops start to smoke, reduce your heat. If you have a vent fan, turn it on; otherwise, open the closest window to let in fresh air.
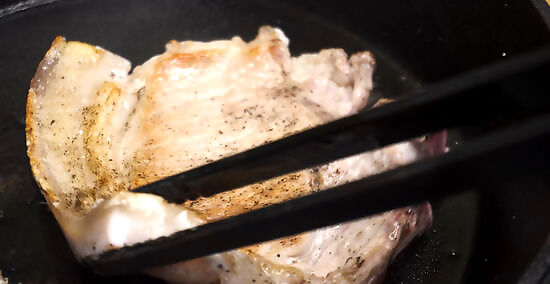
Flip the pork chops. Use a pair of tongs to grab the sides of the pork chops and flip them over. The side on top should be golden brown and have a crispy texture when you scrape it with your tongs.
Finishing Pork Chops in the Oven
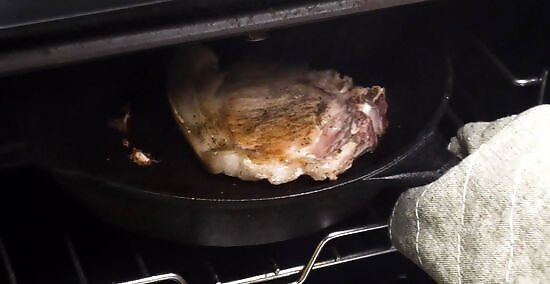
Put the skillet back in the oven for 6-10 minutes. Once all of your pork chops are flipped over, immediately put the skillet into the oven. The rest of your cook time depends on how thick your chops are, but should take around 6-10 minutes. Use a probe thermometer to see if the pork’s internal temperature is at least 145 °F (63 °C). Check your chops after 6 minutes in the oven, and then continue checking every 2 minutes afterward until they reach 145 °F (63 °C).
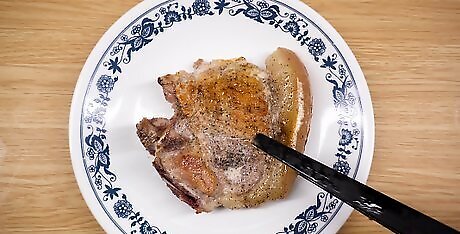
Let the pork chops rest for 5 minutes. Remove the pork chops from the oven and transfer them to a warm plate so they can rest. This helps keep the juices inside your pork chop so they don’t dry out. If there are any juices in the skillet, pour them on top of the chops when you’re finished to keep them moist and flavorful.Tip: Make small tents out of aluminum foil and place them over your pork chops. That way, they will hold heat and stay warm for longer.
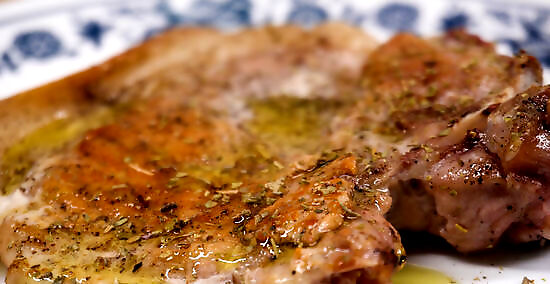
Serve the pork chops while they’re still hot. Once the meat has rested, they’re ready to eat! Serve your pork chops with sides like oven-roasted potatoes or roasted vegetables. Your pork chops should be tender, juicy, and easy to cut. Keep leftover pork chops in an airtight container the fridge for up to 4 days.






Comments
0 comment